


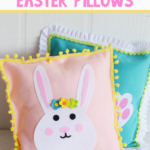
Make these adorable DIY No-Sew Easter Pillows this year to make your seating spaces or beds a little more festive! They’re so easily customizable and since you don’t need to sew, anyone can make them!
This post may contain affiliate links. See my full disclosure policy HERE.
Throw pillows are kind of a weakness for me. I have a love hate relationship with them, in a few ways. I love them because they’re a fun way to add a pop of color, and such an easy way to make beds and seating areas festive for the holidays without changing much.
I hate throw pillows because they can get expensive, and they can be a pain when stacked on a bed you just want to sleep in at night, or on a chair or couch you just want to sit in.
HOWEVER, these adorable Easter throw pillows were so easy to make and required NO SEWING. So now they’re adorning my front porch seating and adding to the Easter colors outside.
If you like no-sew projects, I also have some adorable no-sew Easter chicks that turn out super cute as Easter basket fillers, some no-sew snowmen that I absolutely love for winter, and some no-sew fabric pumpkins I bring out each fall!
How do you make these No-Sew Easter Pillows?
Step 1: Gather your supplies.

You will need:
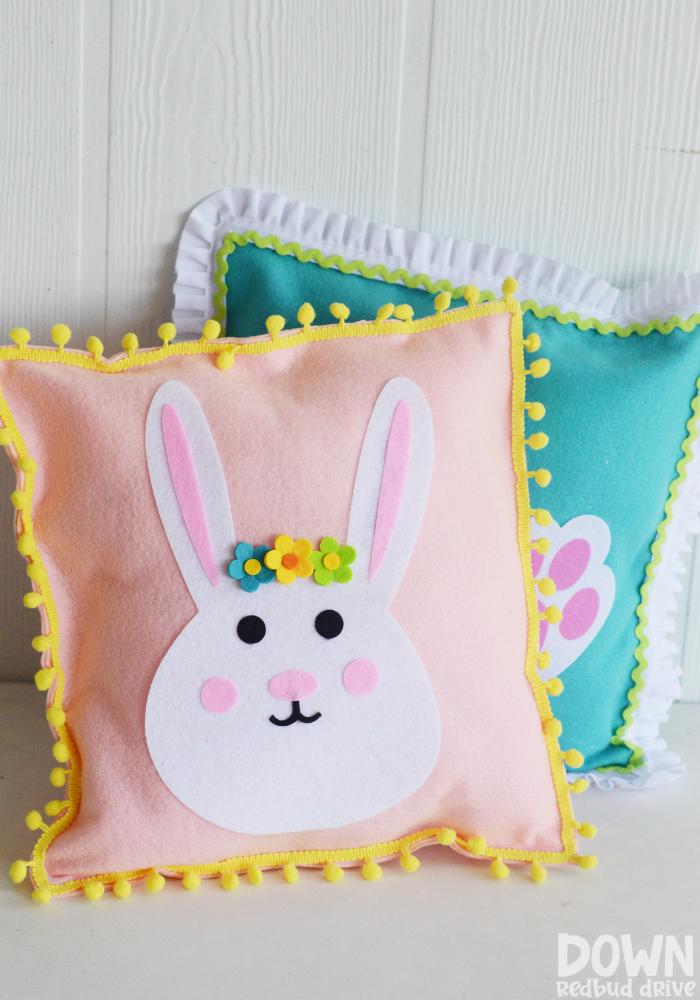
- Felt by the Yard (I used blue and pink)
- Polyfil (I always have a big box on hand, but you can snag it on Amazon with the link)
- Felt Easter Decorations (I found mine pre-made at the dollar store and Hobby Lobby, but you could also make your own)
- Ribbon and Trim
- Hot Glue Gun
- Marker
- Scissors
Step 2:Cut out your felt squares.

The felt material is what makes these pillows work so well without sewing. Felt sticks to itself very well with hot glue and will last forever!
This method also works with fleece fabric, but it doesn’t age well in my opinion and looks cheaper as a final project.
Determine what size you want your pillows to be. You can make them in any shape, but I chose square. You could also do oval, rectangle, circle etc.
I made mine 14″x14″, so I cut two squares this size. I used a light green marker to line my edges because I couldn’t find my tracing pencil anywhere, but yo can use whatever and trim it off.
Pro Tip: Once your two squares are cut, they likely won’t be perfect. Felt trums easily, so don’t worry, we can fix this in the next step.
Step 3: Attach your felt squares together.

Line your squares up, and use hot glue to seal the edges. Get your glue line as close to the edge of the fabric as possible, so as not to leave a lot of unattached fabric on the edges.
ONLY GLUE THREE SIDES to save room for you to fill your pillow with fluffy polyfil!
Step 4: Fill your pillow with polyfil.

Make your pillow as fluffy or as flat as you want! Press handfulls of the polyfil fluff into the corners and against the edges.
As you do this, test for any potential holes you may have missed when gluing the edges together and fix as needed.
Fill your pillows as full as you want, and then use your hot glue gun to seal the last edge of your no-sew easter pillow together.
Pro Tip: Now is the time to trim the edges of your felt to make your pillow perfect. Anything that doesn’t line up on the outside, you can trim off with scissors.
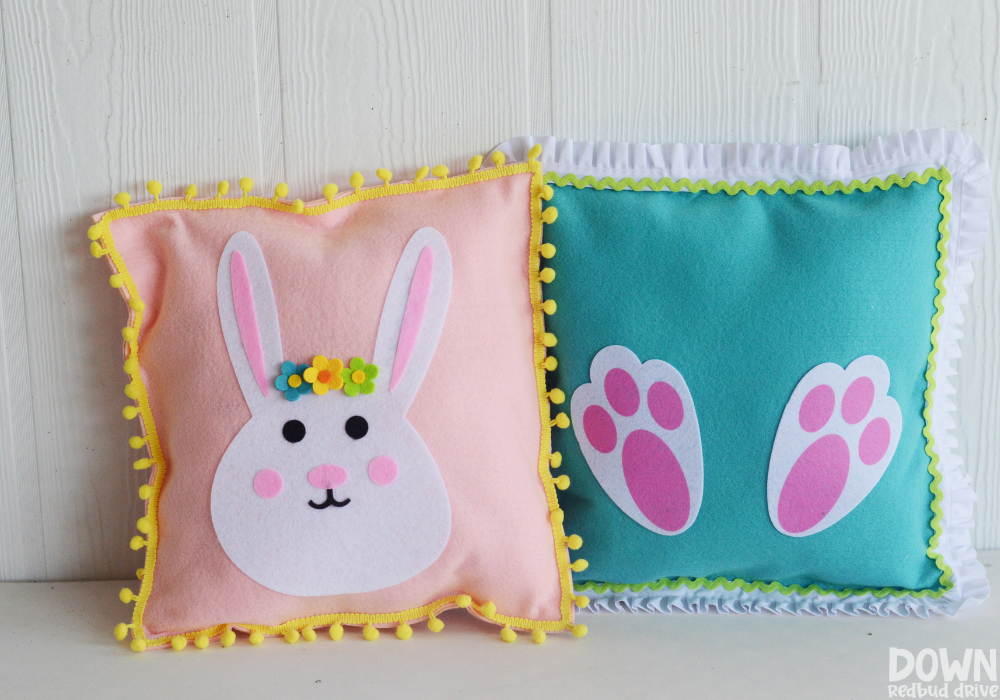
Step 5: Attach your felt decorations.

Attaching decorations to your pillow is done using your hot glue gun.
Again, these decorations will work best and last longest if they are felt.
I found some some super cute felt Easter decor at the dollar store and at Hobby Lobby. Use a mix of those or make your own!
Step 6: Add the trim to your no-sew throw pillows.

Find fun ribbon or trim to add to the edges of your pillows. I feel like this really gives them a finished look and makes them complete.
I found some fun pom-pom trim at the dollar store that I used on my pink bunny pillow, and combined a white ruffle trim and a green trim on top of it for my blue pillow.
I’m so happy with how they turned out! They’re the perfect pop of Spring color for my outdoor seating and they cost me about $3.50 each to make!

These No-Sew Easter Pillows would also be great to sell at craft shows or Spring pop-up shops!
Make several, or just one and add little happy spots all over the house!
Kids love making these too! Help them as needed with the hot glue and measuring, and they can do the rest!

Want more DIY Easter gift ideas?
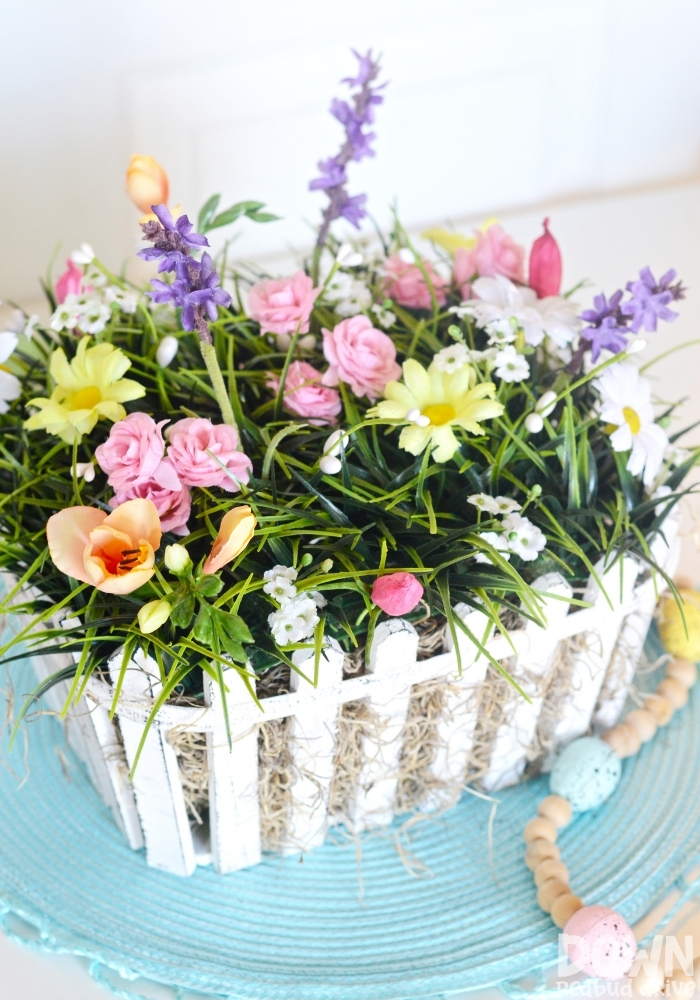


- DIY Spring Floral Centerpiece – Make your tablescape pretty with this DIY Spring Floral Centerpiece!
- DIY Buffalo Plaid Easter Sign – This DIY Buffalo Plaid Easter Sign is the perfect modern addition to your Easter home decor this year!
- DIY Easter Napkin Jars– This fun Spring decoupage project makes the cutest DIY Easter Napkin Jars!
- DIY Easter Egg Topiary – These make adorable DIY Easter home decor and are incredibly easy to make!
These DIY no-sew Easter pillows are such an easy project to make your home just a little more cheery this Spring!


Leave a Reply