


Make your own reusable DIY Advent Calendar with a muffin or cupcake tin with this easy tutorial. Make a paper craft version with lots of detail, or you can utilize the free printables to make it simple! Hide a little piece of candy or a toy in each space for a delightful surprise every day during the Christmas season!

This Muffin Tin Advent Calendar is a great way to make a customized advent calendar for your kids, that you can reuse year after year. Some advent calendars can be upwards of $50 or more, so this will help you keep the prizes fun and exciting, and the costs low.
Another fun option is my Acts of Kindness Advent Calendar! This is my FAVORITE way to remind my kids what the real reason for the season! It teaches them about giving and not receiving for the entire month before Christmas!
DIY Muffin Tin Advent Calendar
Making your own DIY Advent Calendar is easier than you think, and with this simple tutorial, you will have it finished in no time! I’m including this quick video of the entire process, as well as the written directions below. Watch or read, and then get to work!
This makes a great project for the whole family and can be reused over and over again!
Step 1: Gather Your Supplies
You will need:
- 24 count Mini Muffin Tin (this Wilton one is perfect for this project because of the lipped edges)
- Scrapbook paper, stamps, twine etc OR grab the Free Printable Advent Squares at the end of the post.
- Adhesive Magnet Sheets
- Adhesive Roller (this thing is cheap and will change your life)
- Metal Hole Punch (this thing is SO cool)
- Ribbon (for hanging)
- Rounded Corner Punch (optional)
Step 2: Get your muffin tin.

If you plan to use the printables, you will need to use a mini muffin tin. If you’re making your own, and want room for bigger gifts, you COULD use a regular size muffin tin, you will just need to account for different measurements etc.
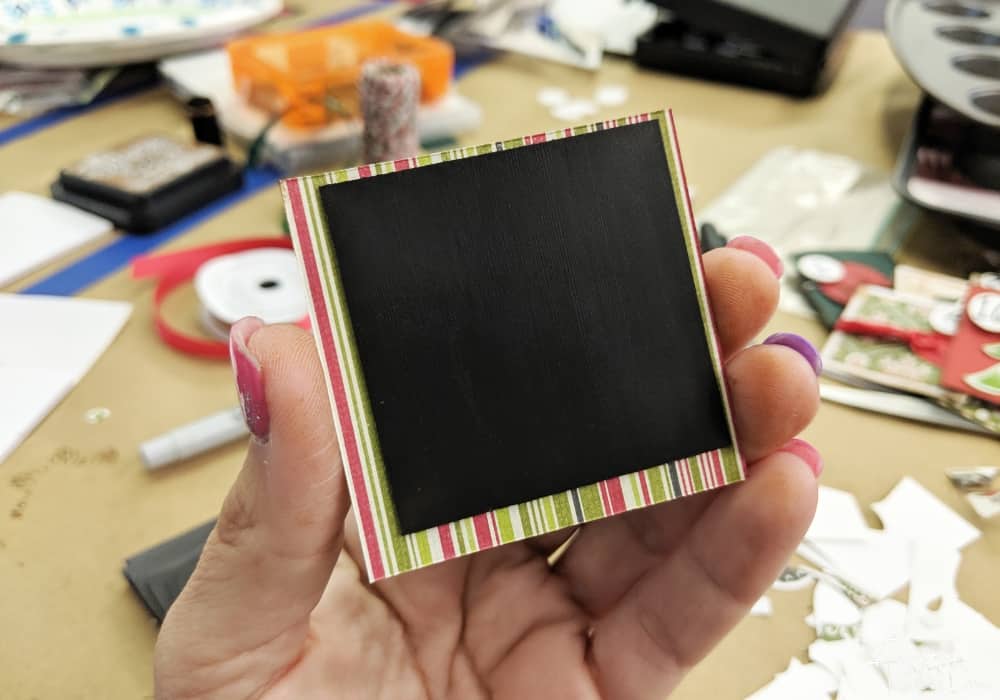
Step 3: Make the paper squares. (If using the printables, skip to step 5.)

Each square will need to be 2.25″ x 2.25″ if you’re making your own. Mix and match papers with little twine pieces, mini buttons, stamps etc. Feel free to use the ones I made as a means of inspiration.
Step 4: Cut the corners.

This punch makes pretty rounded corners from pointed edges. It’s optional, but makes the finished projects for the four corners look so much better.

This little double-sided adhesive roller changed my life. They are so cool, and so much easier to use than glue or double-sided tape. I buy so many a month now – they’re amazing.

When you’re finished with your rounded paper square for the corner it should look something like this.
Step 5: Add the magnet backs.
Cut your magnet sheets into 2″x2″ squares. Buy the ones with adhesive on one side, like these ones, and then just cut them to size with scissors.
Step 6: Pinch to holes.

Next, you will use a handy dandy metal punch to punch two holes in the top of your muffin tin so you can hang your Muffin Tin Advent Calendar. Just place the muffin tin on a flat surface, and punch the holes.
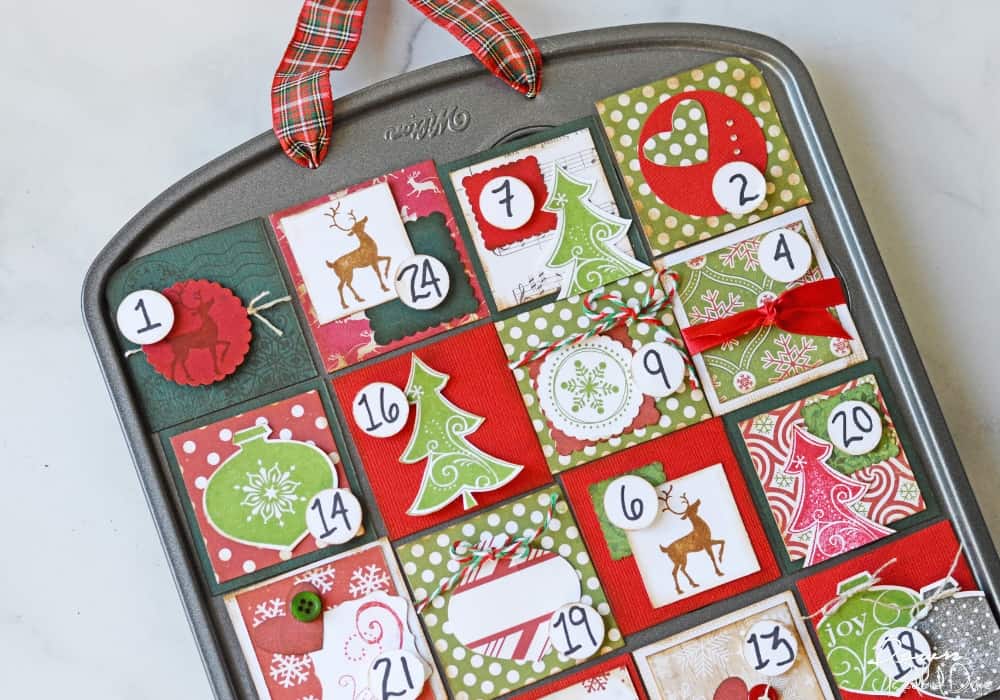
When it’s finished, it should look something like this! Get creative and change up the colors or patterns to make it your own!

I love how mine turned out! Be warned though, making that many little individual squares will take you a fair amount of time. If you’re short on time, or don’t have a lot of patience, I’d opt for the printable card version below.

This version utilizes the free printable paper cards. Print them out on cardstock paper. Cut out the squares, and then attach the magnets to the back.

Now you can fill your Muffin Tin Advent Calendar with treats for the receiver to find! Use candy, small toys, jewelry, money, or anything else you think appropriate. Get creative!
Get the Free Advent Calendar Cards
If you want to opt for this adorable printable, I’ve got you covered! Just put your email address in the box below and I will email it right to you! If you are already on my email list, you will not be added again, this form will just send you the printable!
More Christmas Ideas!
Pin This for Later


Such a wonderful idea