
 Author:
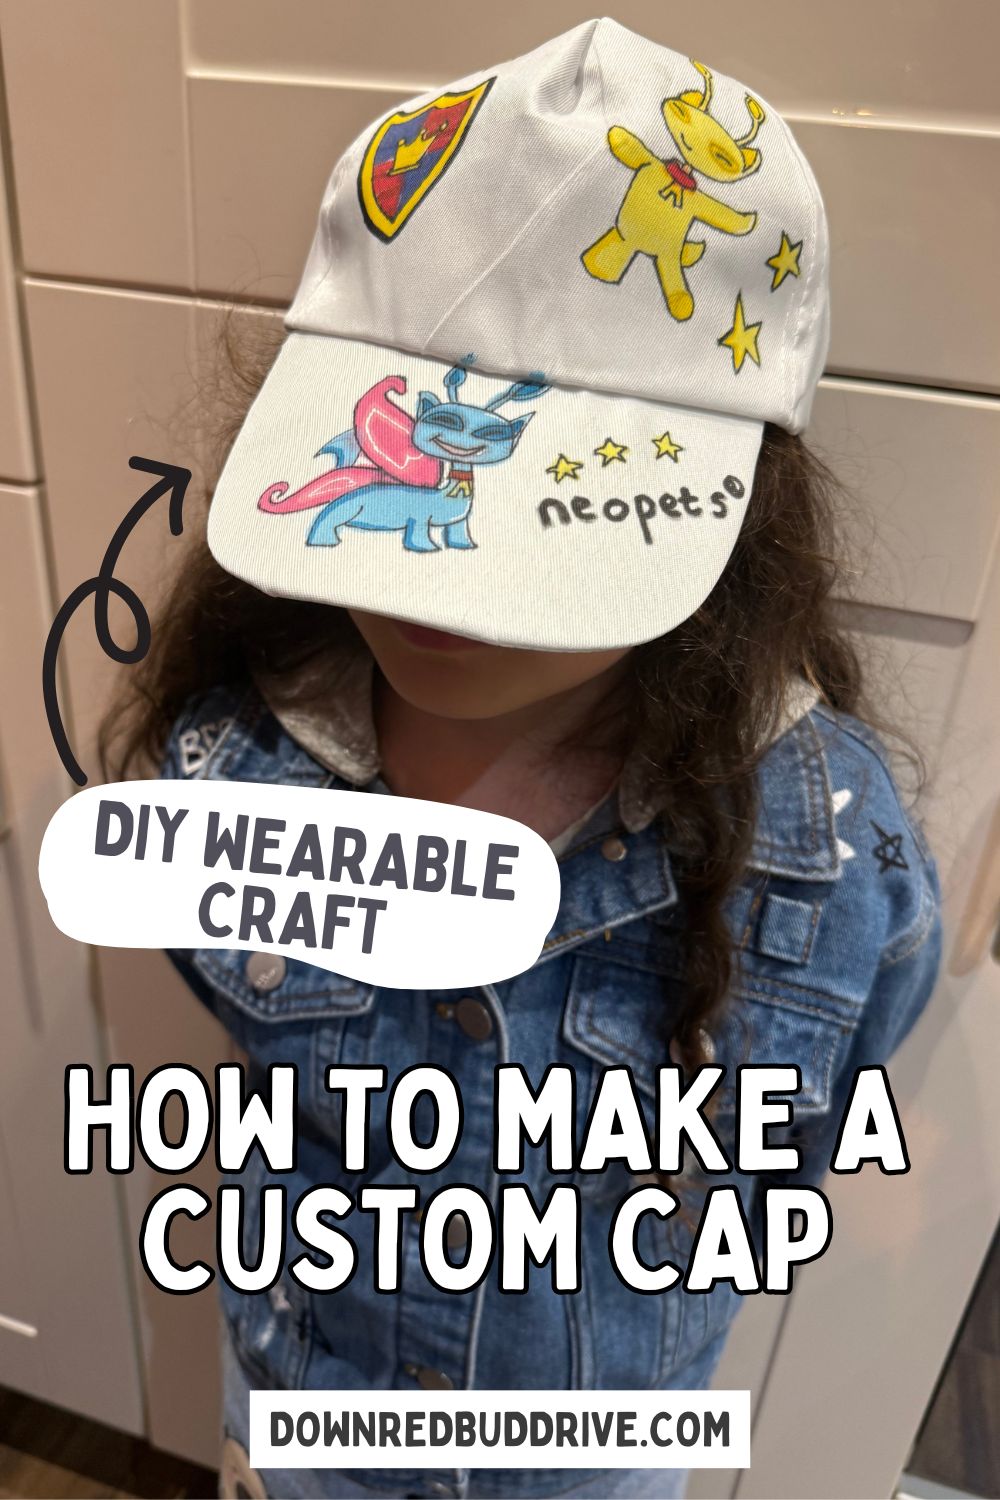
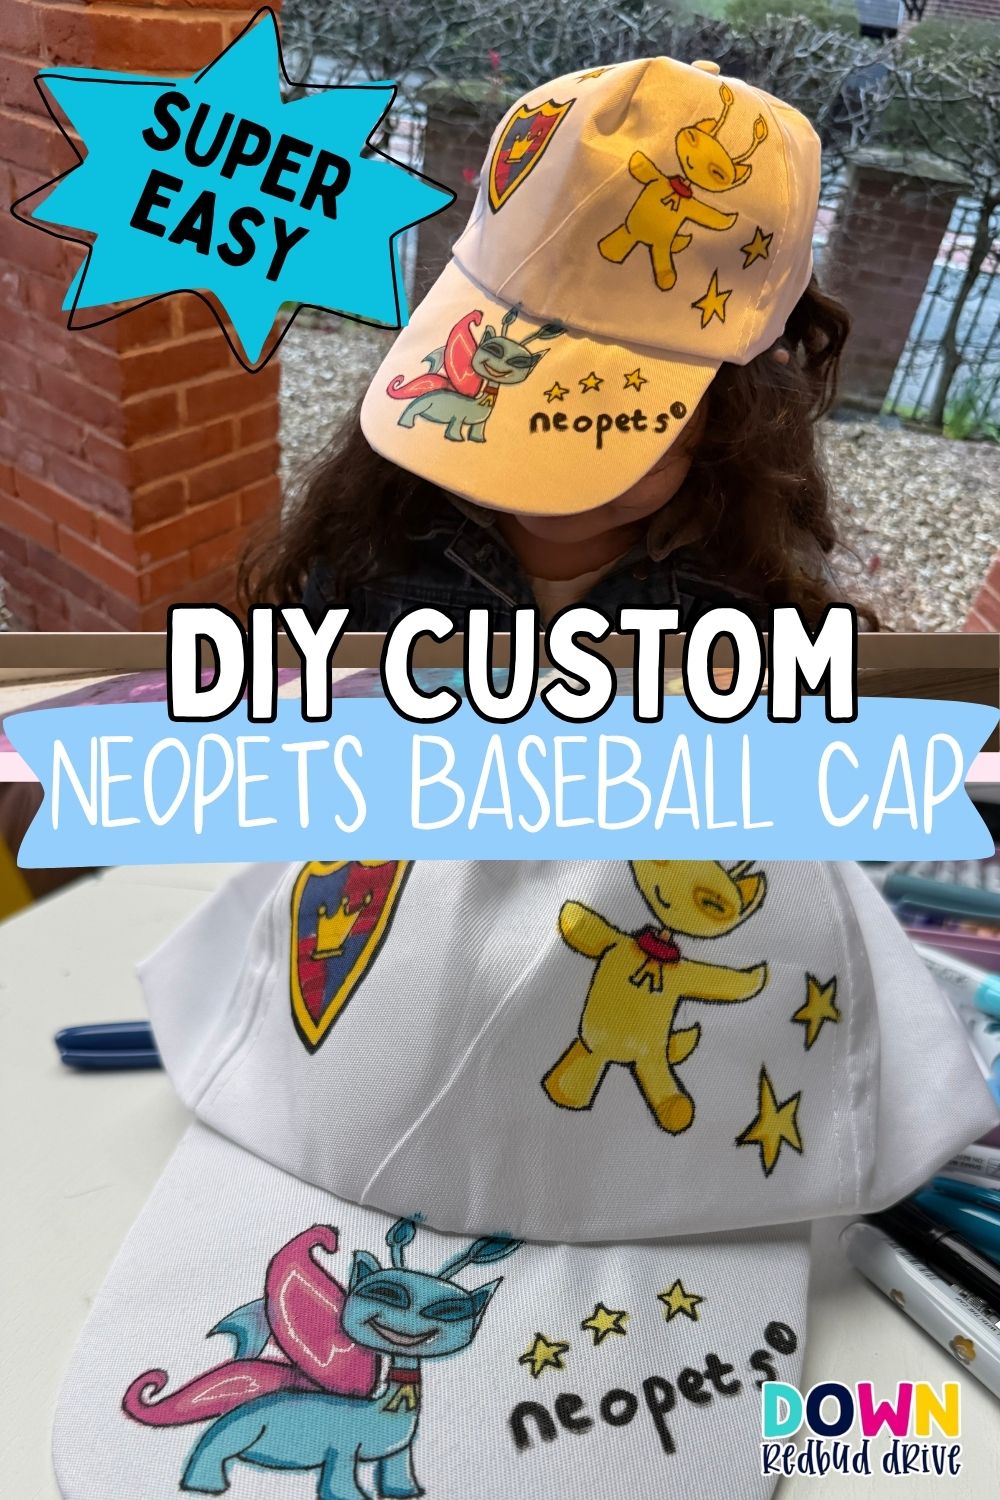
 If you’re looking for a craft that’s actually useful once it’s finished, this one is such a winner. We recently made these customized hats with the kids, and they turned out so cute, as well as being super fun to make.
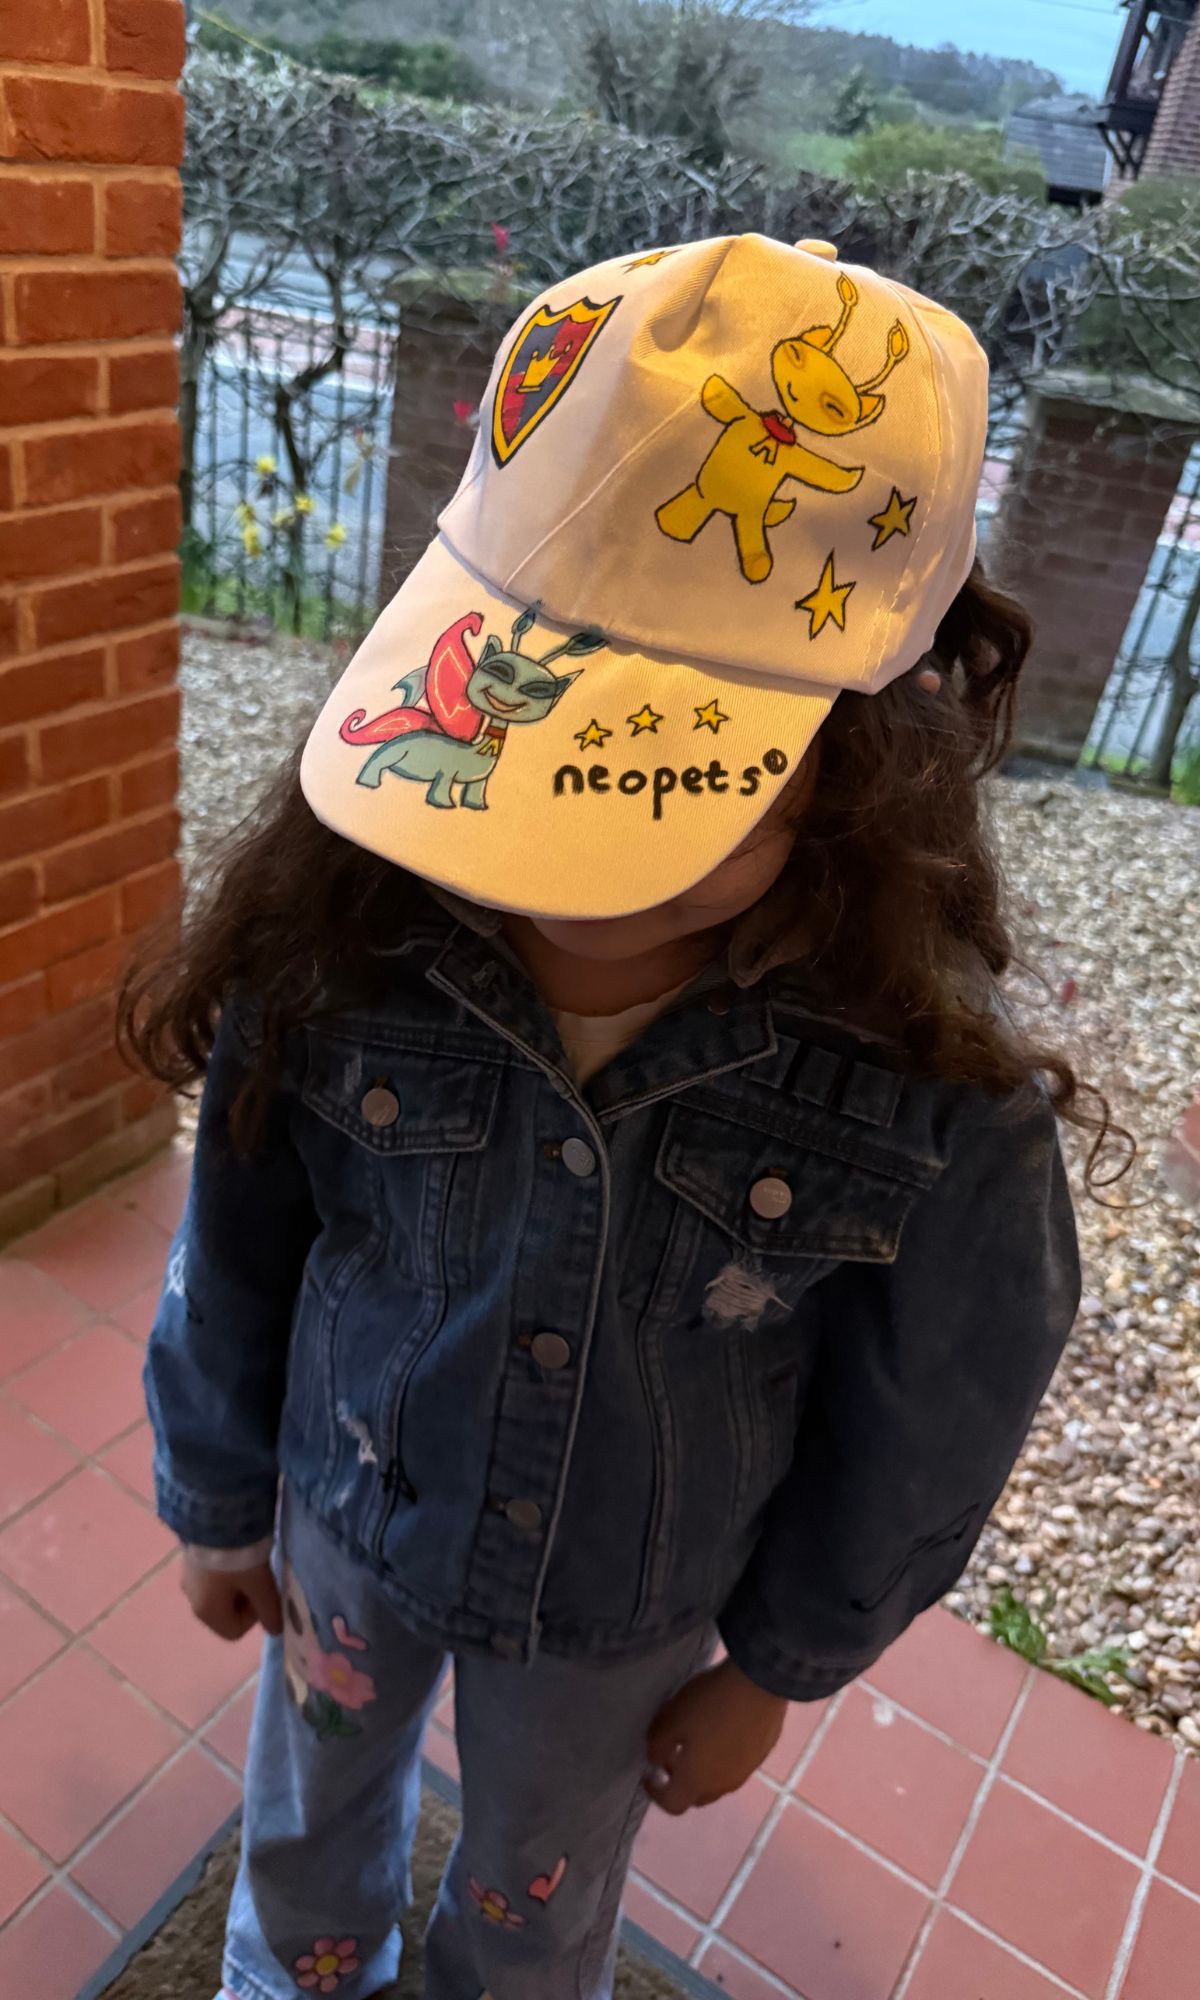
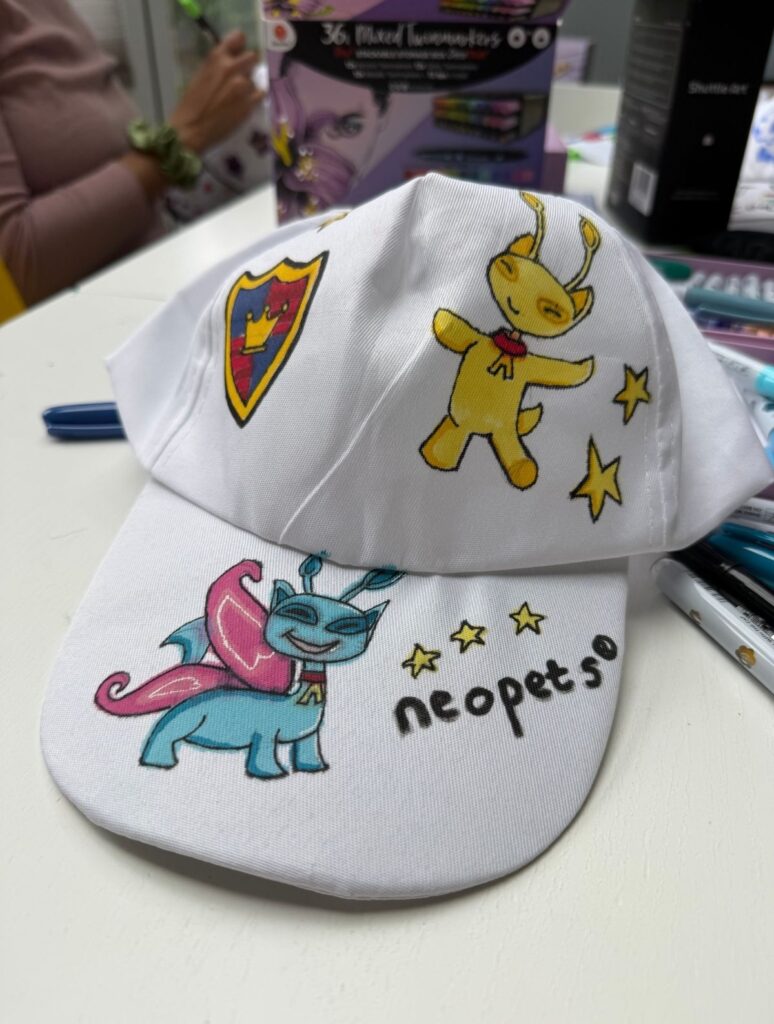
My daughter is currently obsessed with Neopets again (it’s having a bit of a comeback with the new Switch game coming out), so that’s the theme we chose for this design. The kids also made some more random ones as well with their own slogans and ideas.
What I love about this activity is that it feels creative and personal, but also practical. Instead of another craft that sits on a shelf, this is something they can actually wear out and show off.
There’s something really special about making customised accessories together, and letting kids design something they’ll actually use. It gives them a sense of ownership and pride, and it naturally encourages them to take their time and focus on the details.
It’s also surprisingly easy to get a great result. Even if you or your child isn’t super confident with drawing, the process is very forgiving, and the materials make it easy to get clean, bold designs.
And of course, the finished hats are completely unique. No two will ever look the same.
What You Need
You don’t need anything fancy for this one, which makes it easy to set up at home.
We used plain white baseball caps as our base. These are perfect because they give you a blank canvas and the colors show up really well. We got a pack of 12, which is great because once you start making you know for sure more kids in the family will start appearing and want to join in, and sometimes the adults too! It also gives you some spare incase you mess up, which can happen too.
For the design, we started with a regular pencil. This is a great trick because you can sketch directly onto the hat and erase if needed, which takes away that pressure of getting it perfect first time. These are my favorite erasers, this brand is so good.
Then we used acrylic marker pens to color everything in. These are honestly the best for this kind of project. They give strong, even color and are much easier to control than paint and a brush. If you use alcohol markers the colors can bleed, so avoid those and stick with acrylic to give a better result.
We have tonnes of different acrylic markers at home but this shuttleart dual tip ones with fine and brush tip are one of my favorites and we also had success using these artxx ones that look like sharpies, but are acrylic.
To finish, we added details using a black fine liner and a white gel pen. This step really brings the design to life and makes everything pop. Uniball signo white gel pens are the best ones to get in my opinion, I go through so many of these because they are so useful.
How to Make Your Custom Hat
Start by letting your child choose their theme. This is half the fun. It could be favorite games like Neopets, animals, characters, or even just patterns and doodles.
Lightly sketch the design onto the hat with a pencil. Don’t worry about mistakes here, you can erase and adjust as much as you need.
If you want to draw a detailed character, you may want to use a reference picture from google, or from a book or just anything to copy.
Once you’re happy with the layout, go over the design using acrylic marker pens. Take your time with this part and build up the colors gradually for the best finish.
After the color is done, use a black fine liner to outline the shapes and define the details. This step makes everything look sharper and more polished. Make sure you let you acrylic paint dry before you start adding the fine liner so it doesn’t bleed.
Finally, add highlights with a white gel pen. Little touches like stars, dots, or shine details can make a big difference.
Let everything dry fully before wearing.
Tips for the Best Results
Working slowly and in layers really helps, especially with lighter colors. It’s better to go over areas twice than try to get full coverage in one go.
If your child is younger, you can help with outlining at the end to tidy things up while still letting them do the creative part.
Encourage them to keep designs fairly simple if it’s their first time. Even basic shapes and characters look amazing once outlined and colored.
A Craft They’ll Actually Use
This is one of those crafts that ticks all the boxes. It’s creative, low prep, and ends with something practical that kids genuinely want to use.
The Neopets hat has already been worn out multiple times, and it’s become a bit of a conversation starter too. It’s fun seeing something they made themselves being part of their everyday outfit.
More Easy Crafts Kids Will Love
If you enjoyed this, there are so many other simple crafts you can try with similar materials. Decorating tote bags, pencil cases, or even t-shirts works in exactly the same way and gives kids even more ways to express their creativity.

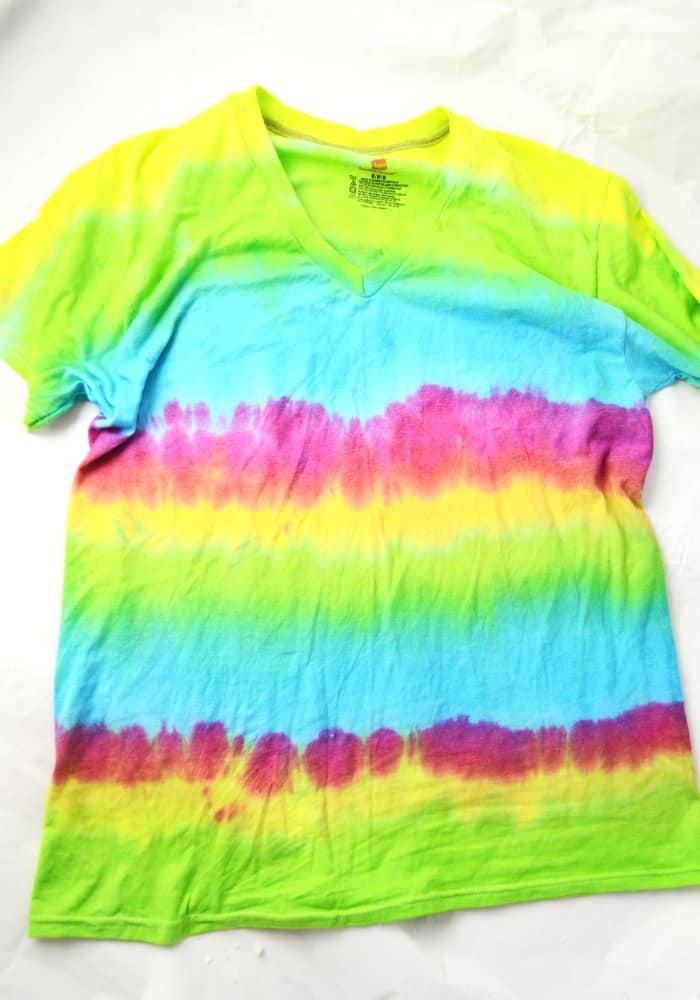

- How to Tie Dye | 5 Ways to Tie-Dye
- DIY Patriotic Bubblegum Necklace
- Hand-Print American Flag Shirt
- How to Make a Sidewalk Chalk Mosaic
More Character Inspired Crafts
If your kids loved turning their favorite characters into wearable art, there are so many more fun ways to bring those ideas to life. From painting accessories to decorating everyday items, character-inspired crafts are a great way to tap into what they’re already excited about and turn it into something creative and hands-on. Whether it’s games, cartoons, or books, these projects let kids show off their personality while making something totally their own.


- DIY Super Mario Play House
- Minecraft Creeper Pinata
- Minecraft Block Craft | Easy 3D DIY Minecraft Art
- Pokeball Craft
And if you give this a go, I’d love to see what your kids come up with. Don’t forget to share your creations and pass this idea along to anyone looking for a fun, easy craft to try at home.
Leave a Reply