
 Author:
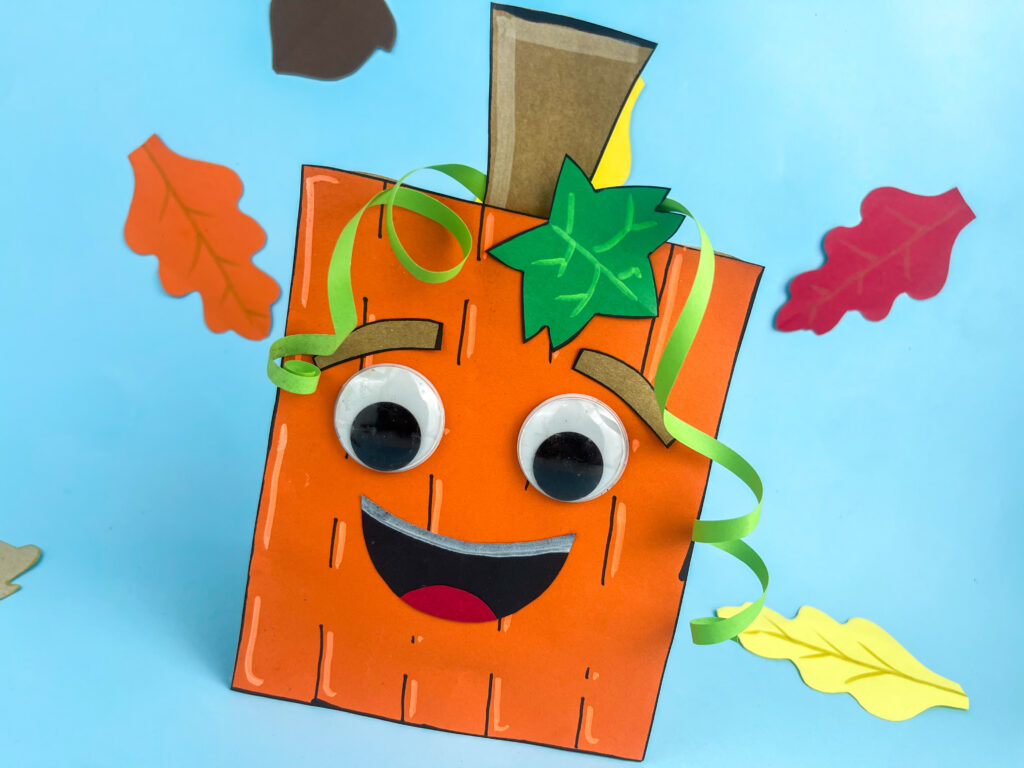
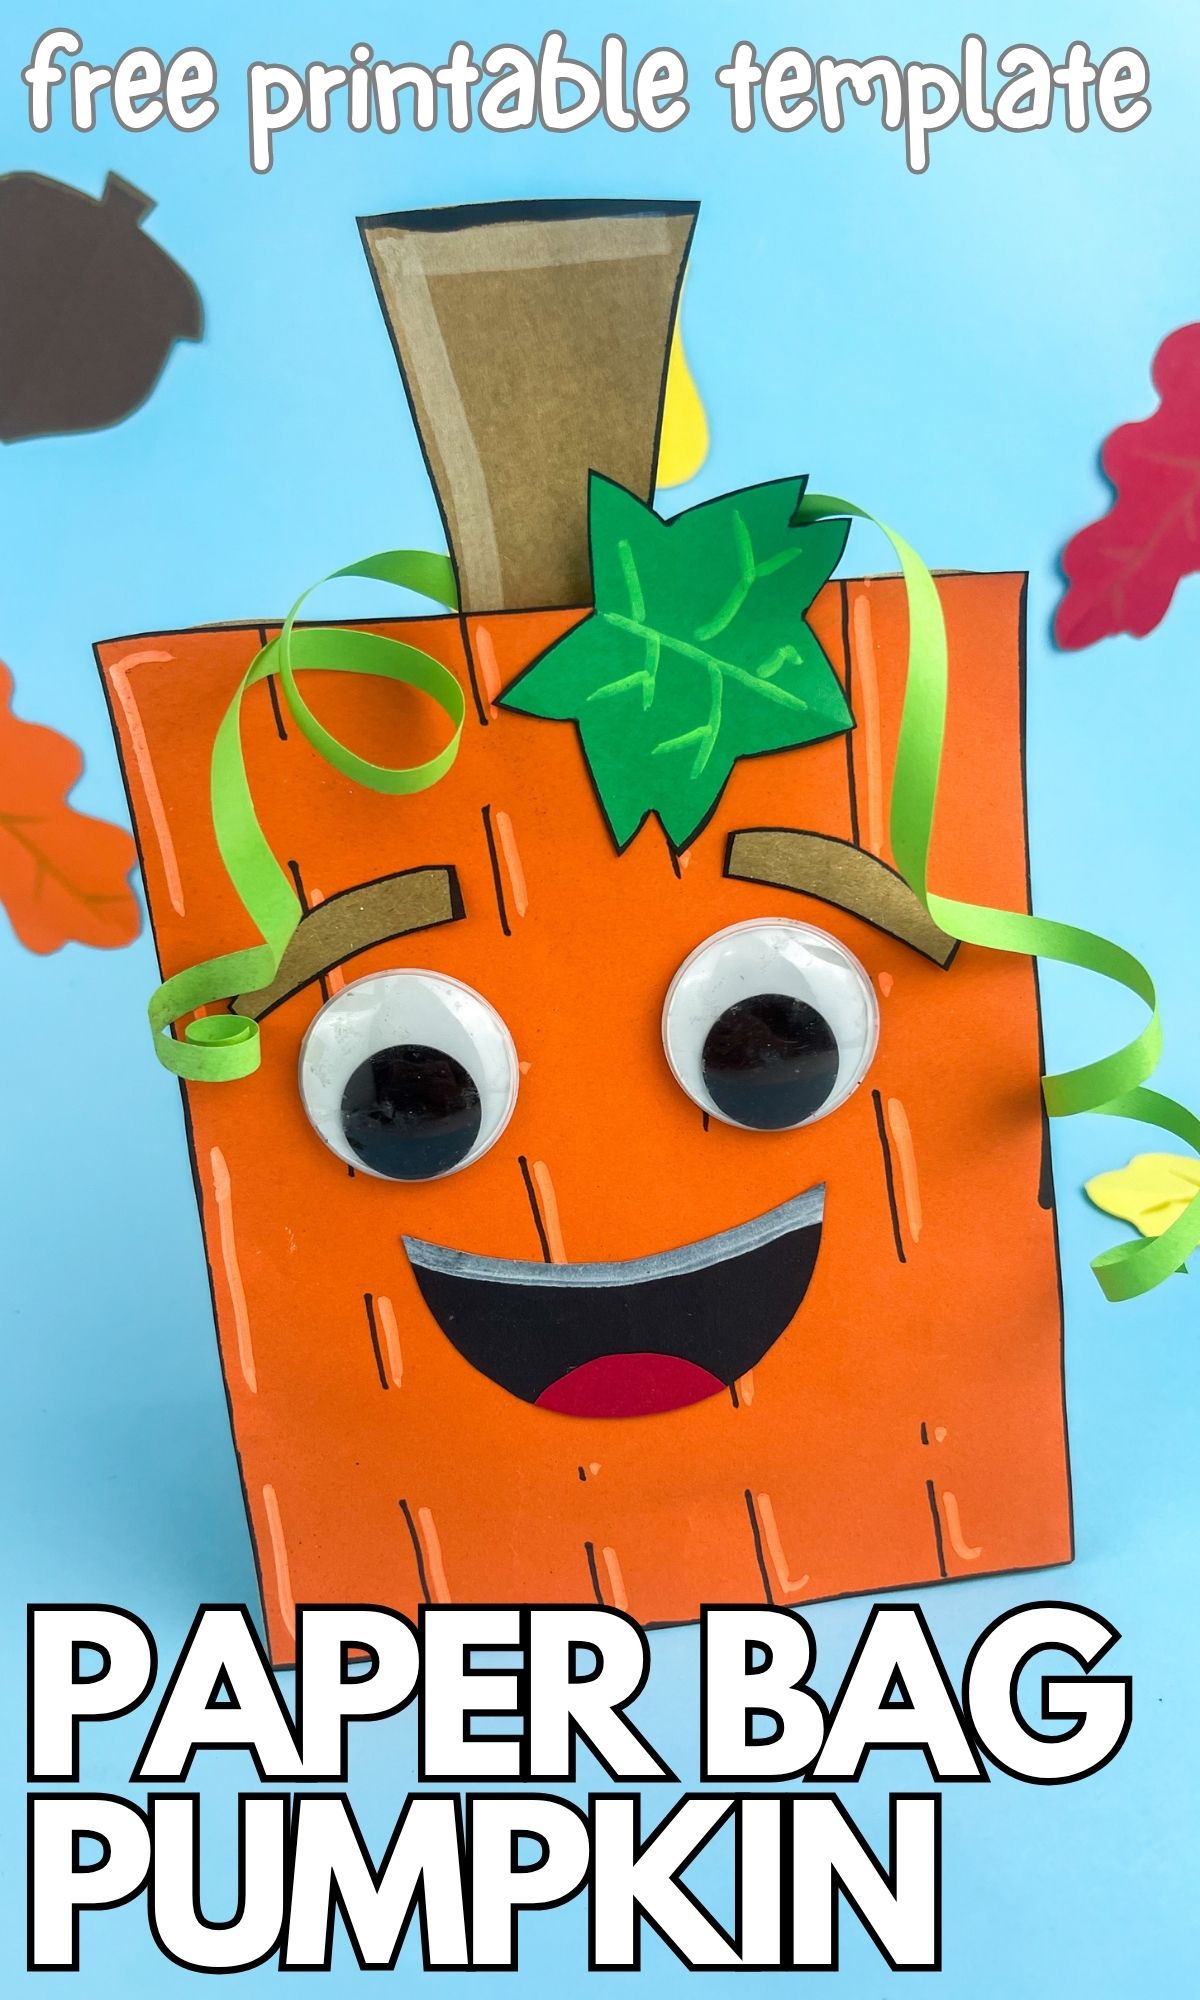
This paper bag pumpkin craft is such a cute way to turn an ordinary lunch bag into a little fall character! With big googly eyes, curly green vines, and a happy smile, it’s a cheerful pumpkin that kids can make with a few simple craft supplies.
I love a seasonal craft that starts with something as basic as a paper bag. Add some construction paper and a few finishing touches, and suddenly you’ve got a pumpkin with plenty of personality. This one is sweet enough to display all fall, but it also fits right in with your Halloween crafts.
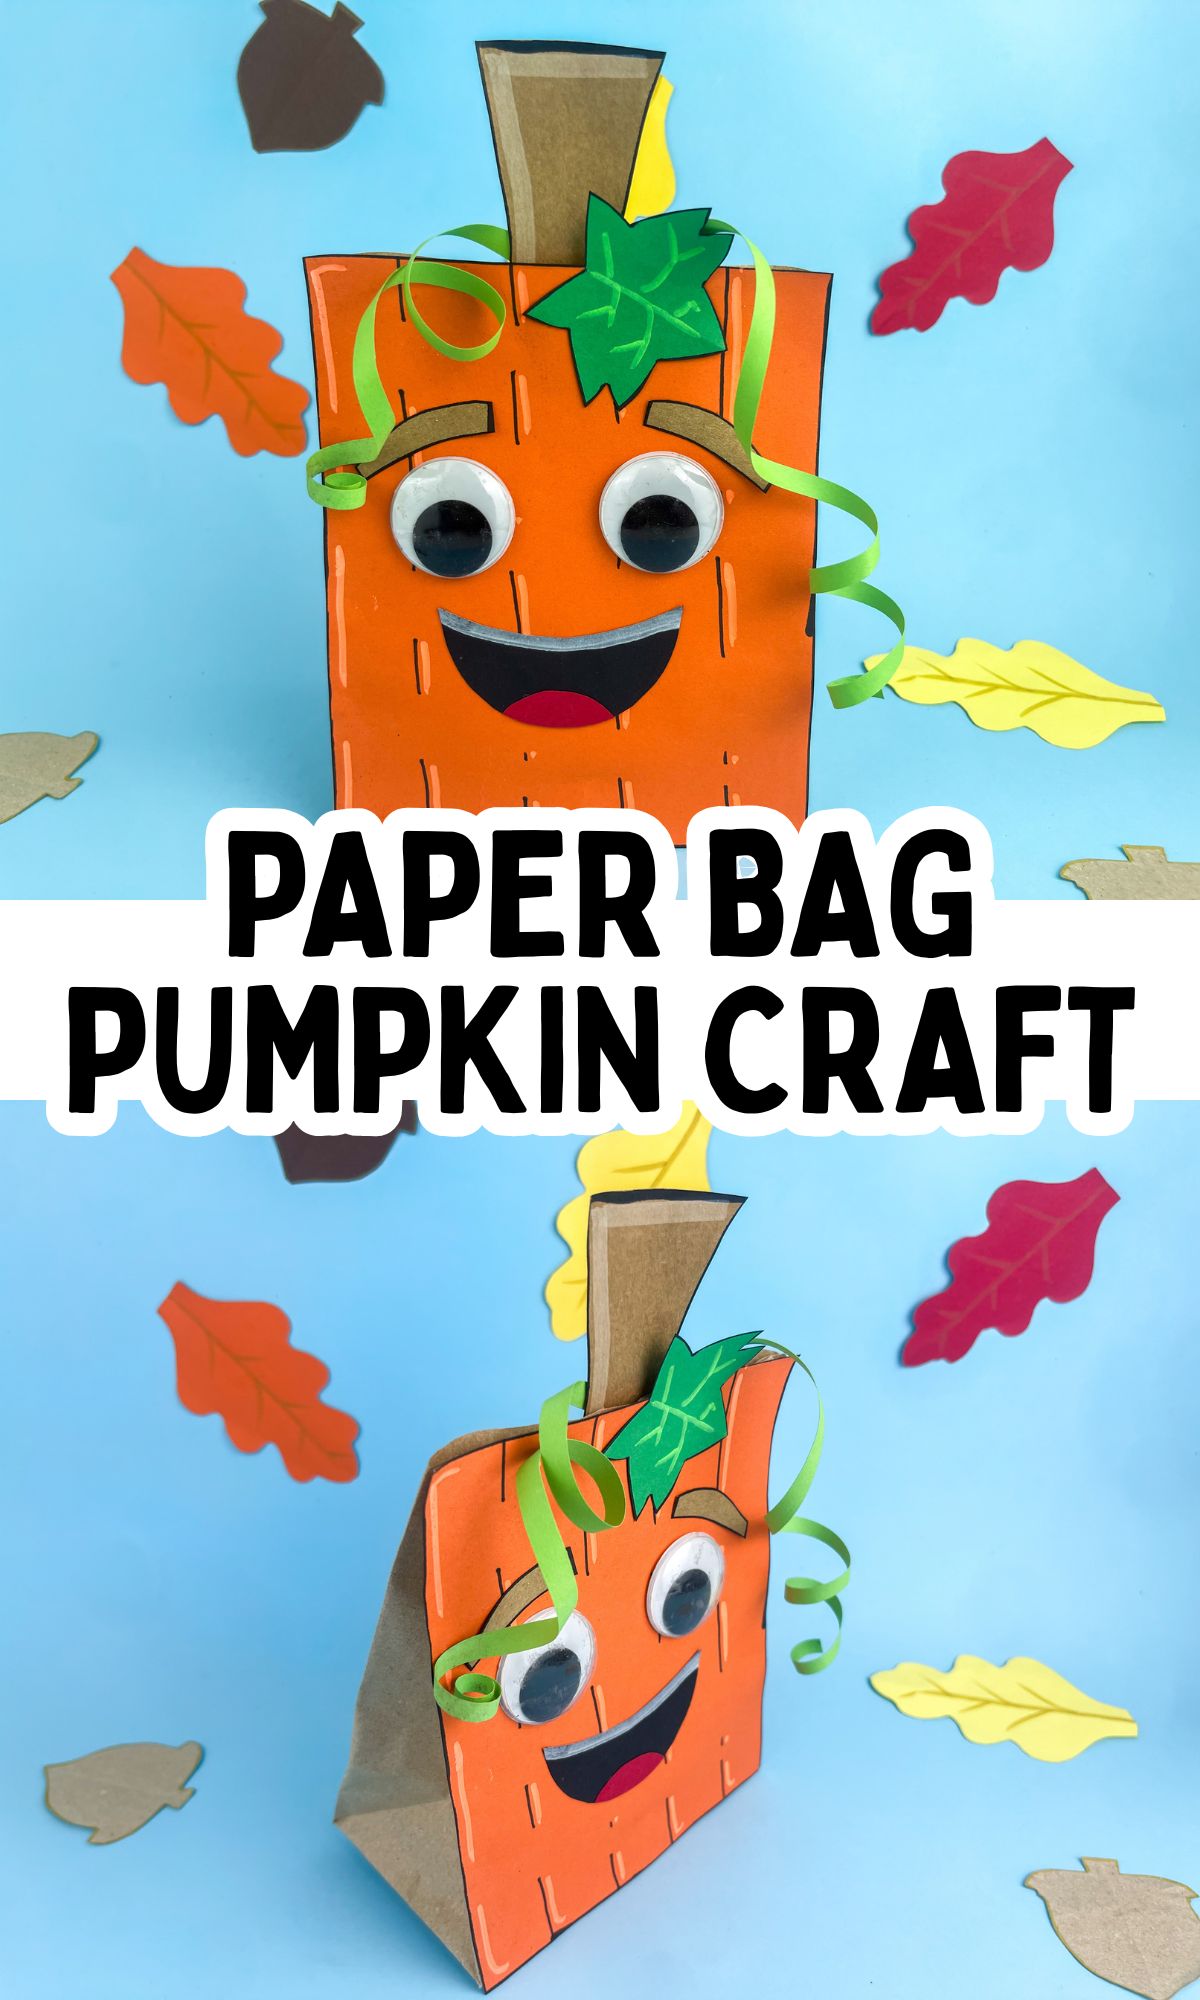
There’s a printable template to help with the shapes, plus a video on our In The Playroom TikTok account if you’d like to watch how it comes together. Gather your supplies, clear a little space at the table, and let’s make some pumpkins!
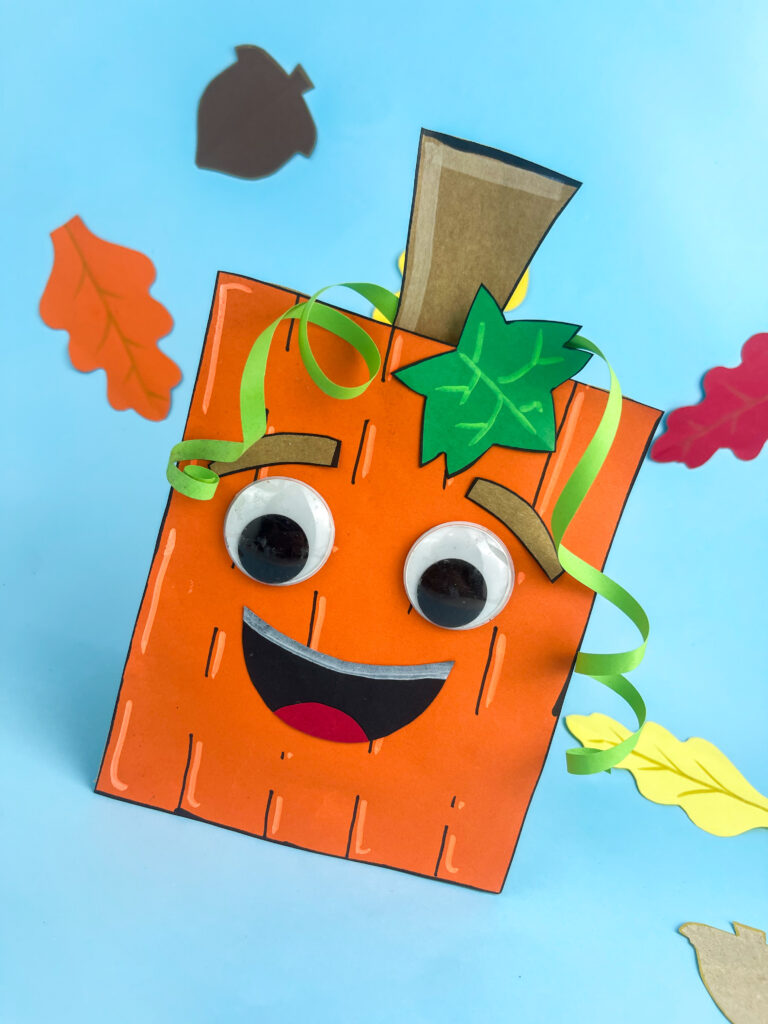
Easy Paper Bag Pumpkin Craft
This easy pumpkin craft works well for a fall afternoon at home, a homeschool pumpkin theme, or a classroom craft session. Kids can practice tracing, cutting, and gluing as they build their pumpkin, then have fun deciding exactly where its face should go.
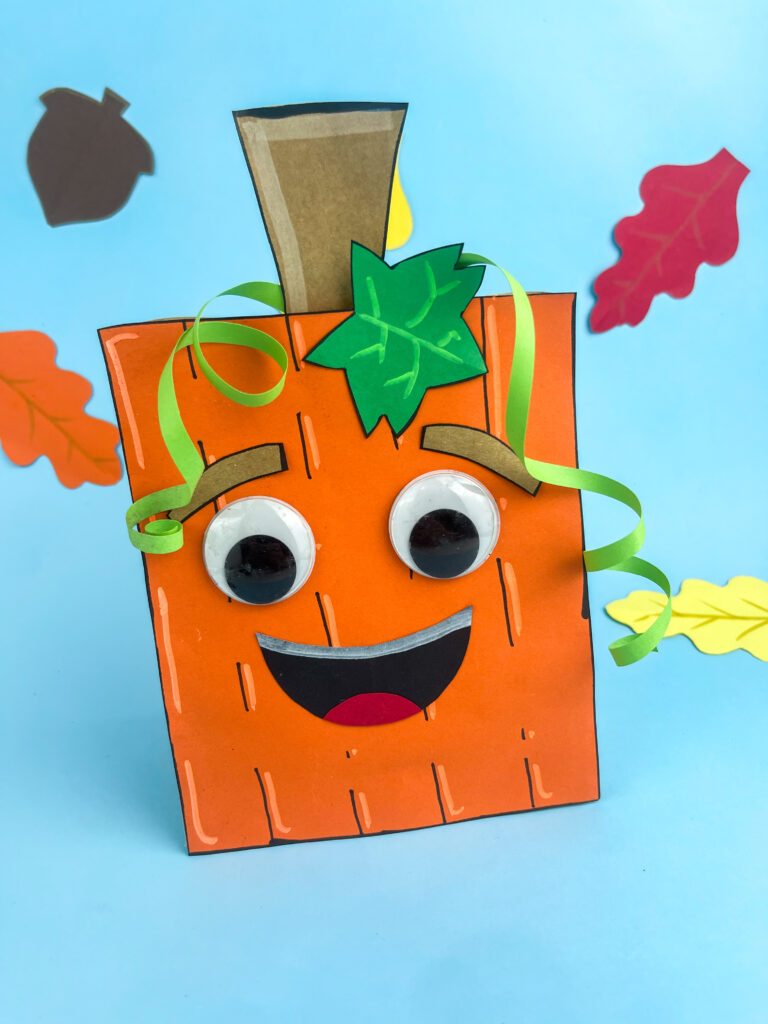
The eyebrows make a surprisingly big difference! Move them up for a surprised pumpkin, tilt them for a silly expression, or keep them gently curved for a friendly face. If you’re making these with a group, it’s fun to see how different they look even when everyone uses the same template.
Younger children may need help cutting out the smaller pieces, but they can still enjoy attaching the shapes and choosing where to put those wiggly eyes.
What You’ll Need
You’ll need a paper bag and a few basic craft supplies for this project. Orange paper gives the pumpkin its bright color, while green and brown paper add the leafy details at the top.
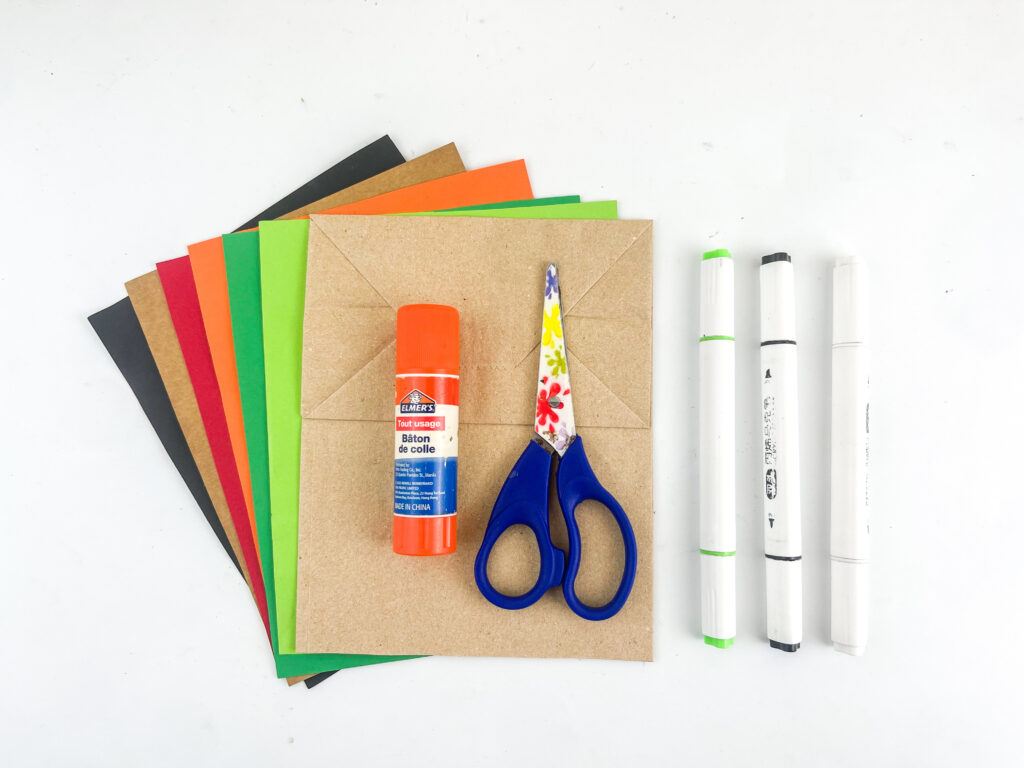
- Paper bag
- Printable pumpkin craft template
- Construction paper in orange, green, brown, black, and red
- Colored pencils, including white or another light color for highlights
- Black marker
- Scissors
- Glue
- Googly eyes
If you don’t have googly eyes, make your own using white paper circles with smaller black circles glued on top. They’ll give your pumpkin a cute expression, too!
How to Make a Paper Bag Pumpkin
Start by printing your template and setting out the paper colors you’ll need. Before gluing anything down, let kids arrange the pieces on their bag so they can see how their pumpkin will look.
1. Cut Out the Template Pieces
Cut out the shapes from the printed template, then trace them onto your construction paper.
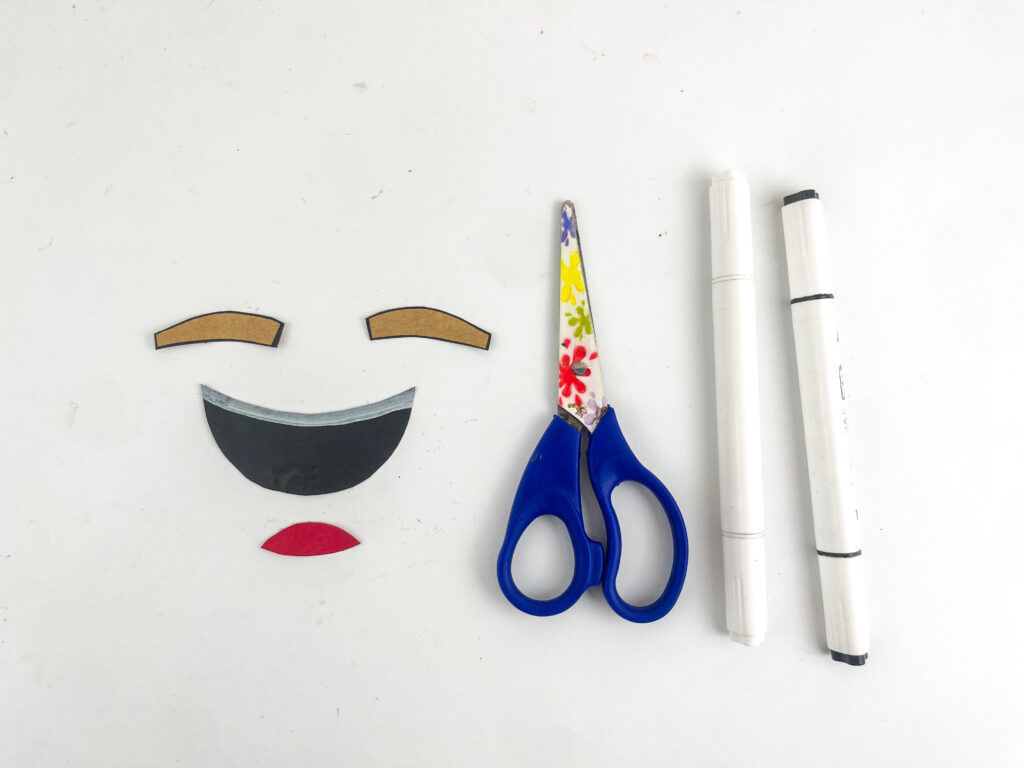
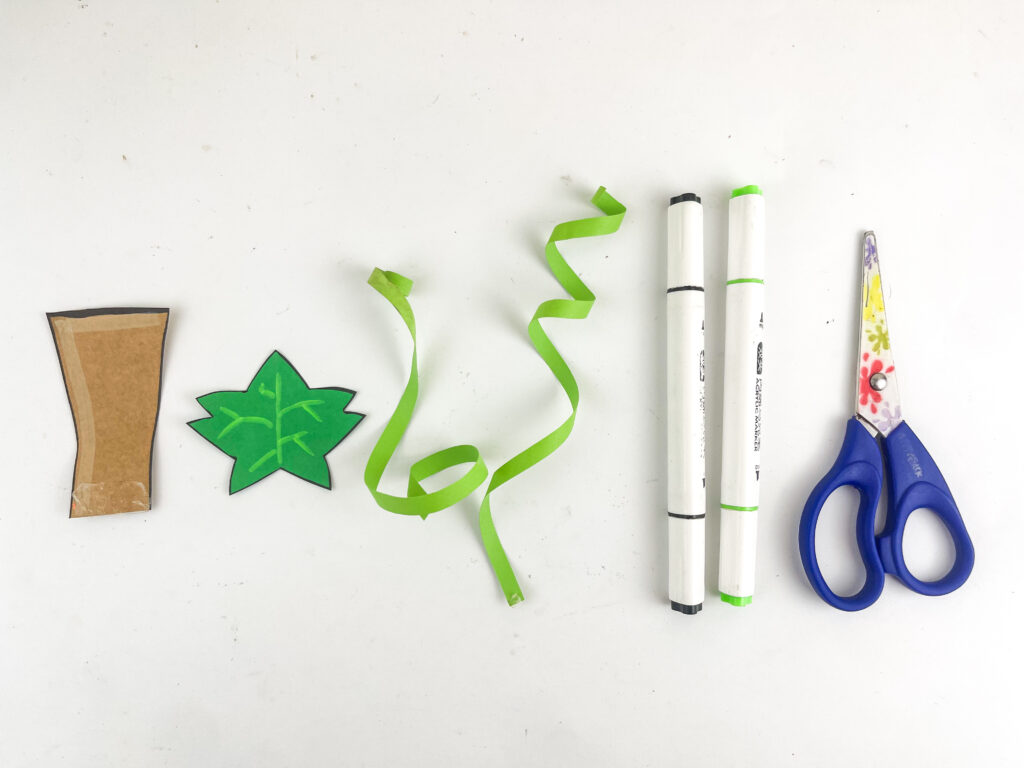
Use brown paper for the stem and eyebrows, green for the leaf, and black and red for the mouth pieces. Cut out the traced shapes and keep them together so the smaller pieces don’t get lost.
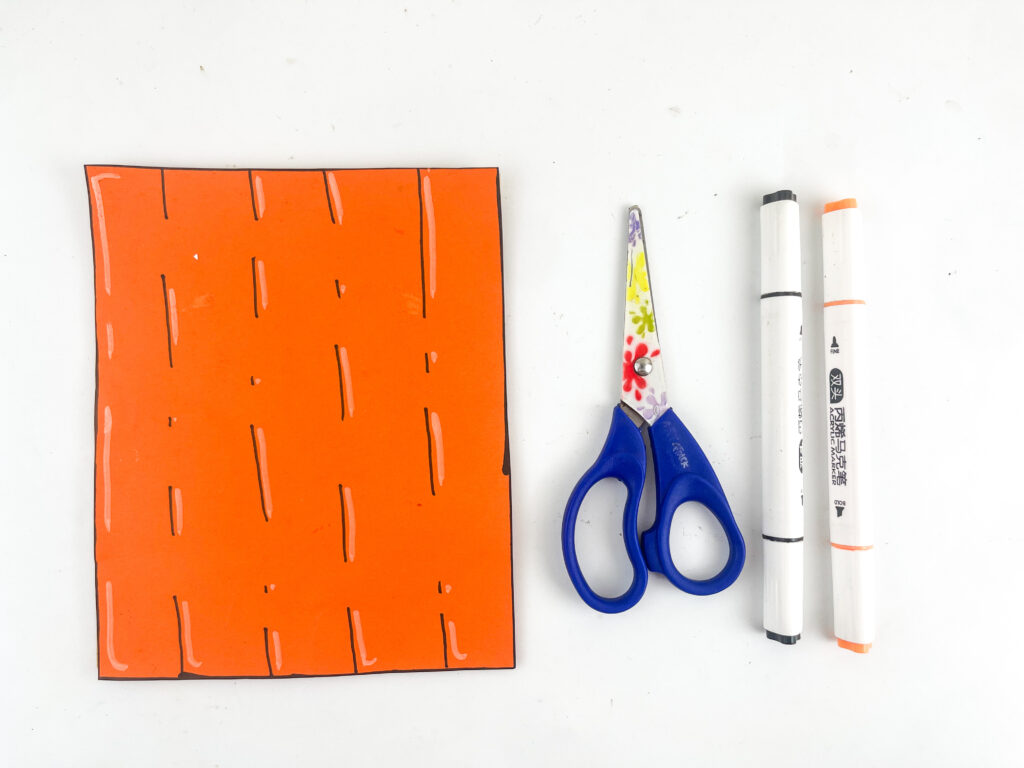
You’ll also need an orange rectangle to cover the front of your paper bag. Lay the flattened bag on the orange paper to measure the size, then trim the paper to fit.
2. Assemble the Smaller Details
Put together any pieces that need layering before attaching them to the bag.
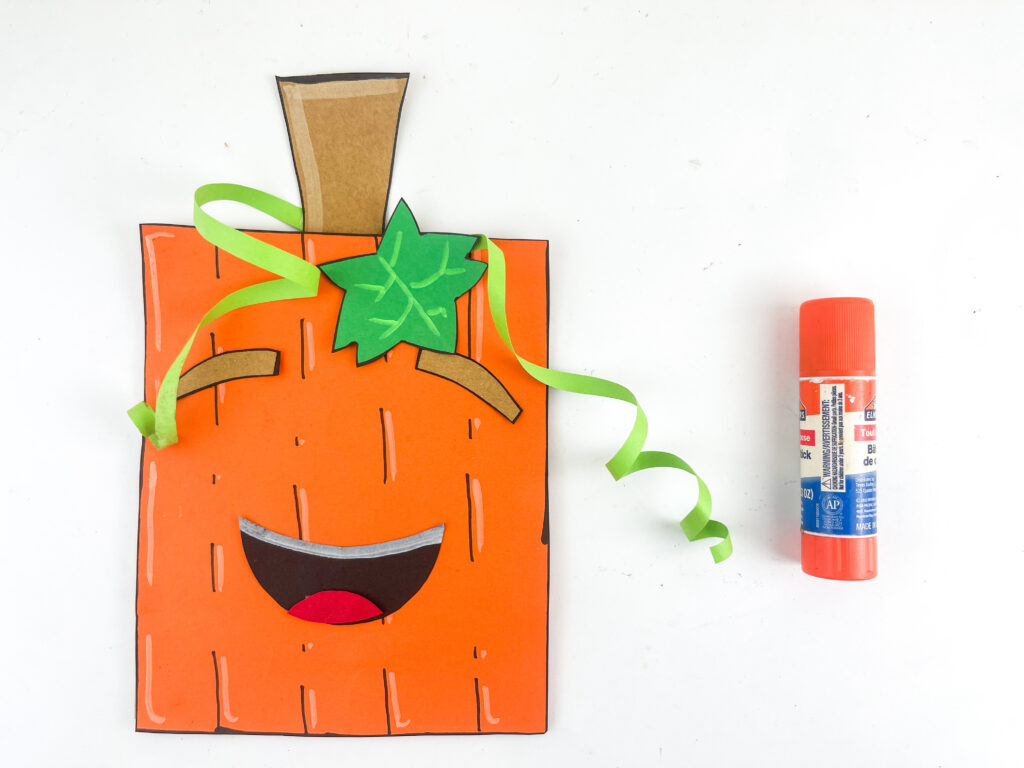
For the smiling mouth shown here, glue the little red tongue onto the bottom of the black mouth shape. Use a white or light-colored pencil to add a curved strip along the top of the mouth.
Cut a couple of narrow strips of green paper for the pumpkin’s vines. Wrap them around a pencil, then gently slide them off to create loose curls. Set these aside while you make the pumpkin’s body.
3. Cover the Paper Bag with Orange Paper
Lay your paper bag flat with the side you want to decorate facing up. Spread glue over the orange rectangle, line it up with the bag, and press it into place.
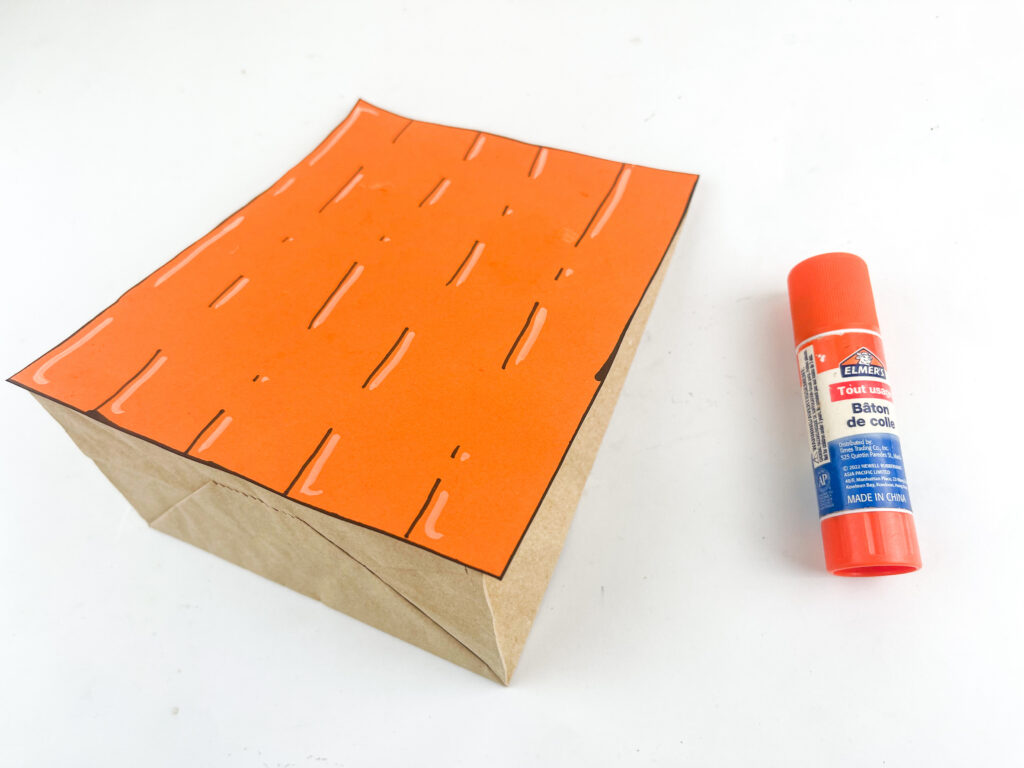
Draw a few vertical lines on the orange paper to suggest the ridges of a pumpkin. They don’t need to run all the way from top to bottom. A mixture of longer and shorter lines gives it a fun, hand-drawn look.
Use a light-colored pencil to add a few highlights beside the lines and around the edges, if you like.
4. Add the Stem, Leaf, and Vines
Outline the brown stem and green leaf with a black marker. Draw veins on the leaf using a colored pencil, and add a little shading or a highlight to the stem.
Glue the bottom of the stem behind the top edge of the bag so it sticks up above the pumpkin. Attach the leaf near the base of the stem, overlapping the orange paper.
Glue one end of each curled green strip near the stem or tuck it underneath the leaf. Leave the rest loose so the vines curl down around the pumpkin’s face.
5. Give Your Pumpkin a Face
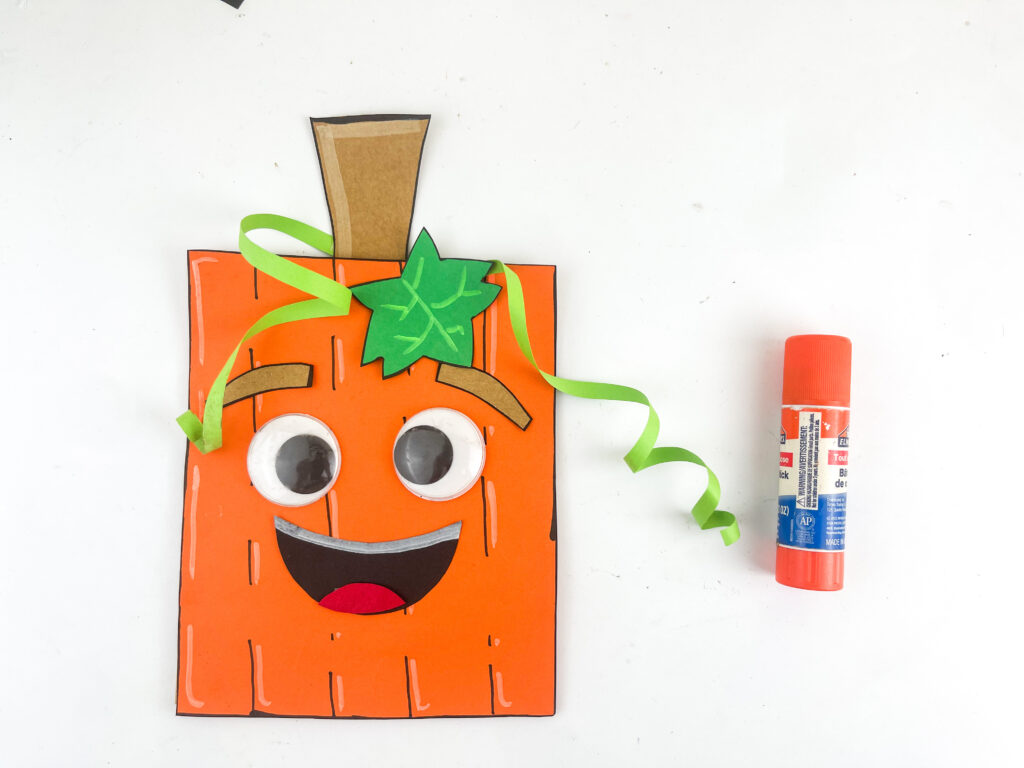
Glue the googly eyes onto the front of the bag, leaving space above them for the eyebrows and below them for the mouth.
Add the brown eyebrows, then glue the smile underneath the eyes. Try moving the pieces around before gluing to find an expression you like.
Let the glue dry completely before moving or displaying your finished paper bag pumpkin.
Make Each Pumpkin a Little Different
Once kids have the basic pumpkin shape, there’s lots of room to make it their own. Try an extra-large leaf, longer curly vines, rosy paper cheeks, or a mouth with a little tooth.
For a more traditional Halloween look, replace the googly eyes with black paper triangles and add a jack-o’-lantern grin. You can also keep the friendly face and let kids add a paper bow or a small hat.
A whole row of these would look adorable on a classroom display or along a shelf at home. Have each child write their name and the year on the back before putting their pumpkin on show.
Watch the Paper Bag Pumpkin Craft Video
Want to see the steps in action? Watch our paper bag pumpkin craft video on the In The Playroom TikTok account for a closer look at how we put it together.
It’s especially helpful for seeing where the pieces go and how the curly vines finish off the pumpkin. Follow us there for more easy kids’ crafts and seasonal activities!
@intheplayroom A paper bag, some googly eyes, and the cutest little pumpkin 🎃 Such an easy fall craft to make with the kids! Find the printable template for this one on Down Red Bud Drive. I put it there because we already have a different version of the paper bag pumpkin on intheplayroom. #pumpkincraftsft #papercraft#FallCraft #Halloween #kidsactivities ♬ Kinda Like You – Laurel Nash
Download the Paper Bag Pumpkin Template
Ready to make your own smiling pumpkin? Download the paper bag pumpkin craft template below, print it out, and use the shapes to trace your construction paper pieces.
You can prepare the smaller shapes ahead of time for younger children, or let older kids practice tracing and cutting independently.
More Fall Crafts for Kids
Keep the craft supplies out for a few more fall projects! Paper bag animals, pumpkin activities, and easy Halloween crafts are all fun ways to spend a cozy afternoon together. Pick another seasonal idea and let the kids build their own little collection of fall creations.

- Autumn Snack Mix (With Printable Tag)
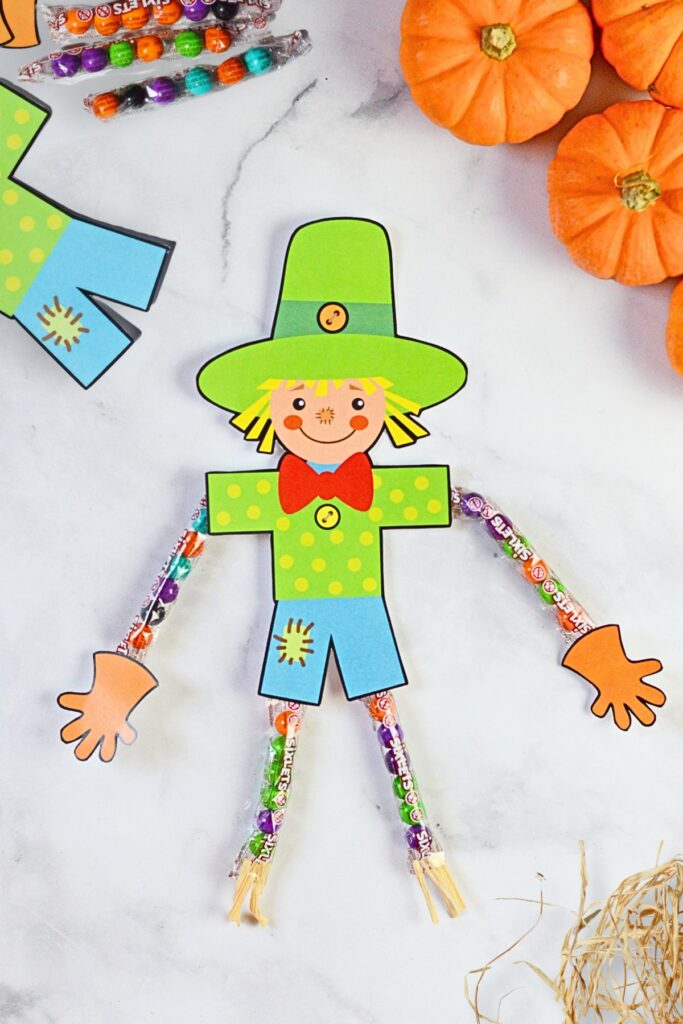
- DIY Sixlets Scarecrows
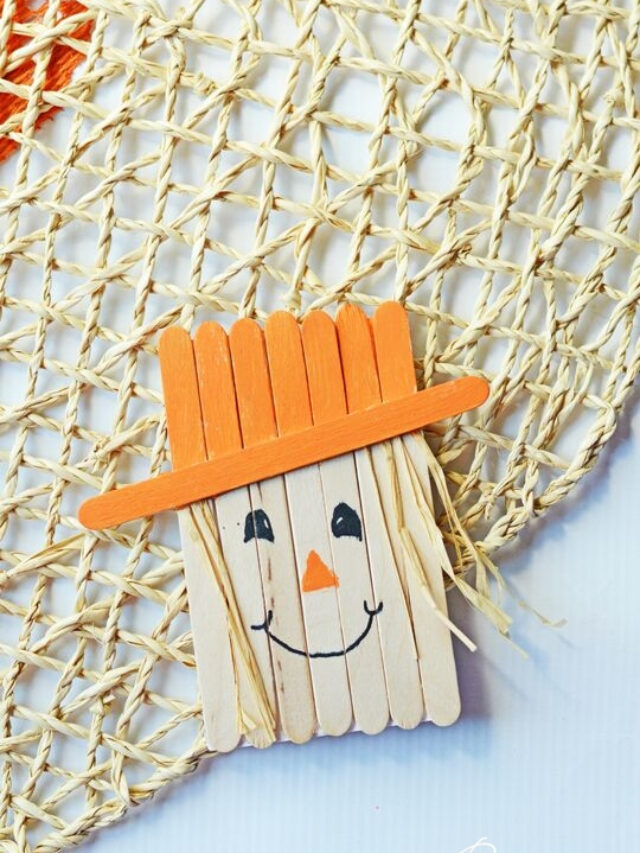
- Popsicle Stick Scarecrow Magnet
- Wood Pumpkins DIY
- DIY Mesh Pumpkin Wreath
I hope you have fun making these happy little pumpkins! Between the googly eyes and those curly vines, each one ends up with its own personality.
If you enjoyed this paper bag pumpkin craft, save it to Pinterest or share this post with a friend who loves easy crafts for kids. It’s a handy one to keep for your next fall crafting day!


Leave a Reply