
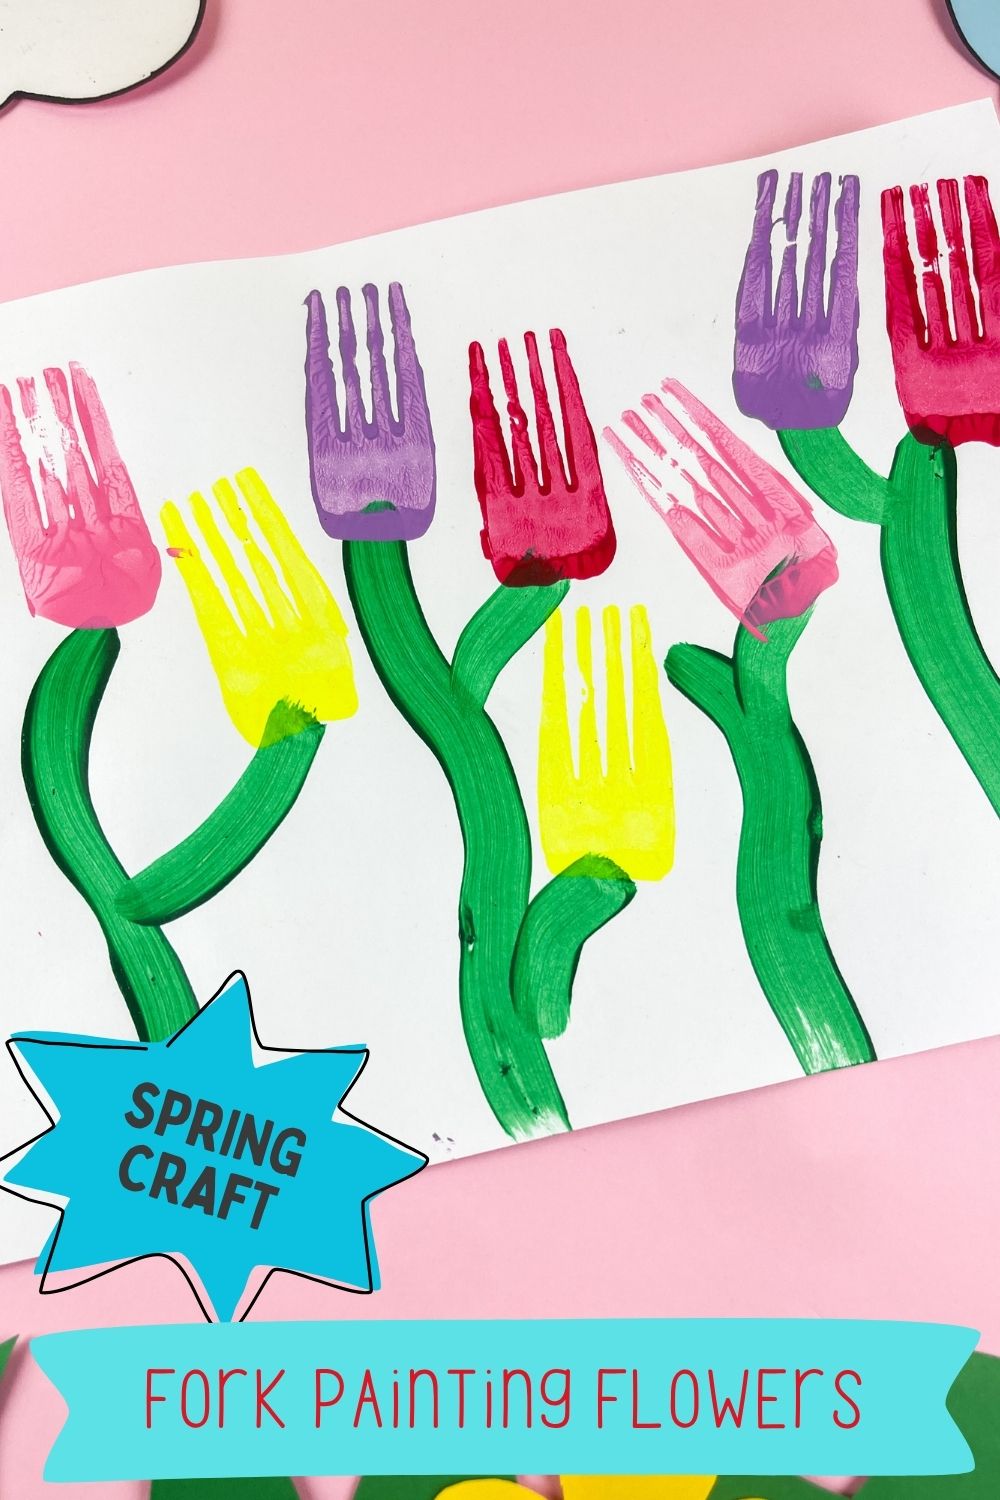
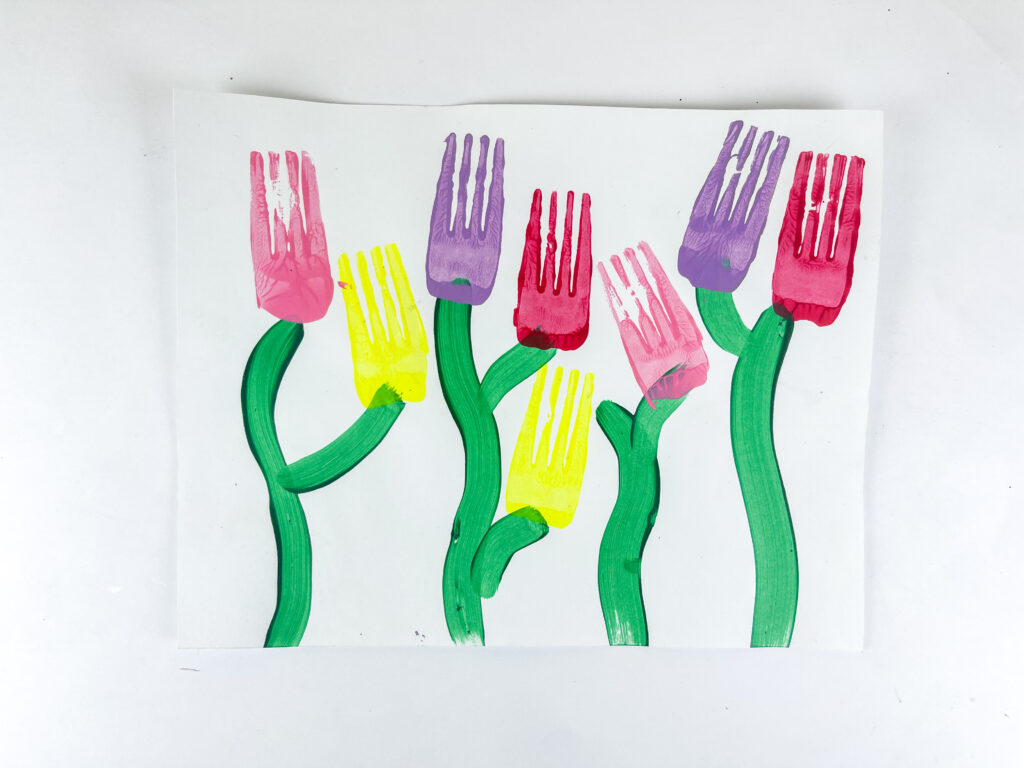
Looking for an easy spring art project that turns ordinary supplies into something bright and cheerful? This simple fork painting flower craft is such a fun way to create colorful tulips using just paint, paper, and plastic forks.
It’s one of those crafts that looks impressive but is incredibly simple to make, which makes it perfect for younger kids, preschoolers, and anyone trying fork painting for beginners. It’s so much fun, you’ll definitely want to bring out this idea again and again.
So, if you’re searching for easy fork painting flowers or new fork painting ideas to try this spring, this is a great one to add to your list.
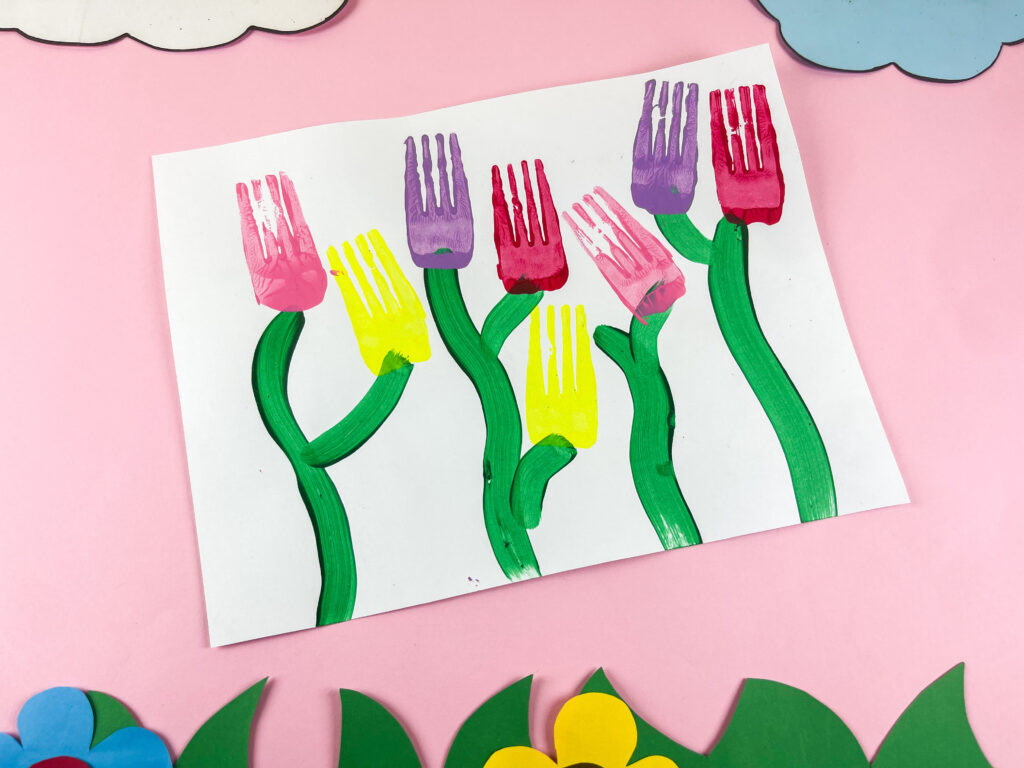
The fork prints create the perfect tulip shape with hardly any effort, and kids love seeing how a basic fork can turn into beautiful flowers on the page.
Materials Needed
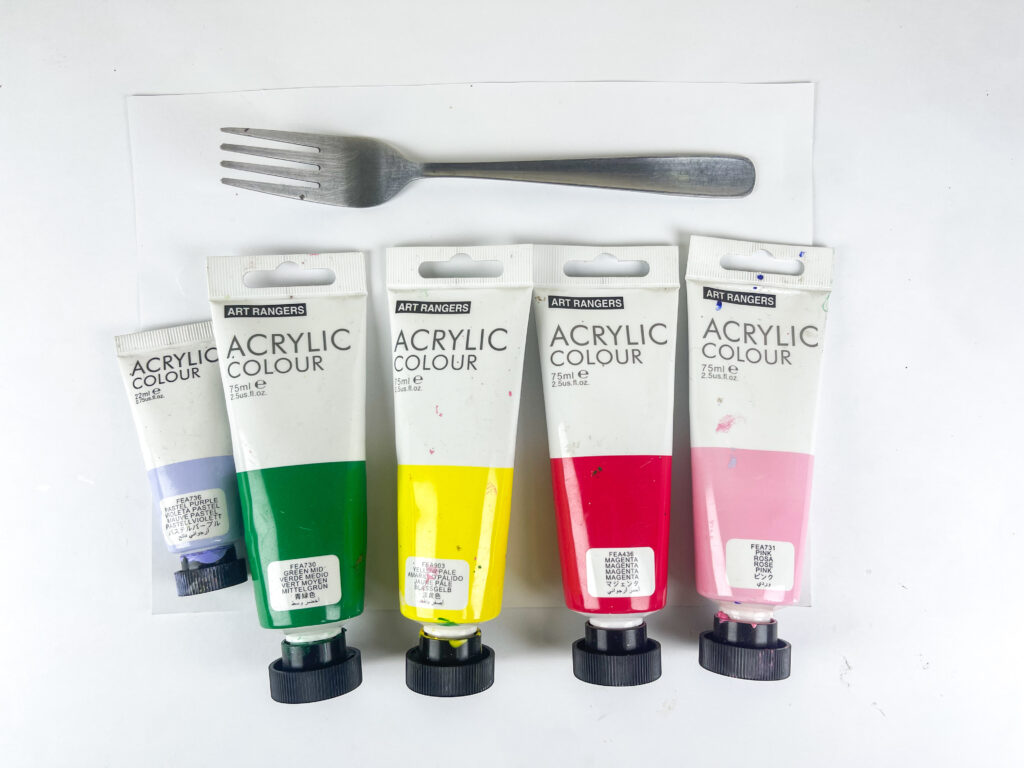
Before you start, make sure you have the following items ready…
- White paper or cardstock
- Plastic forks
- Washable paint in assorted flower colors. You could also use acrylic paint just be careful there as it doesn’t wash out so easily.
- Green paint
- Paintbrush
How to Make Fork Painting Flowers Step by Step
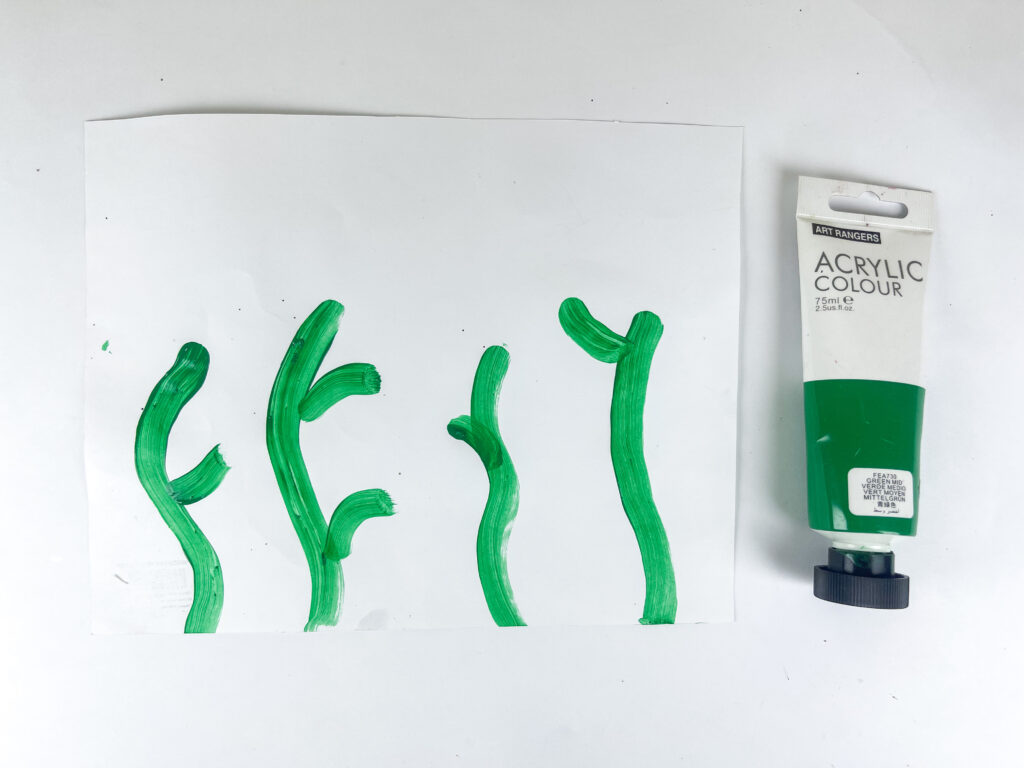
To start your fork-painted flowers project, use green paint and a paintbrush to add stems and leaves ready for each flower. Draw long curved stems for a natural tulip look, then add simple leaf shapes branching off the sides.
Next, start by pouring small amounts of paint onto a tray or plate in your chosen flower colors. Bright spring shades like pink, yellow, purple, and red work especially well for tulips.
Once the stems have dried slightly, dip the back of a plastic fork into the paint, making sure the fork is evenly coated but not overloaded.
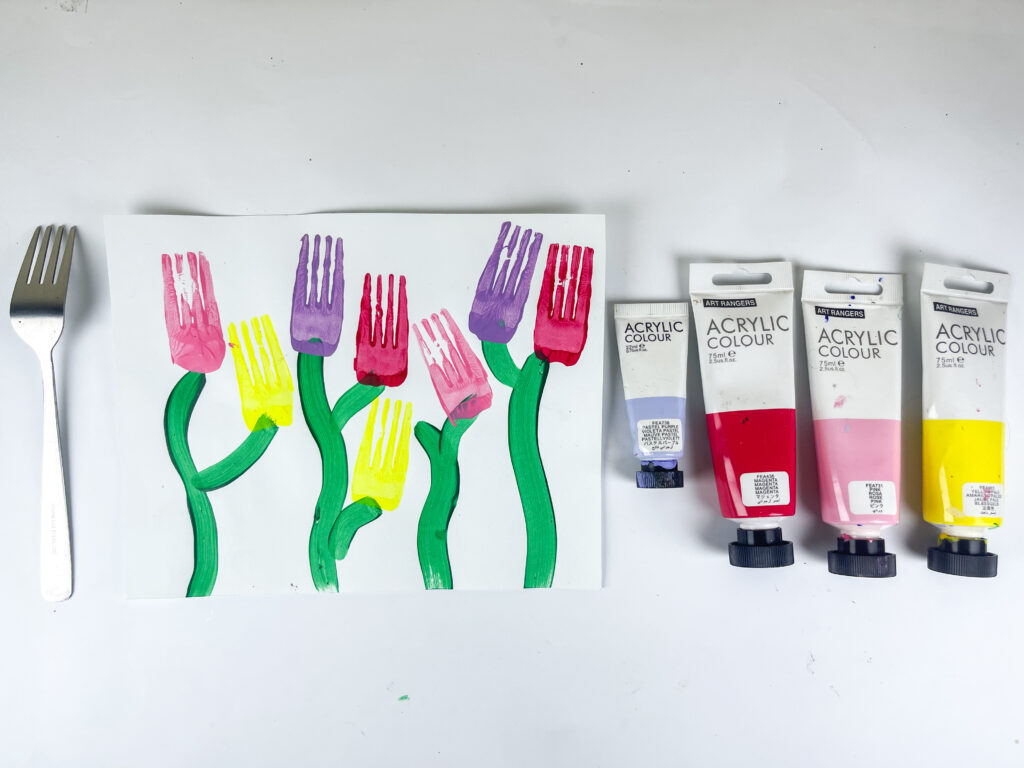
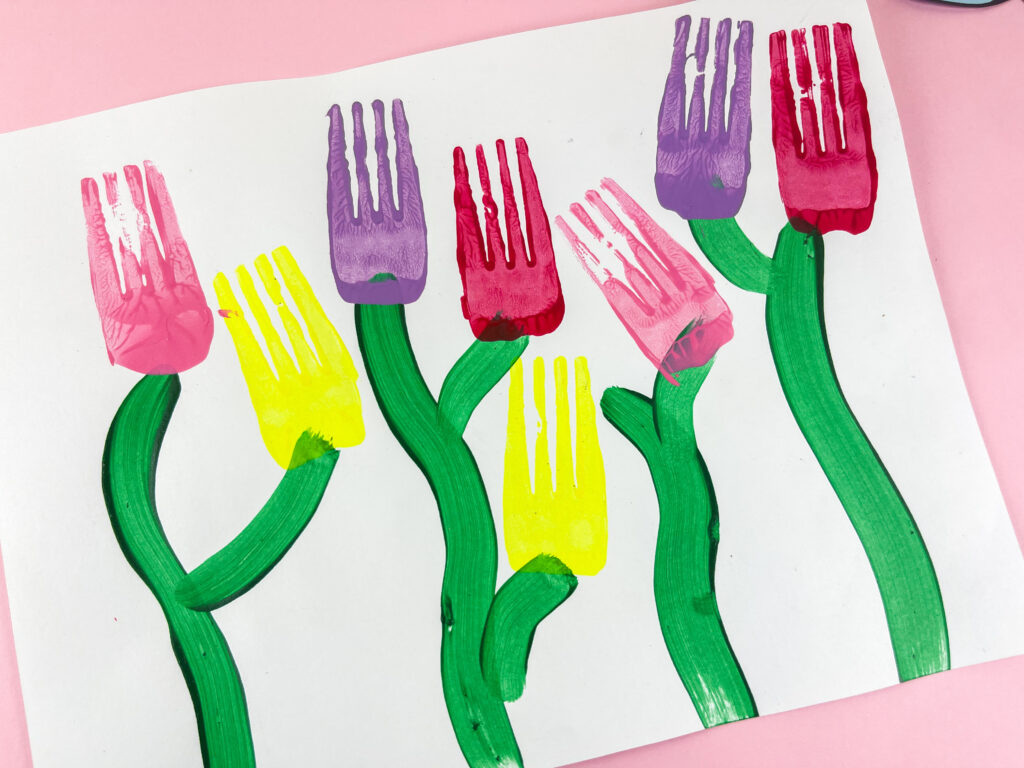
Press the fork down onto the paper to stamp your flower shape. Lift carefully to reveal your tulip print. Repeat with different colors across the page until you have as many flowers as you like.
Let everything dry completely before displaying your finished artwork.
This is one of our favorite spring crafts because it is so simple but gives such cute results. Kids get to experiment with painting in a slightly different way than usual, which always makes art time more exciting.
Fork painting for kids is also fantastic for sensory play and creativity. The unusual texture of the fork makes the process feel new and fun, and children can experiment with different paint colors and flower arrangements to make each picture unique.
Tips for the Best Fork Painting Flowers
Use thick paint rather than watered-down paint so the fork prints stay bold and defined.
Press firmly but gently when stamping the fork onto the paper to get a clear flower shape.
Try mixing in different flower colors for a vibrant spring garden effect.
If your child enjoys this project, you can experiment with other flower projects or even try more fork painting flowers ideas using different flower shapes and color combinations.
A Perfect Spring Craft for Beginners
Because this project is so straightforward, it’s ideal for toddlers, preschoolers, and younger elementary-aged kids. If you’re looking for easy fork painting flowers for beginners, this is a great place to start.
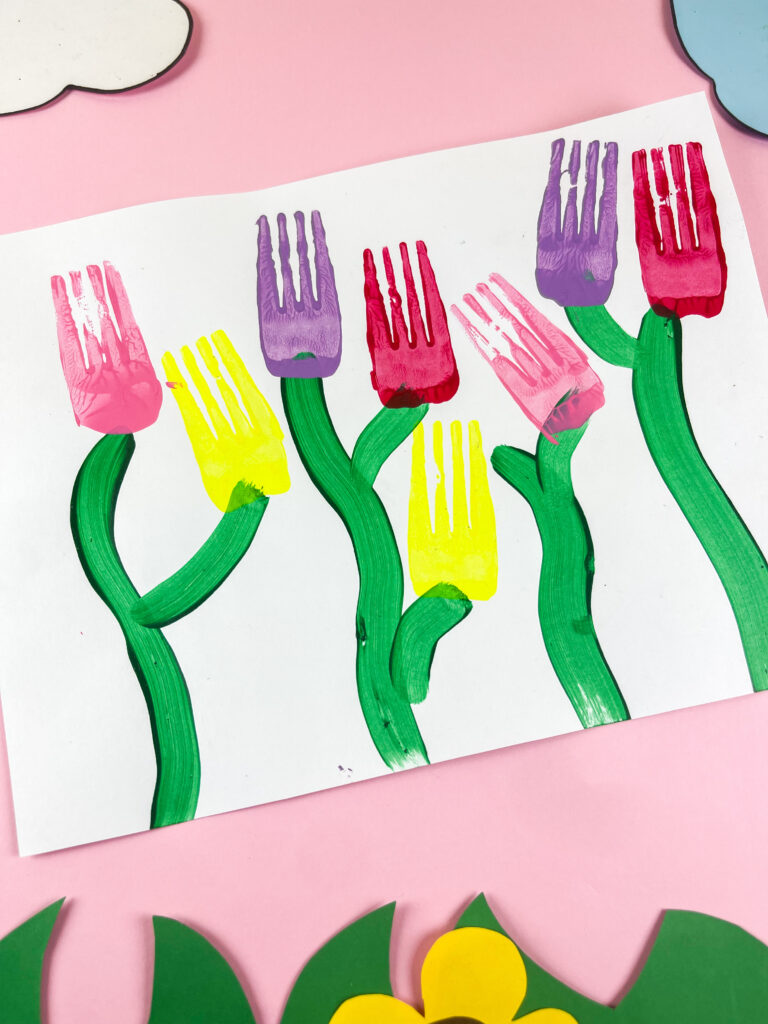
It works well at home, in the classroom, or as part of a spring theme unit. You could even turn the finished paintings into homemade cards for Mother’s Day, spring decorations, or cheerful gifts for grandparents.
More Spring Flower Crafts for Kids
If your little ones enjoyed making these simple fork painting flowers, be sure to check out our other spring flower crafts and ideas for even more colorful inspiration. We have lots of fun painting, paper, and nature-inspired flower activities perfect for celebrating the season.
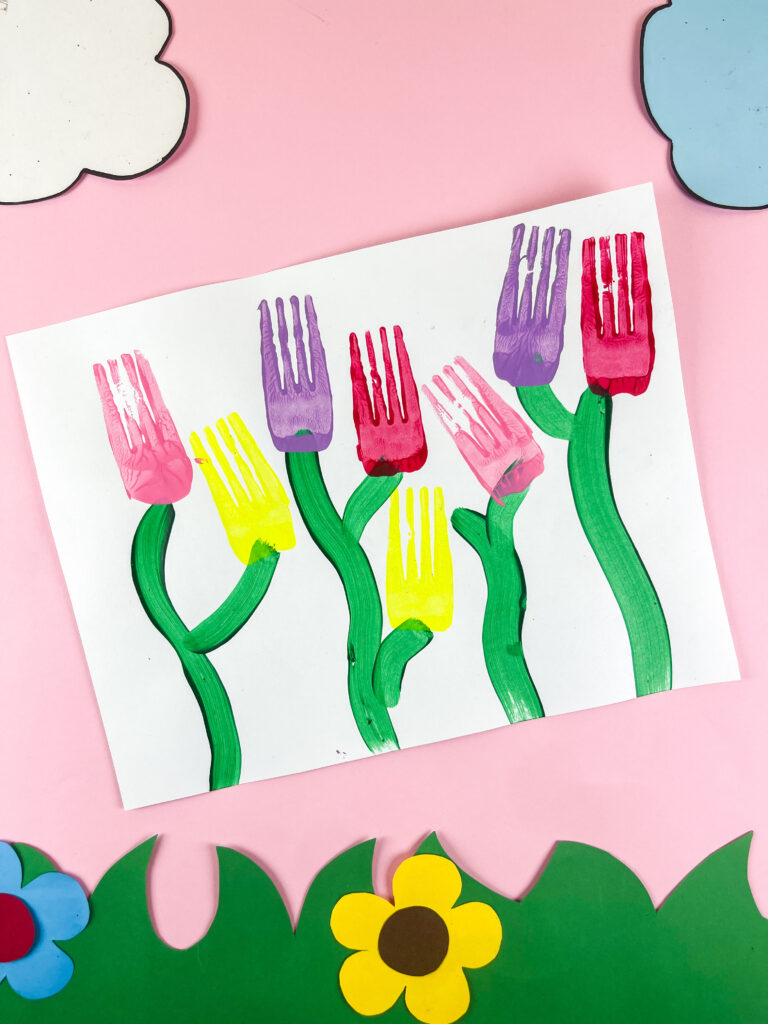
If you make this craft, we’d love to see your version – share the post or tag us so we can admire your beautiful fork-painted tulip garden!


Leave a Reply