
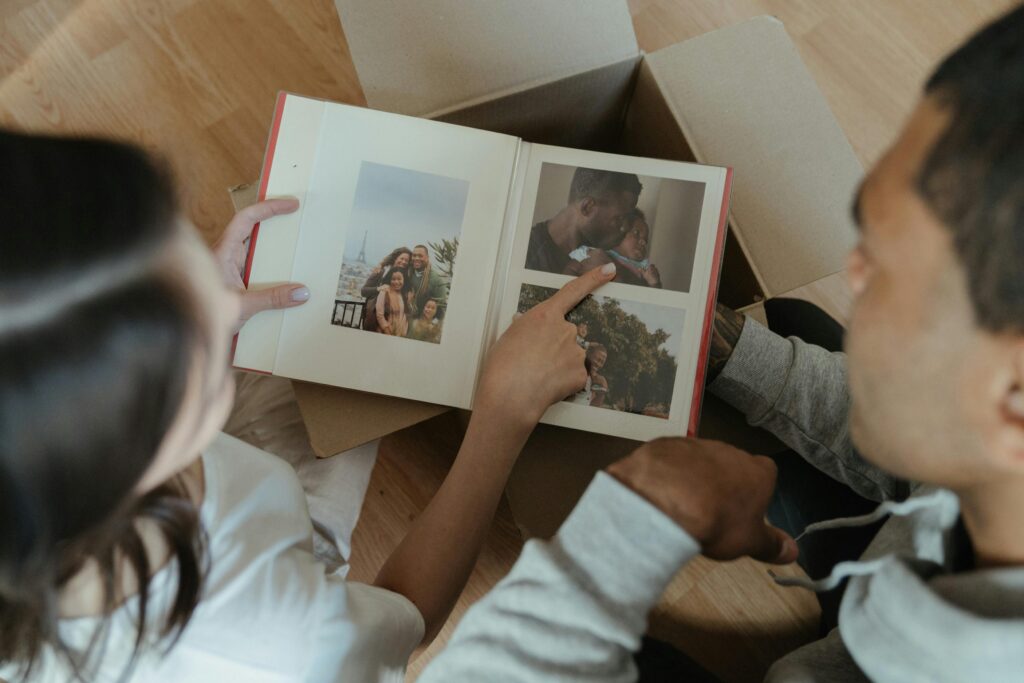
If you’re anything like me, you probably have a box of old photos somewhere. Maybe more than one. A mix of albums, loose prints, envelopes from photo labs… even pictures tucked inside random books. They sit there quietly for years. Until one day you open them.
And then you notice it. Edges curling. Colors fading. Two photos stuck together that really shouldn’t be. That’s usually the moment it clicks: these aren’t just pictures. They’re pieces of your family.
If you’re not quite sure where to start, it helps to get a few basics right first. See below and follow the link to discover the best ways to store old photos. It gives you a clear starting point without overcomplicating things.
So let’s keep this simple and go step by step.
Why this actually matters
It’s easy to assume photos will last forever. They’ve already survived this long, right? Not really. Paper photos are surprisingly fragile. They don’t fall apart overnight, which is why it’s easy to ignore. But slowly, quietly, things change. Colors fade. Whites turn yellow. Sometimes little spots appear out of nowhere.
And the worst part? You often don’t notice until the damage is already done.
That’s why this isn’t about being overly careful or “precious” with things. It’s just about making sure those photos are still around in ten, twenty, fifty years. So your kids can see them. And maybe their kids too.
Step 1: Start with where you store them
This is the easiest thing to fix, and it makes a big difference. A lot of us keep photos in places that aren’t great for them. Attics get too hot. Basements are damp. Garages go from freezing to boiling depending on the season. Photos hate all of that.
A better option? Somewhere inside your home. A cupboard, a closet, a shelf in a room where the temperature doesn’t change too much. A good rule of thumb: if the space feels comfortable to you, it’s probably fine for your photos too.
Step 2: Rethink the boxes and albums
This part surprised me a bit. Not all storage is actually “safe,” even if it looks neat. Old cardboard boxes, plastic bags, and cheap albums can slowly damage photos over time. It’s not obvious at first, but years later, you see the effects.
If you can, look for acid-free boxes or proper photo storage containers. They’re designed for this exact purpose. Same goes for albums and sleeves — go for ones labeled archival or photo-safe.
You don’t need to replace everything overnight. But even switching one box to something better is a good start.
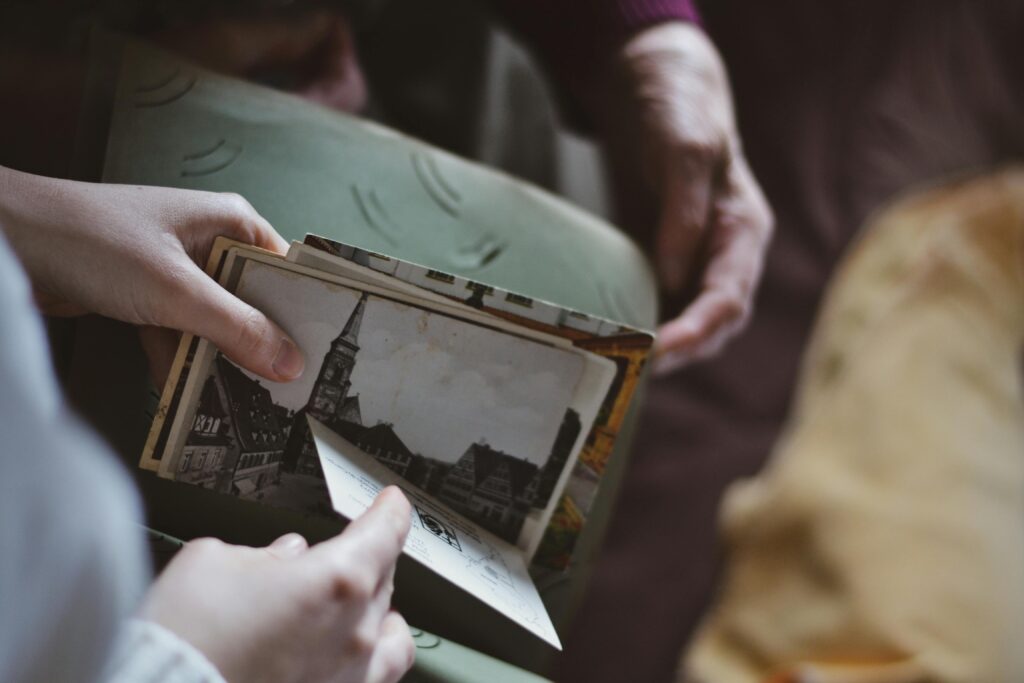
Step 3: Be a little more careful when handling
This one sounds obvious. And yet… most of us don’t really think about it.
When you’re going through photos, try to hold them by the edges. Keep your hands clean and dry. It doesn’t need to be perfect, just a bit more mindful. Fingerprints don’t always show up right away. But over time, they can leave marks.
If you’re dealing with very old or delicate photos, cotton gloves can help. Not essential, but nice to have.
Step 4: Give them some space
It’s tempting to stack everything neatly. Or squeeze photos into a box just to “get it done.” But pressure is not your friend here. Photos can bend. Stick together. Even transfer marks onto each other if they’re pressed too tightly for too long.
So instead of packing everything tightly, leave a bit of room. Keep them flat. Use dividers if it helps. Nothing fancy. Just… don’t squash them.
Step 5: Keep them out of the light
Light is one of those quiet problems. It doesn’t feel dangerous. But over time, it really is. Direct sunlight is the worst, but even indoor light can slowly fade photos if they’re exposed long enough.
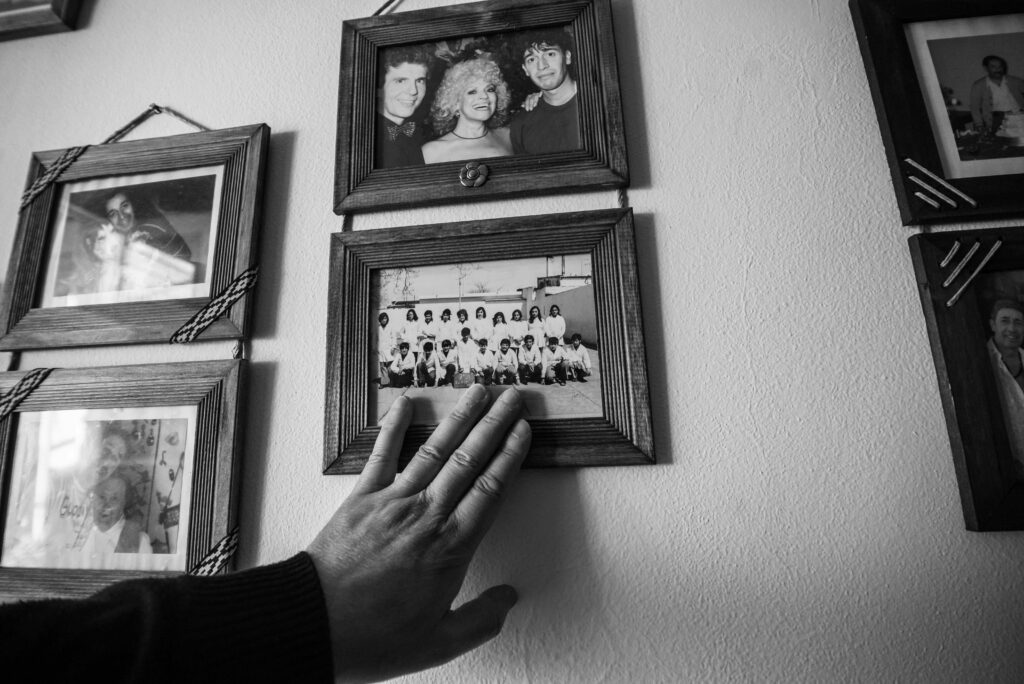
So try not to leave albums open on a table for days. And if you’re displaying photos in frames, it’s worth rotating them now and then. A simple trick: display copies, store the originals safely. That way you get the best of both worlds.
Step 6: Organize as you go (this part is actually nice)
This is where it stops feeling like a “task” and starts feeling… a bit more meaningful.
As you sort through photos, try grouping them. By year, by person, by events — whatever makes sense to you. And if you know who’s in the photo, write it down. Lightly, on the back, with a pencil. Because here’s the thing: if you don’t write it now, there’s a good chance nobody will remember later.
If you have kids, this is a great moment to bring them in. Show them the photos. Ask them what they notice. Let them guess who’s who. Sometimes they see things we don’t. And it turns into a conversation instead of just sorting.
A quick word about digitizing
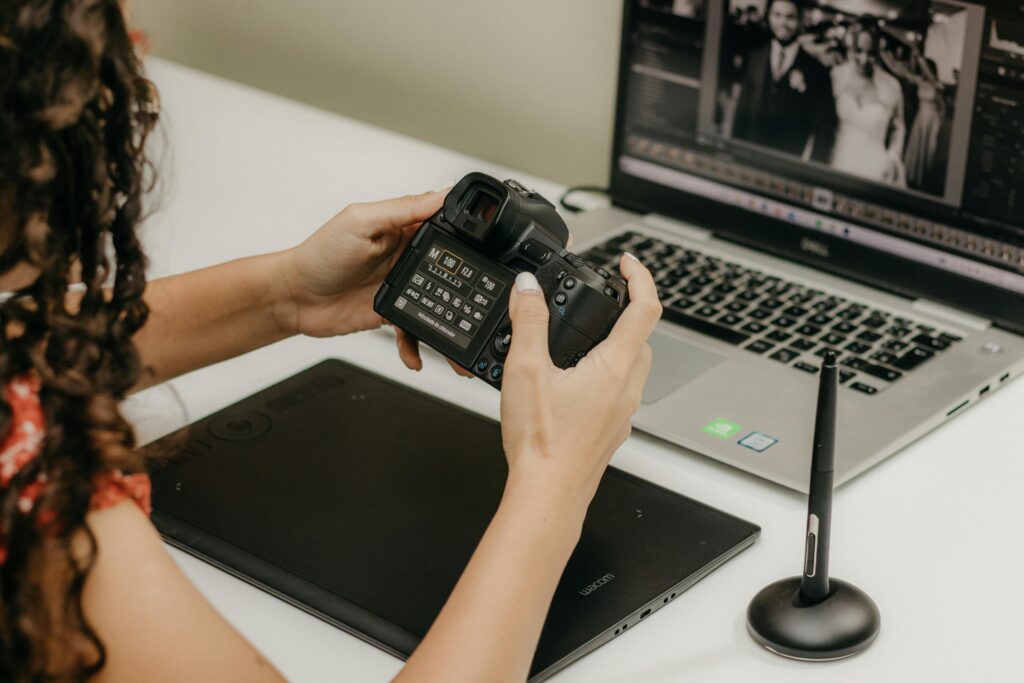
Even if you store everything perfectly, life happens. Things get lost. Spilled on. Damaged. That’s why digitizing your photos is such a good idea.
You don’t need anything fancy. A basic scanner works well, and even a phone can do the job if the lighting is good. The goal isn’t perfection. It’s preservation.
Once the photos are digital, everything gets easier. You can make copies. Share them with family. Organize them without touching the originals again.
Just don’t keep them in one place. That’s a common mistake. Save them in at least two or three spots:
- your computer
- an external drive
- cloud storage
It might feel like overkill. It’s not.
What if your photos are already damaged?
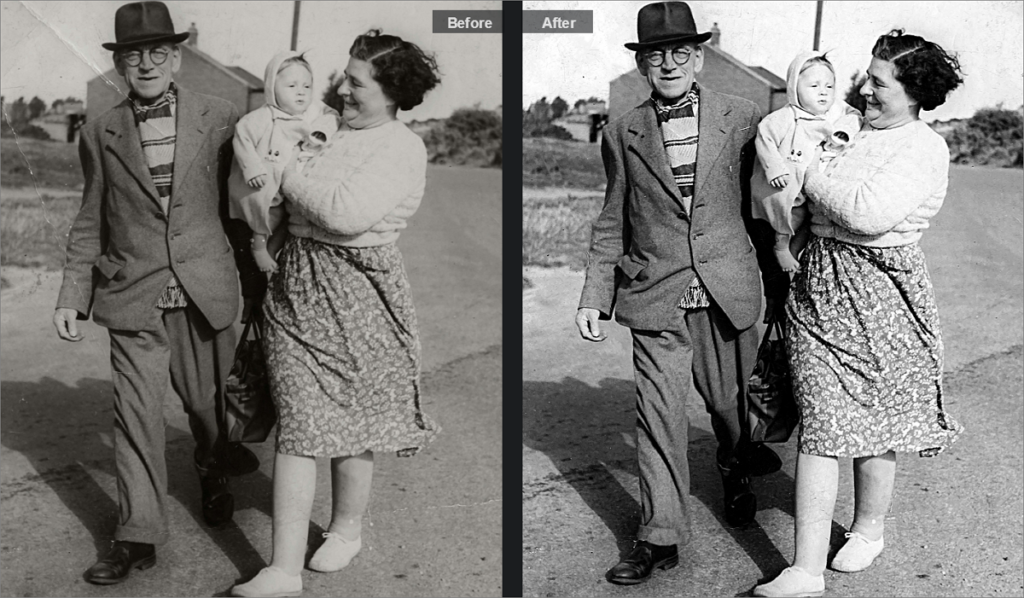
This is very common. And honestly, a bit stressful when you first notice it. Faded colors. Scratches. Stains. Maybe even tears. The instinct is to fix it right away. But physically trying to repair photos can sometimes make things worse, especially with water or glue.
A safer approach? Digitize first. Then work on the digital version.
That’s where tools like PhotoGlory come in. You can remove scratches, restore colors, adjust contrast, all without touching the original photo. It’s a lot less risky. And surprisingly satisfying.
Bringing it all back to life
Something shifts once your photos are stored properly and a bit more organized. They stop being “that old box in the cupboard.” You start taking them out. Looking at them. Talking about them.
“This is your great-grandmother.”
“That was our first house.”
“Look at this haircut…”
And suddenly, these photos aren’t just old images anymore. They’re part of everyday life again. That’s really the point of all this. Not just to store things neatly, but to keep those memories visible. Alive. One photo at a time.


Leave a Reply