
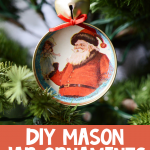

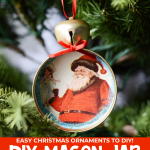


Upcycle old cards to make these adorable mason jar lid ornaments! They’re easy and make beautiful art for your Christmas tree!

This post may contain affiliate links. See our full disclosure policy HERE.
Ornaments are kind of a big deal in my house. I change the theme of my Christmas tree each year, and am very particular about the kind of ornaments that go on my tree.
I love finding unique Christmas tree ornaments, but sometimes I can make what I want for cheaper and get a more custom look. These Mason Jar Lid Ornaments turn out so pretty and each one is one of a kind because of using upcycled materials.
When I was a little girl, I remember many homeschool get togethers where we would craft ornaments from old milk and juice lids and use pipe cleaners, lace, beads and old Christmas cards to embellish them.
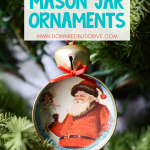
These Mason Jar Lid Ornaments are like the grown-up version of those and I really love how they turned out!
Mason Jar Lid Ornaments | DIY Christmas Ornaments
You will need:
Mason jar lids (size of choice)
Large jingle bells
Thin ribbon or twine
Old Christmas cards or postcards (I found some you can get on Amazon!)
Elmer’s school glue
Fine glitter
Hot glue gun
Pencil
Scissors
Recently I paid a visit to my local antique store and found these amazing antique Christmas postcards for 50% off. They were $0.50-$1 a card, and the images were beautiful.
I decided I was going to make these Mason Jar Lid Ornaments using them. Admittedly, I felt guilty about cutting up postcards that were postmarked 1907, but the end product is actually something I can use so it’s worth it I think.
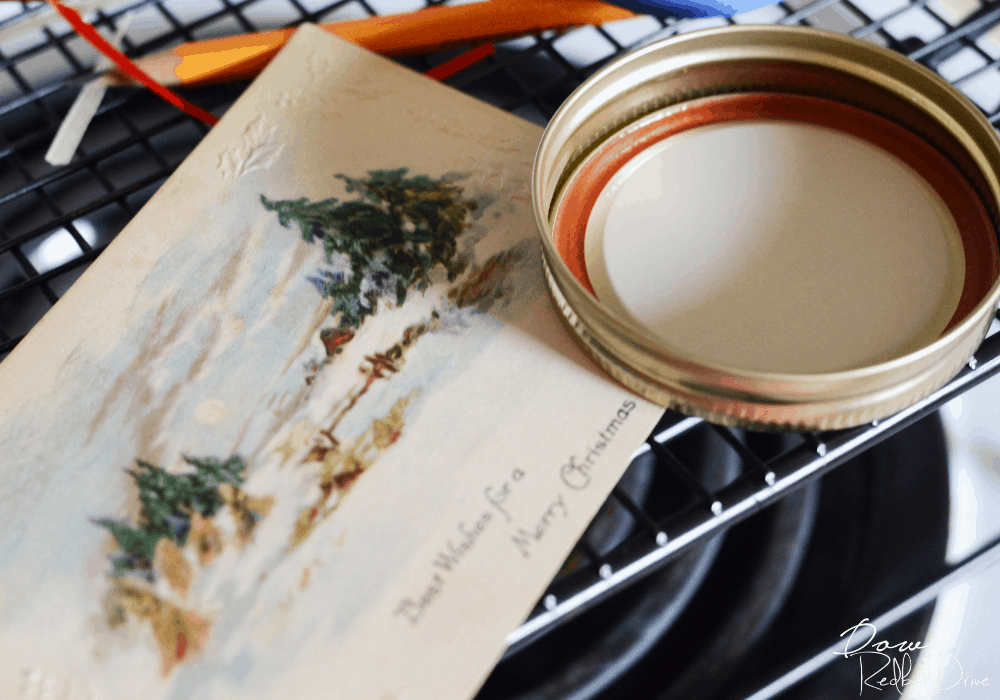
To make these Mason Jar Lid Ornaments, first you will need to pop the insert out of your mason jar lid. Lay it over the area on the card or postcard and trace around the circle with a pencil, and cut it out.

Keep in mind that the edges of the circle will be covered with glitter, so if you’re tracing over words, make sure to leave a little space around the words on the edge so they remind readable when your ornament is finished.

Next, you will want to place a ring of hot glue on the edges of the back of the circle you cut out. Press it firmly to the lid’s circle insert. Once it’s dry, then place a ring of glue on the back of the lid’s circle insert and then press it into the lid. I held it in the lid for a few seconds, pressing firmly, to be sure it adhered well.
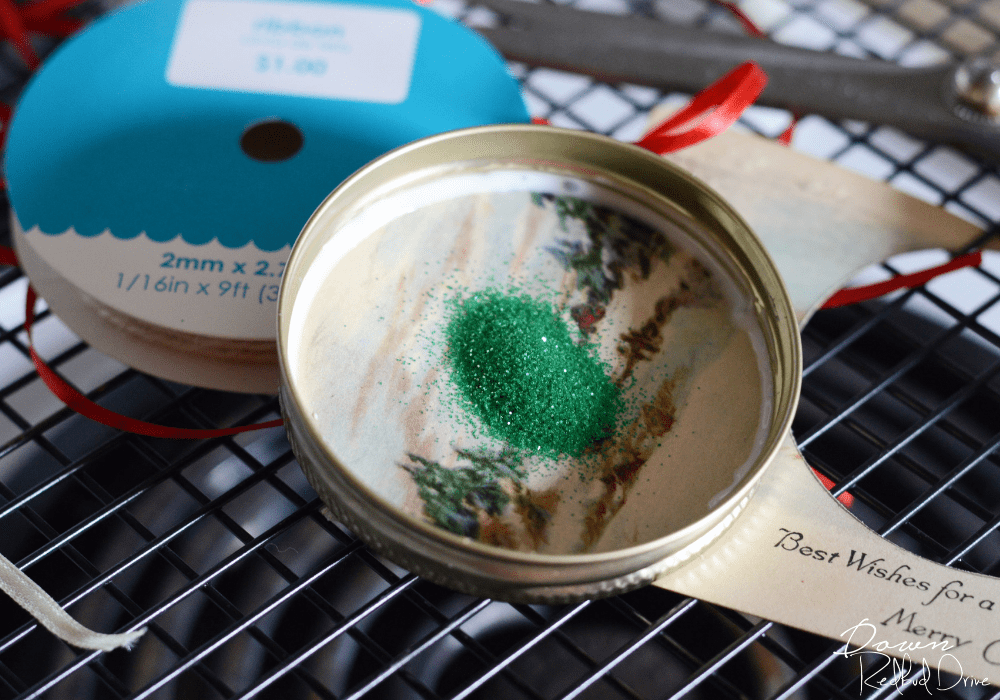
Next you’re going to take your school glue and make a ring around the outside of the circle as shown. The point of the glitter is to give the edges a finished look and to cover any gaps around the outside of the picture you cut out. Pour in about a teaspoon of fine glitter into the center of the ornament and gentle shake it around the edges to it sticks to the glue. Gently shake the excess glitter out.

Cut about 4″ of your ribbon or twine and tie it around the jingle bell. Glue the bell to the top center of your ornament. Make a small bow out of ribbon or twine and glue it to the front of the bell for the finishing touch!
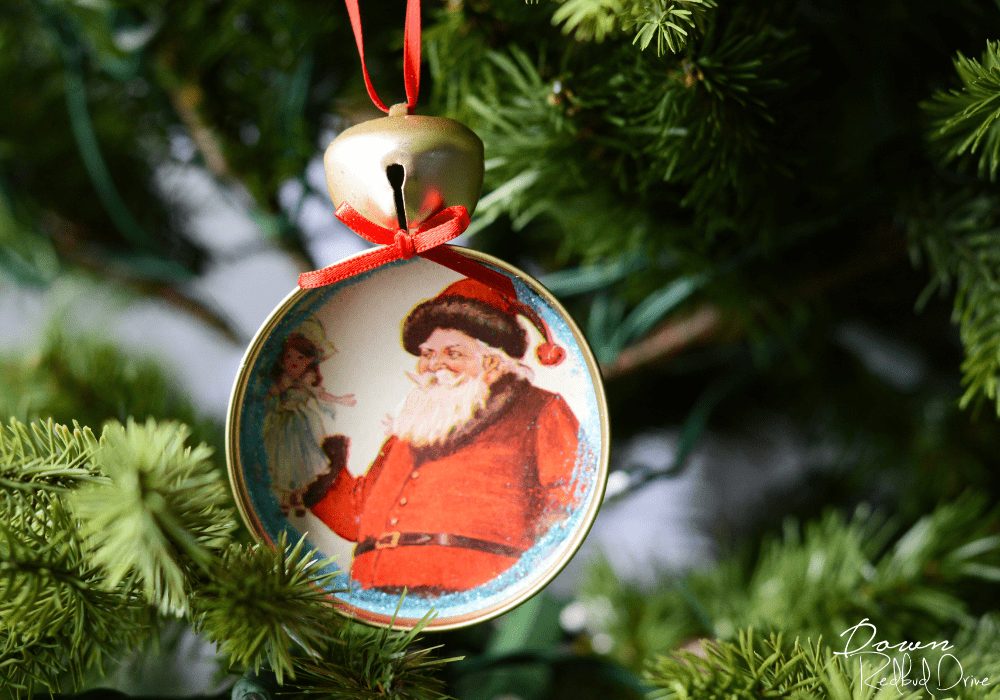
Mix up the colors and styles to make each one different, or keep all the ribbon and glitter the same to make them all look like a part of the same collection. I’m in love with this happy Santa!
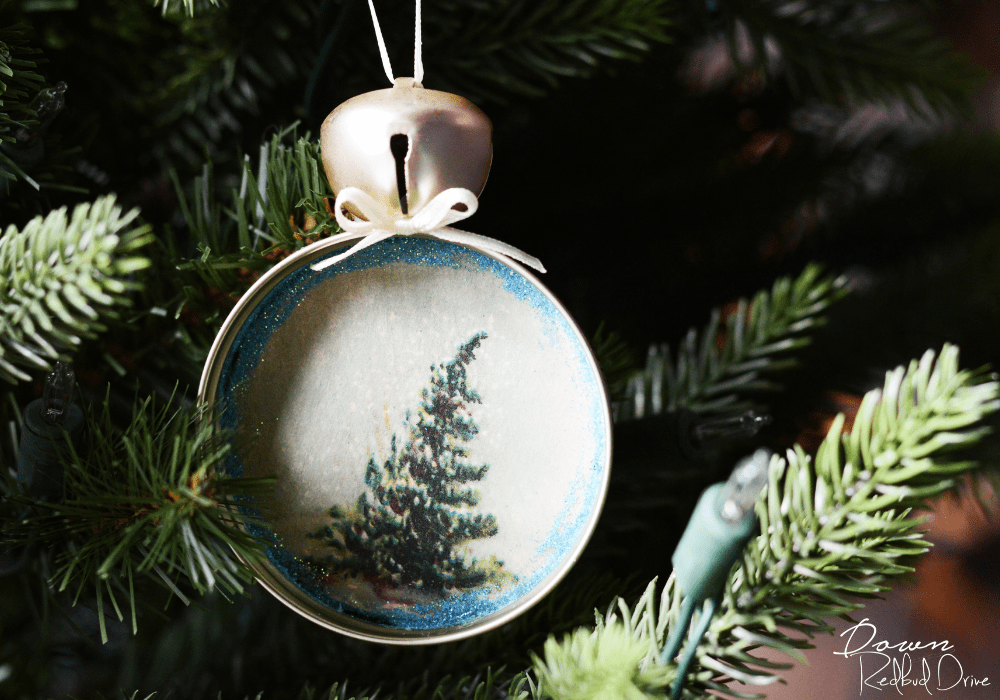
The dainty ribbon and blue glitter on this one lends to the age of the materials used in the image. I love the subtle color and that new life was given to these post cards and will live on in my family a while longer. Enjoy making your Mason Jar Lid Ornaments!


Leave a Reply