
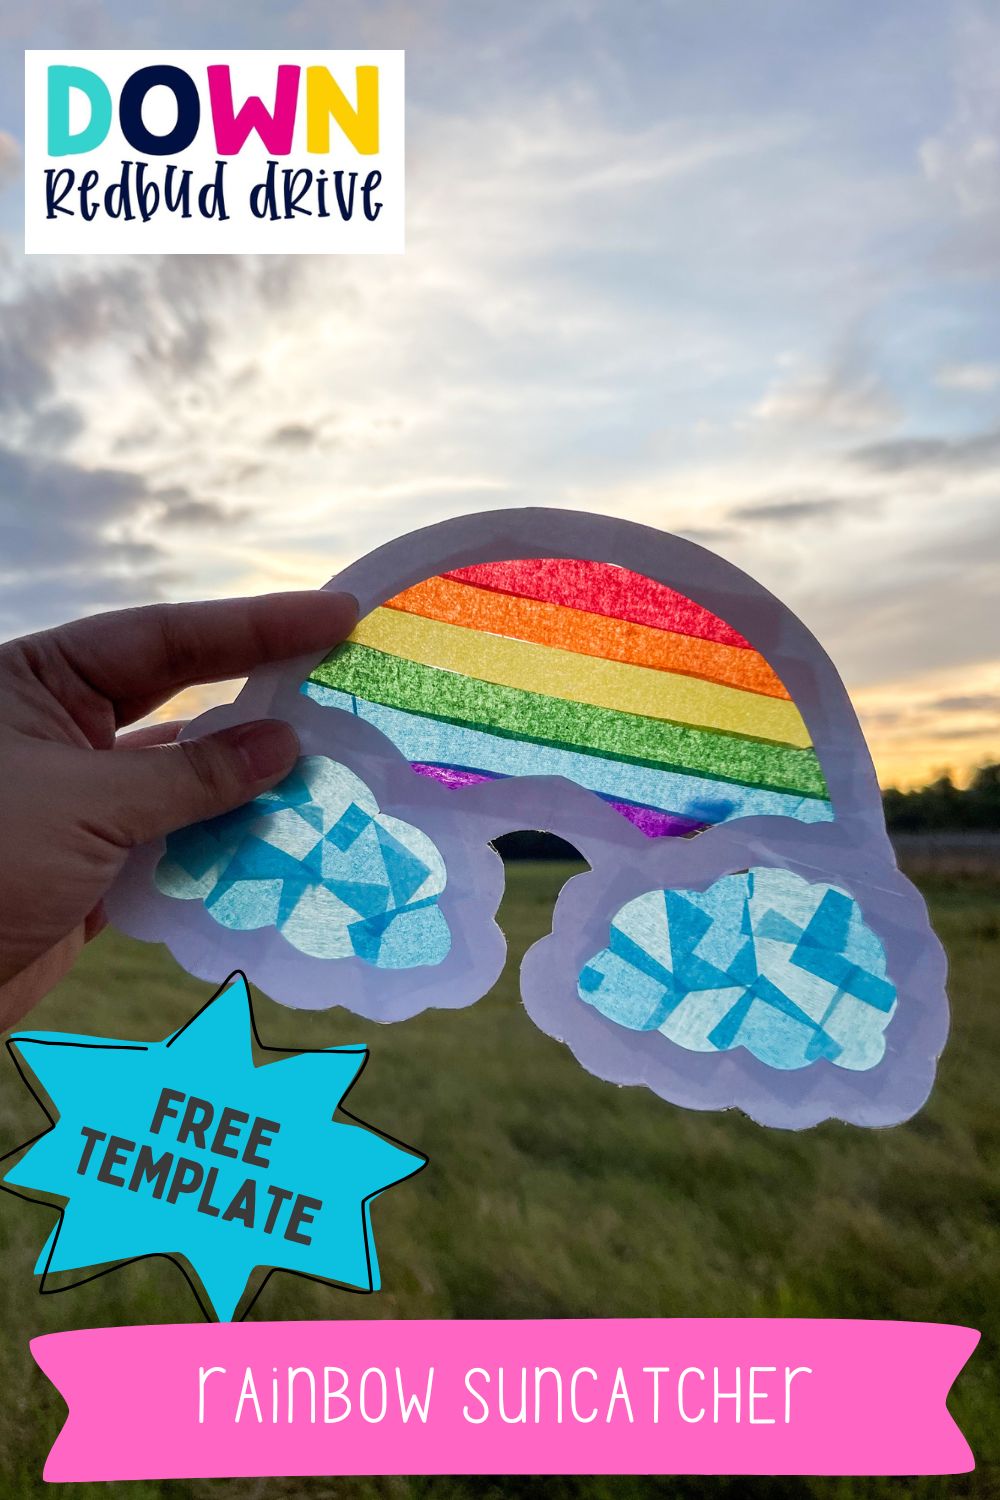
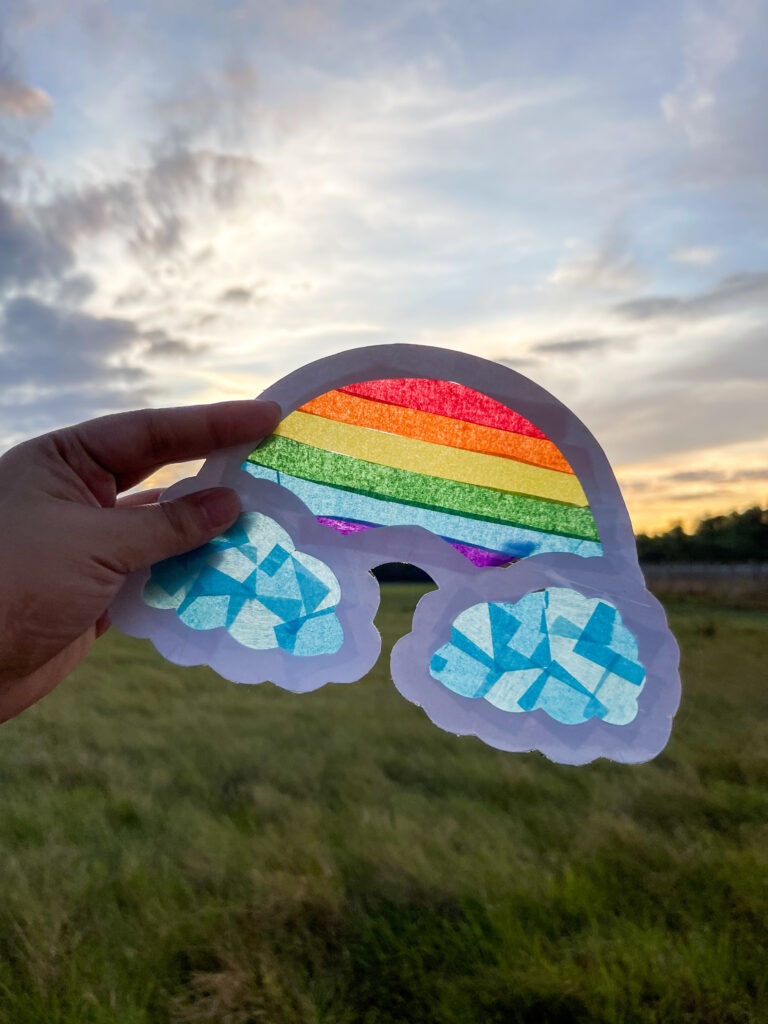
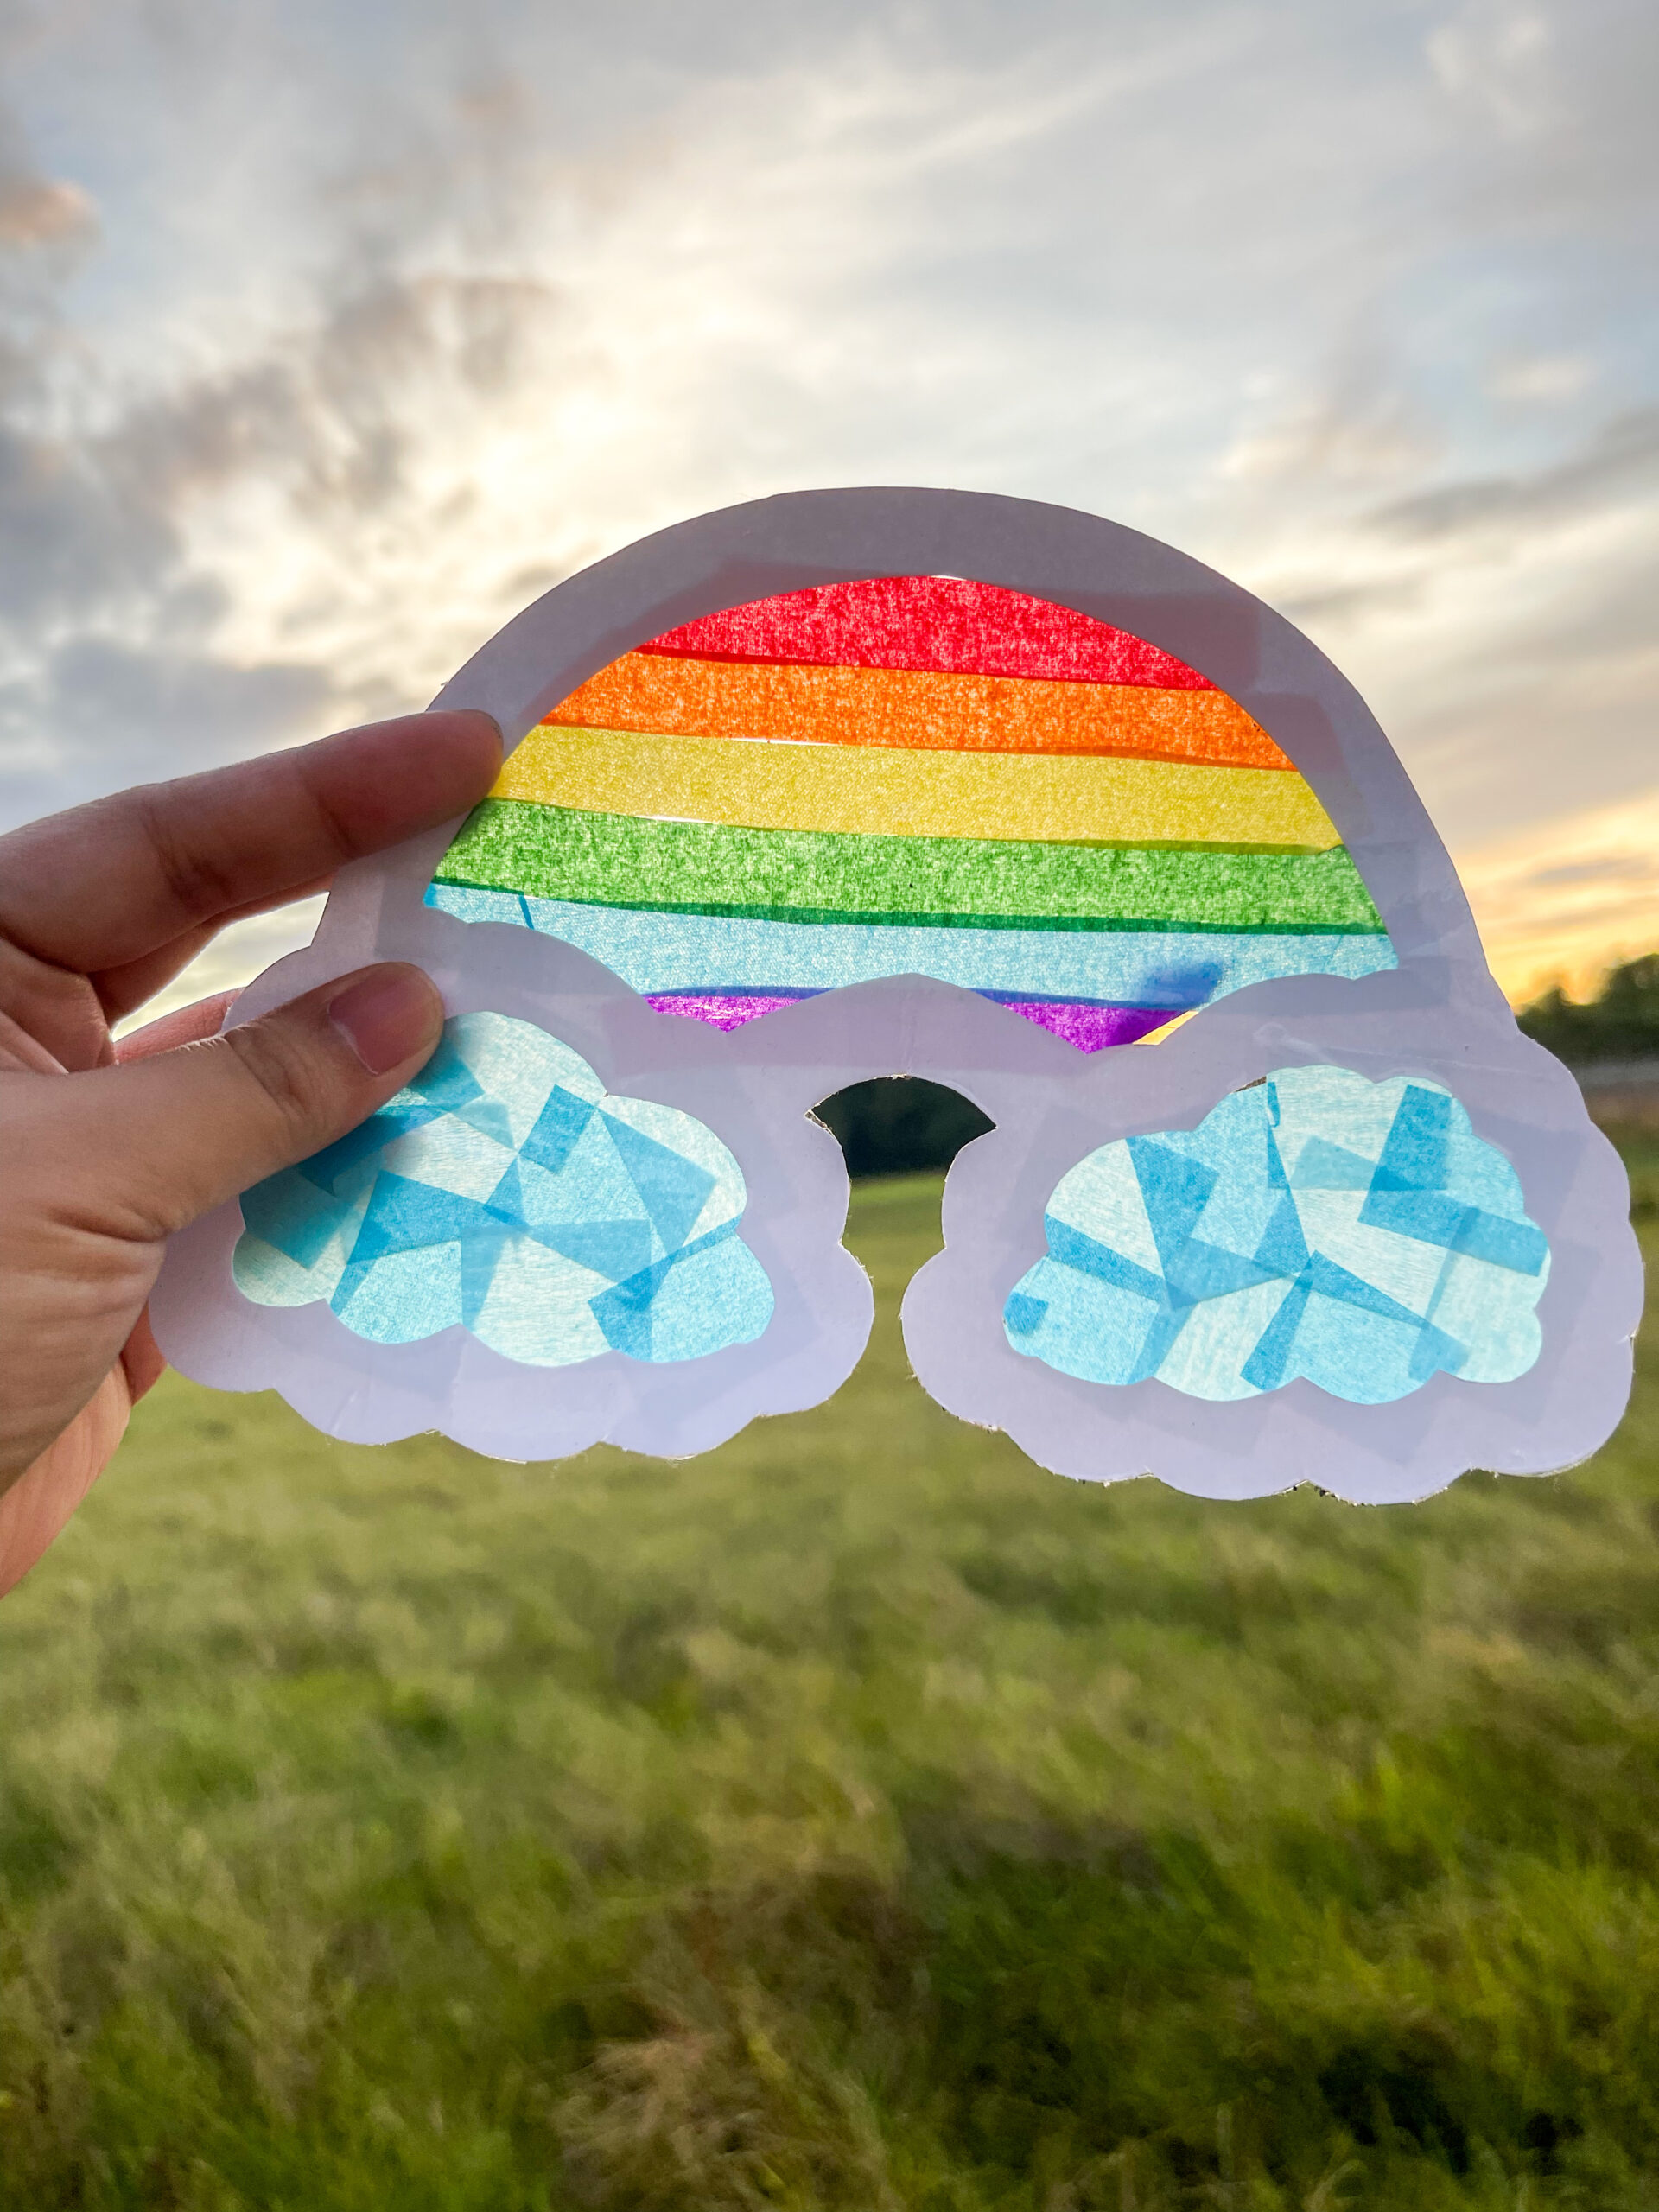
If you need a sweet little spring craft that feels cheerful the second you put it in the window, this rainbow suncatcher is it. It’s one of those easy wins that looks bright and impressive, but the process is really just cutting, sticking, and letting kids make their own “rainbow decisions” (which is always entertaining). Ours turned out so cute, and it’s a perfect rainy-day project that instantly makes the room feel more spring-y.
We have the rainbow template to download too, so you can print it and jump straight in with your rainbow suncatcher diy.
A rainbow theme is perfect for St. Patrick’s Day because it ties in beautifully with the classic “pot of gold at the end of the rainbow” story that kids already love. It adds a bright, cheerful twist to all your crafts and activities, making everything feel extra fun and colorful while still fitting right in with the lucky leprechaun theme.
SEE MORE ST PATRICK’S DAY IDEAS HERE – WE HAVE TONNES.
Materials for your Rainbow Window Suncatcher
You’ll need rainbow tissue paper, tape or contact paper (contact paper is easiest), scissors, and construction paper for the border.
Step By Step
Here’s how to make it. This DIY rainbow sun catcher idea is a lot of fun for kids of all ages, from toddlers to preschoolers, elementary age and older too.
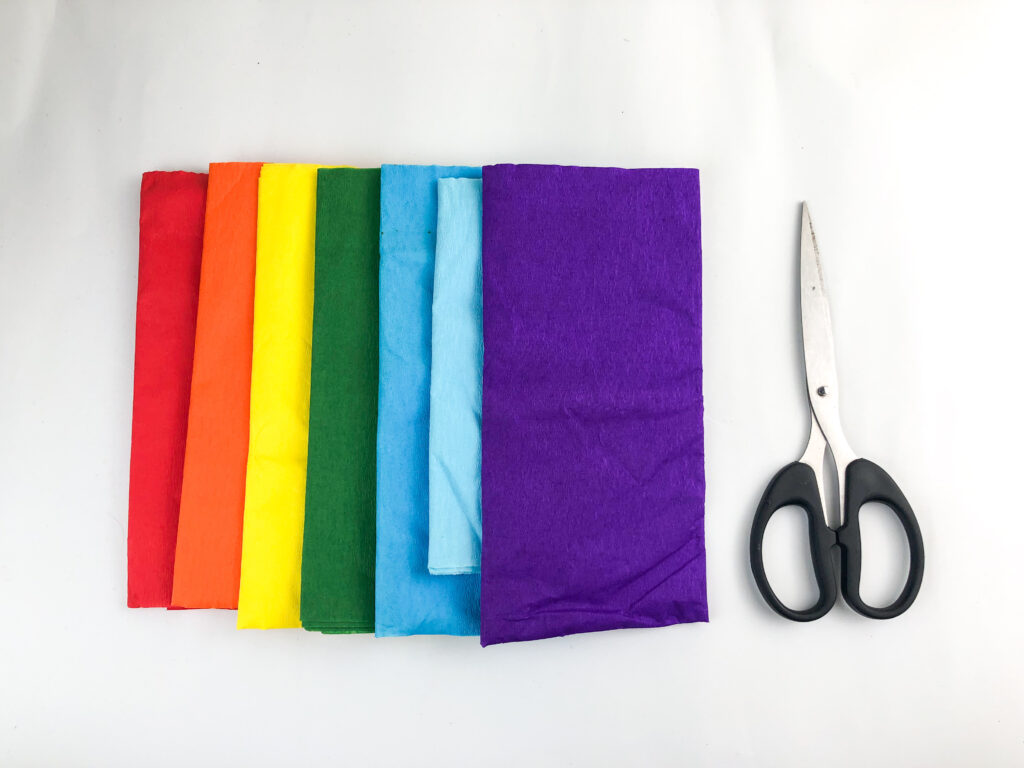
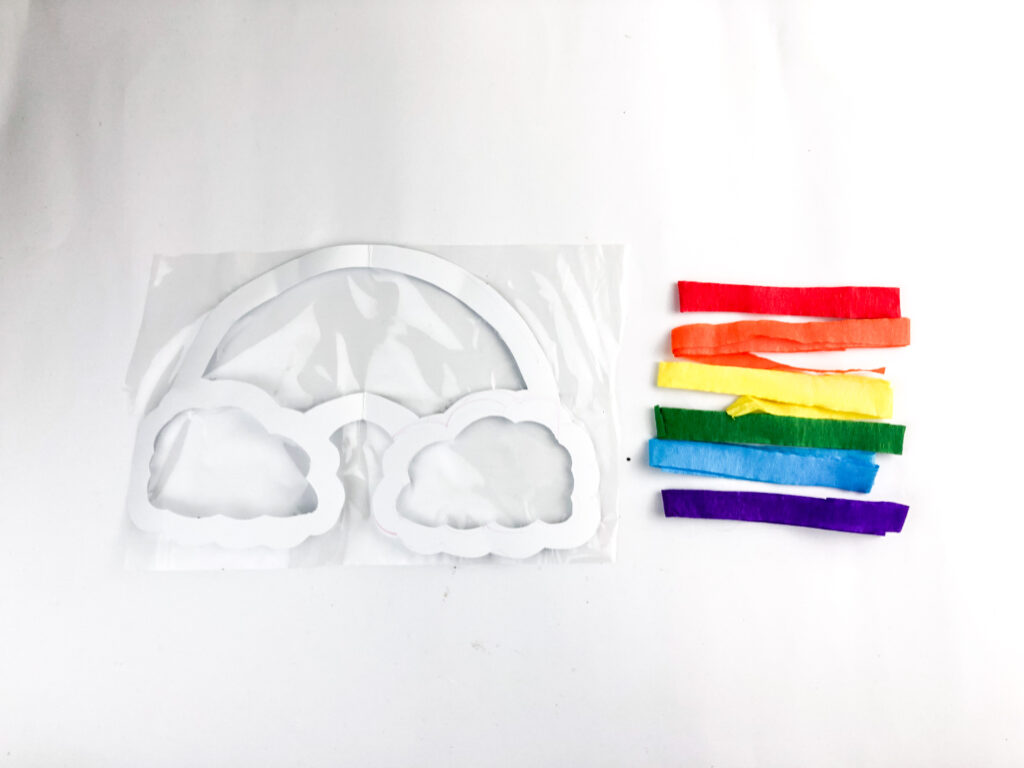
Pick your rainbow colors and Cut the tissue paper into strips
Start by grabbing tissue paper in rainbow shades. This is a great moment to let kids choose their favorite colors, or decide if they want a classic rainbow order or something a little more “creative.”
Next, cut your tissue paper into long strips. They don’t have to be perfect, and honestly a slightly wiggly, kid-cut strip makes it look even more handmade and cute. Here you can see the strips in all the colors ready to use.
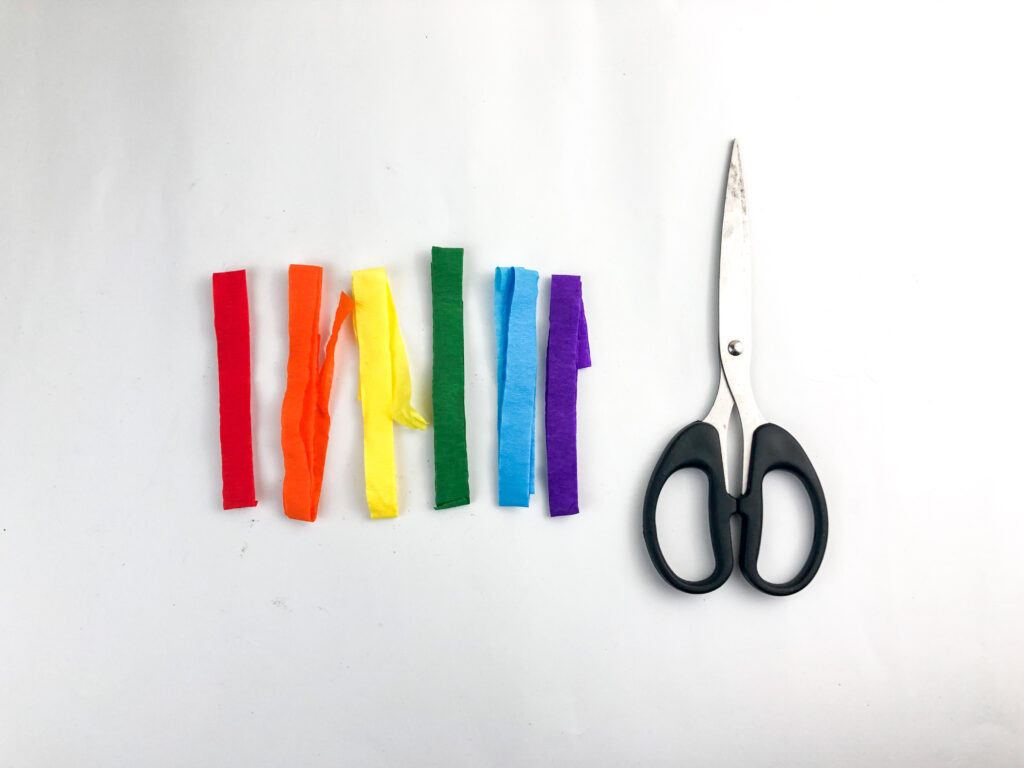
This is great fine motor practice.
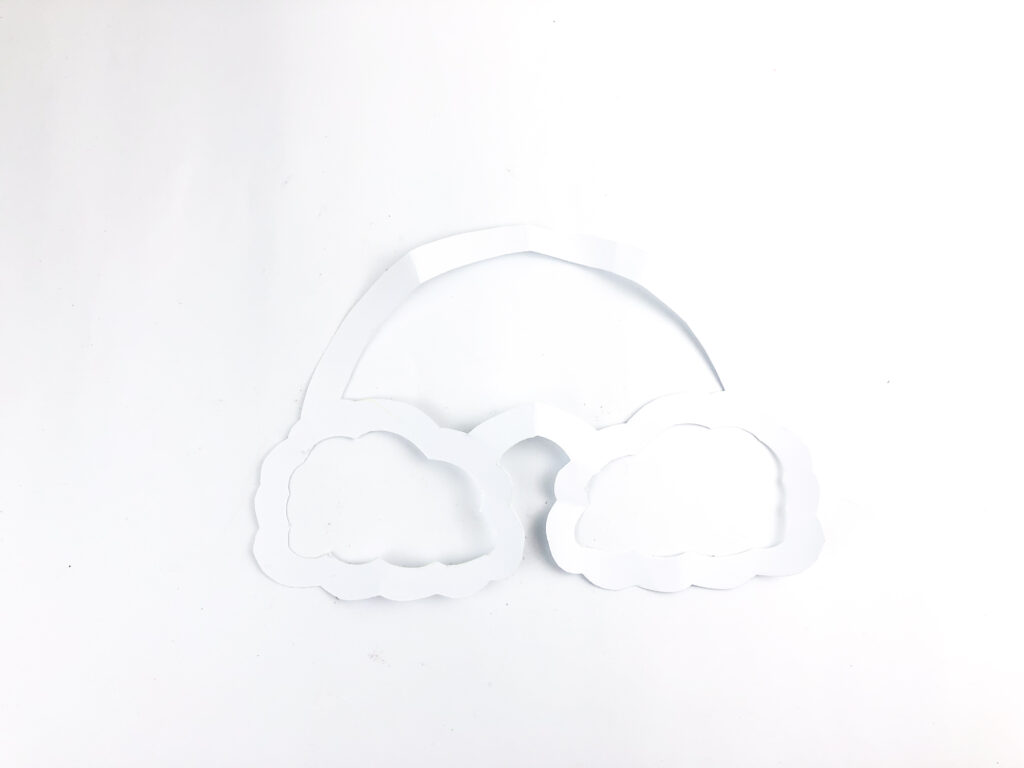
Print and Cut out the rainbow template
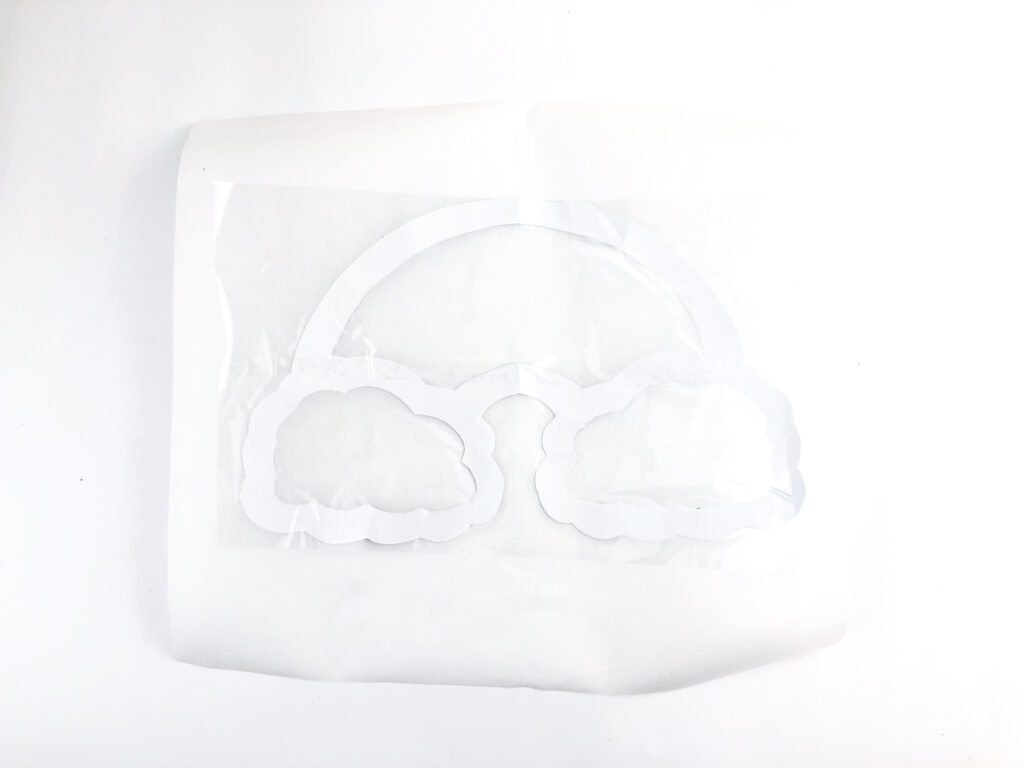
Cut out the rainbow shape from the template (download below at the end of the blog post) You’ll end up with a rainbow outline and the cloud shapes at the bottom, with open spaces in the middle where the tissue paper will go.
This is the “grown-up help” step for younger kids, especially around the smaller curves.
To cut out the inside space, the easiest way is to fold in half, cut and then unfold.
Add the contact paper backing
Lay your rainbow outline onto sticky contact paper (or use tape around the edges if you don’t have contact paper). Here you can see the rainbow outline sitting on the clear sheet, ready to be filled in.
This is basically the secret sauce of suncatchers – everything sticks nicely and it becomes see-through when you hang it up.
With your contact paper and tissue paper ready, you’re ready to start making your rainbow sun catcher.
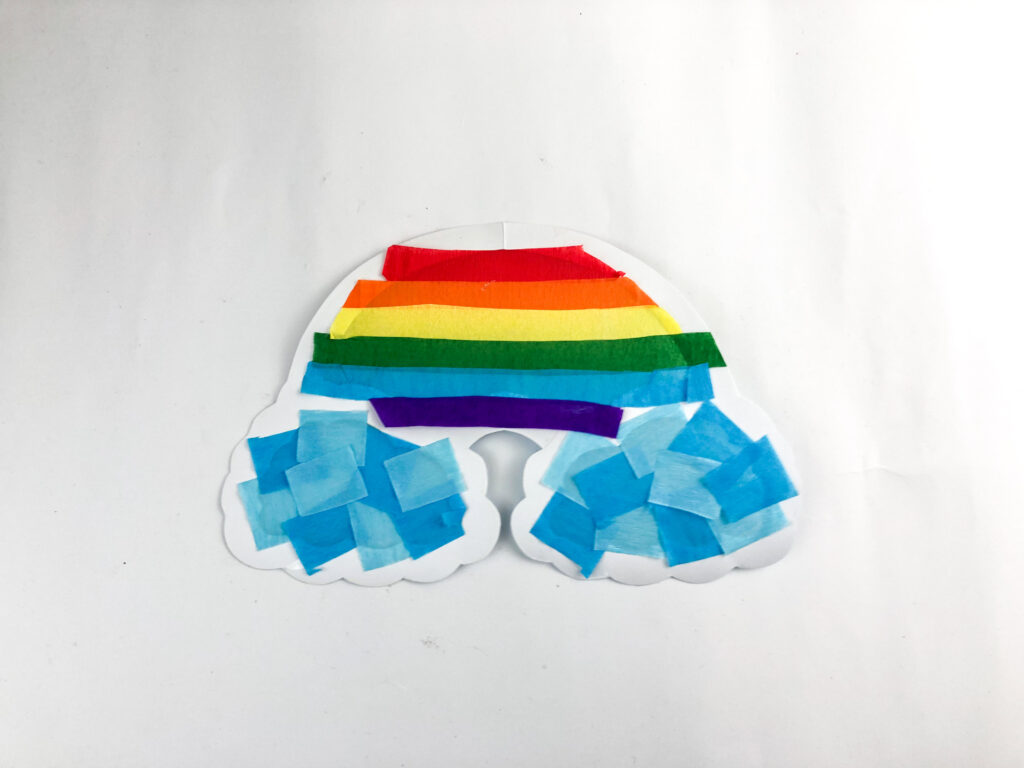
Build the rainbow and fill the clouds
Now for the fun part – place the tissue strips across the rainbow section, layering them slightly so you don’t have gaps. Then cut or tear little squares for the clouds and press those into the cloud sections.
You can see the rainbow stripes going across the top and the cloud areas being filled, this is such a satisfying step.
Seal it, trim it, and admire it
Once everything is covered, add another layer of contact paper over the back to seal if you want it to be extra secure, or if the contact paper is totally totally covered with the colored tissue and no more of the stickiness is exposed, you can just turn it over then trim around the outline.
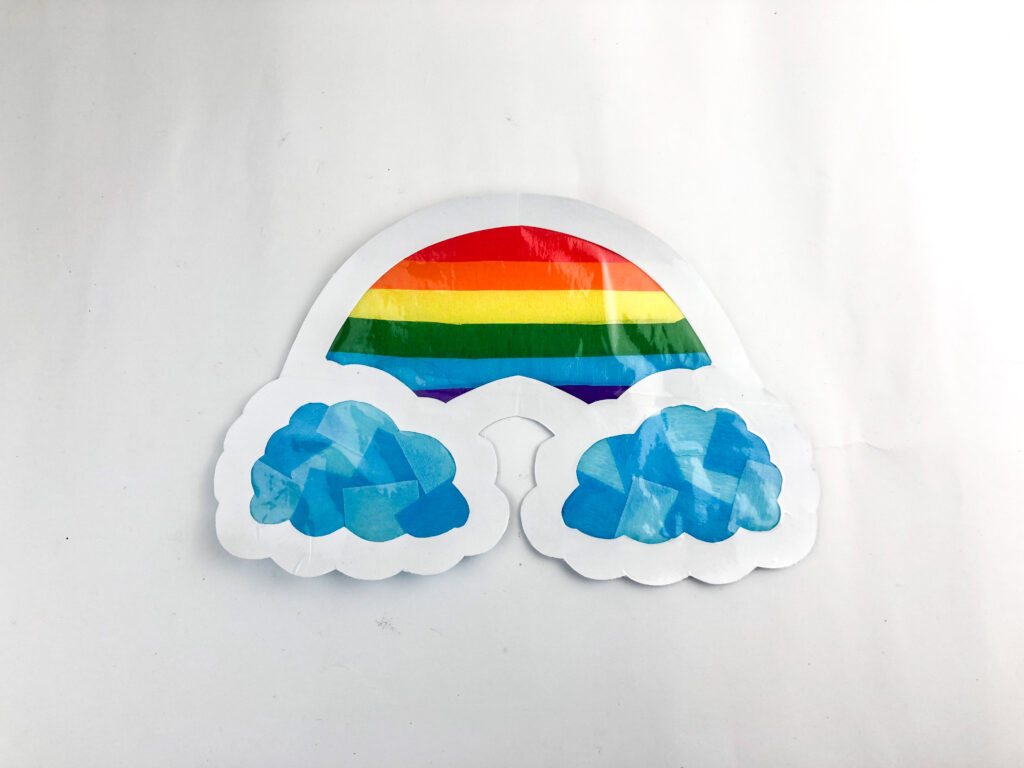
Once you turn it over to the front, you can see how it looks all smoothed out and glossy – and it’s ready to hang in a window where the light can shine through.
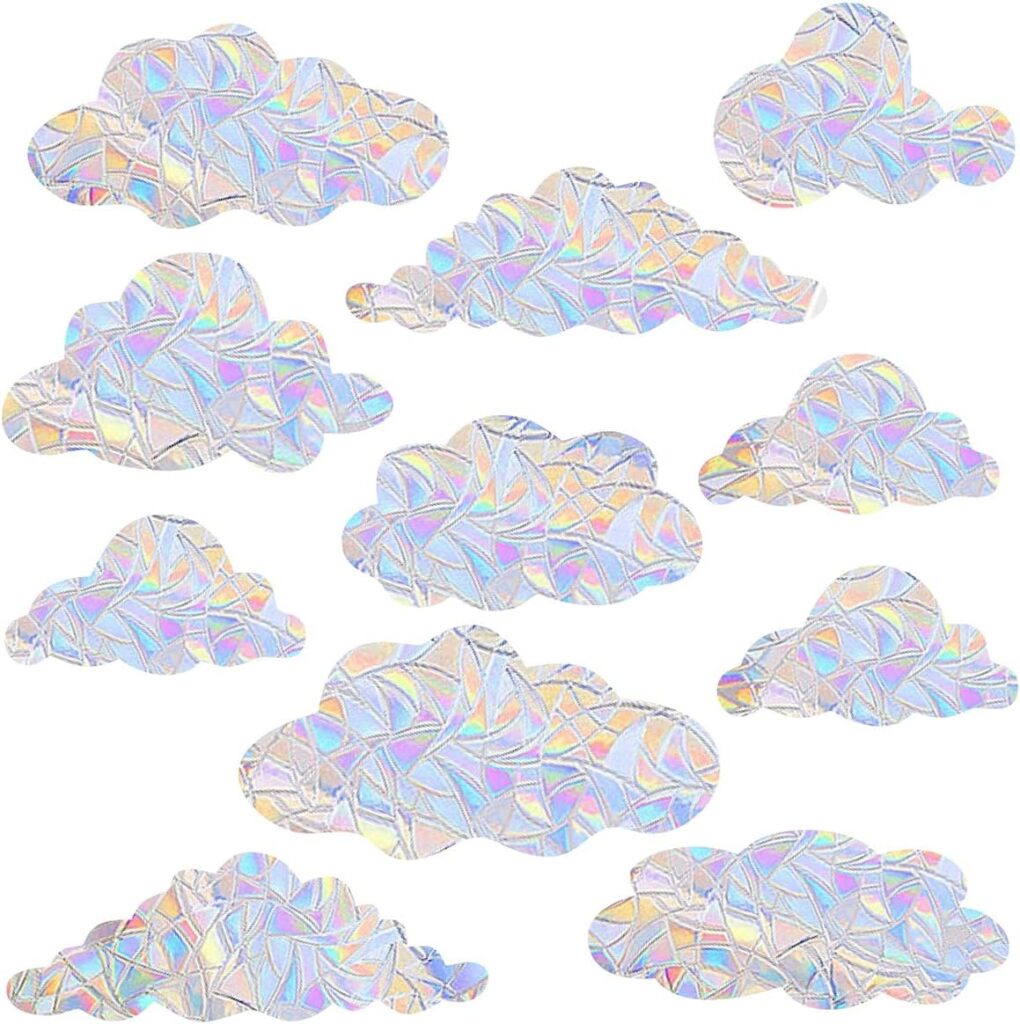
If you can’t get enough rainbows, these rainbow prism suncatchers you can get on Amazon are such a lovely add-on to window crafts, because they catch the sunlight and scatter little rainbow reflections all around the room.
They come in so many shapes too – from classic crystal drops and balls to hearts, butterflies, and fun themed designs – so you can easily match them to your decor or your kids’ favorite colors while still getting that beautiful rainbow light effect.
Download the Rainbow Template PDF
Print the rainbow template and use it as your guide for cutting out the rainbow shape. You can print this on regular paper, or print on cardstock whichever you prefer, and trace the printed template onto construction paper before cutting. This will help you make the best suncatcher with a neat shape.
More Rainbow Crafts
If your kids are in their rainbow era (same), you can keep the theme going with more rainbow crafts – rainbow painting, rainbow collage art, paper plate rainbows, or even a whole week of color-themed activities where each day is a different shade.

- Stained glass rainbow shamrock cookies
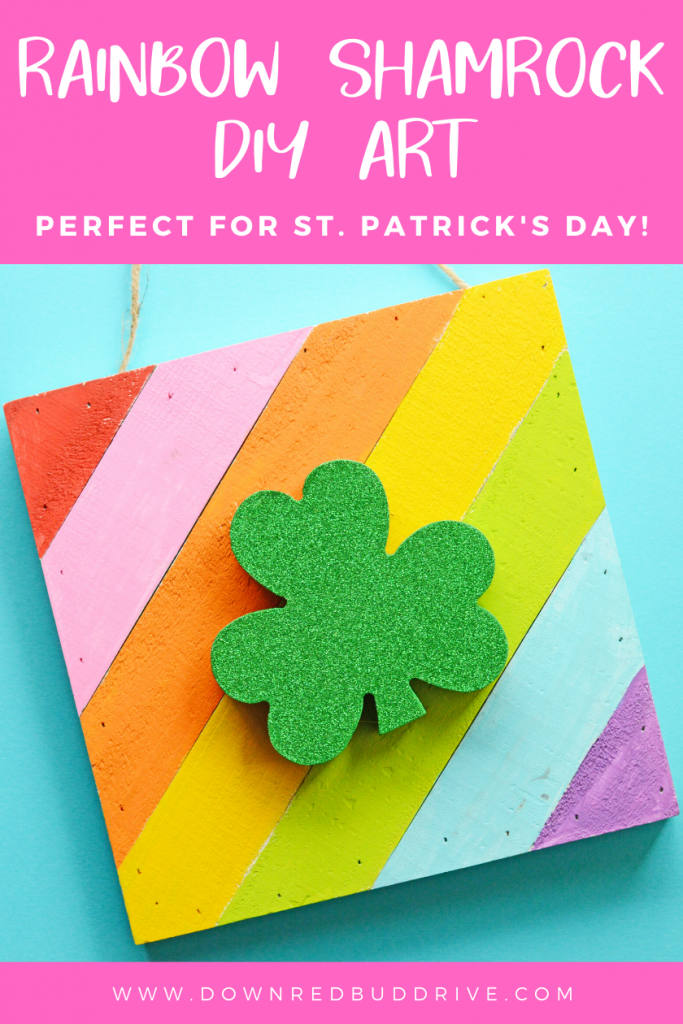
- Rainbow shamrock art
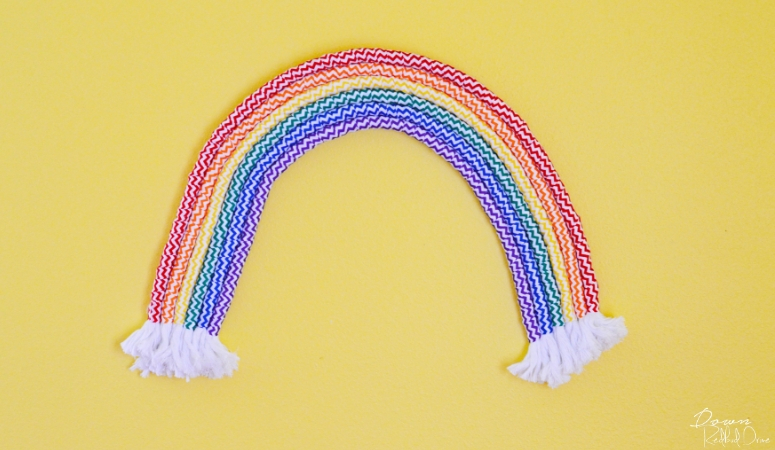
- Rainbow wall art
- Rainbow no bake cheesecake
More Spring Crafts
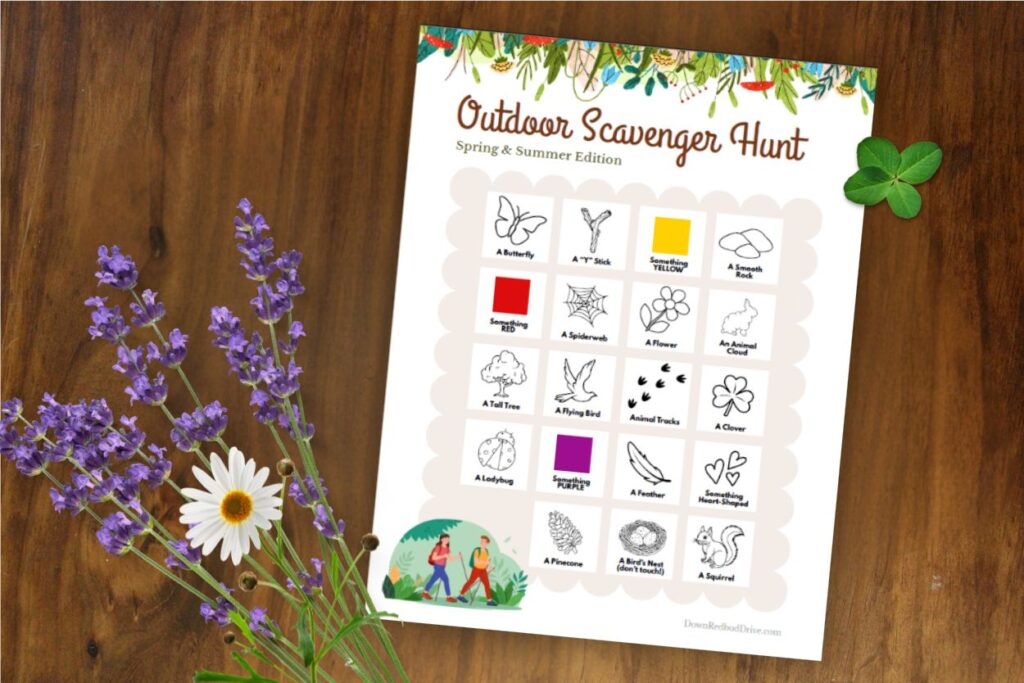
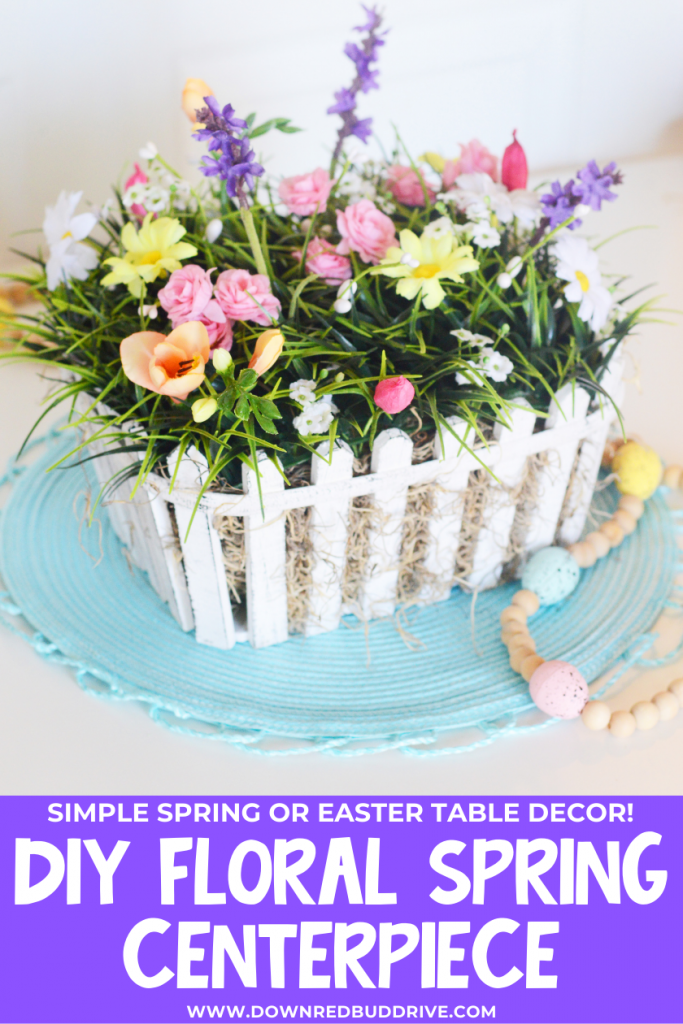
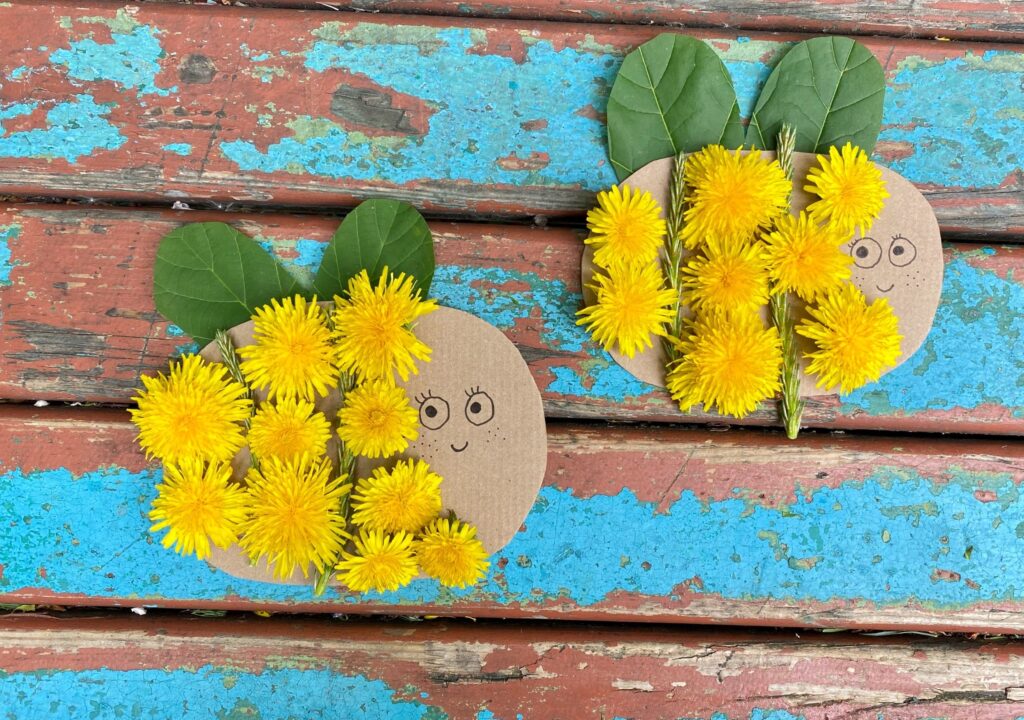
Spring is the best excuse to craft because everything can be bright, colorful, and a little bit messy without feeling out of place. If you want more spring ideas, try flower crafts, butterfly projects, bee activities, or simple nature crafts using whatever you find on a walk outside.
If you make this rainbow suncatcher, I’d love for you to share it. Send it to a friend who needs an easy kids’ activity, and if you can, share the blog post so more families can find it too.


Leave a Reply