


Easily make this elegant Pearl Christmas Tree DIY with just a couple of supplies and about 20 minutes! It’s a beautiful handmade piece of Christmas home decor you can keep and use again and again!

I love making my own holiday home decor. I always have so many ideas and things I want to buy or get each year, and that can really add to the Christmas budget!
My solution is to find things I love, and then make them myself for much cheaper. I often find I can also control the quality of the item if I make it myself too!
If you love this Pearl Christmas Tree, you’ll probably also love my vintage button trees, and my beautiful feather trees too! Scroll to the bottom to see some other Christmas tree ideas as well!
How do you make this Pearl Christmas Tree DIY?
Step 1: Gather your supplies.
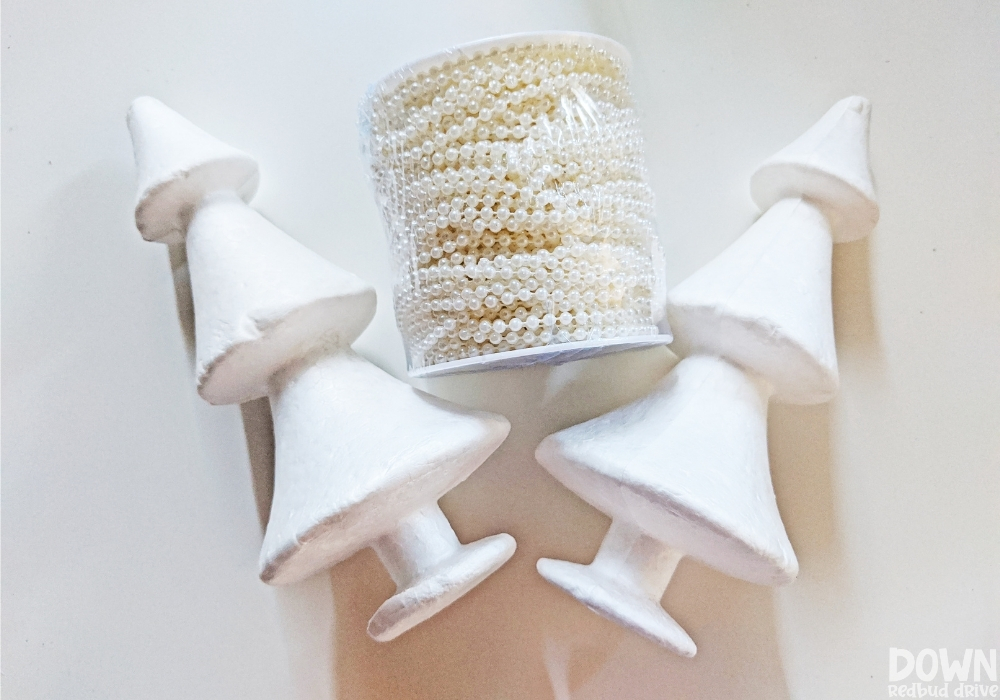
You will need:
- Styrofoam Trees (I used these from Amazon)
- Pearl String (I used this)
- Hot Glue Gun
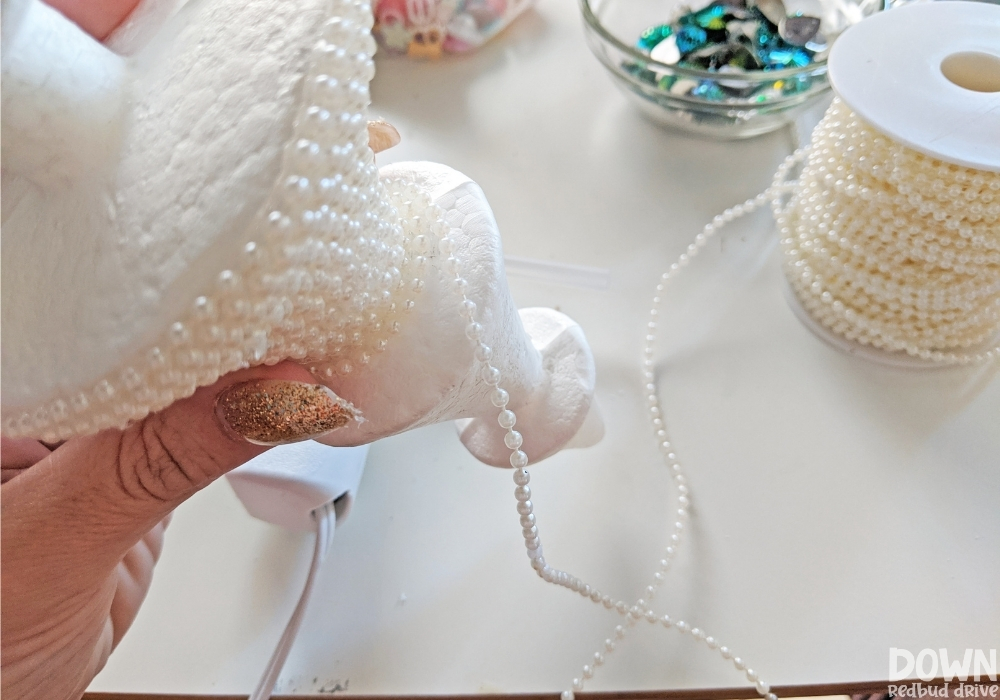
Step 2: Start from the bottom.

I found these adorable styrofoam trees on Amazon, and HAD to use them as the base to my craft. They were affordable and adorable and they gave this Pearl Christmas Tree just a bit of whimsy.
Use your hot glue gun, starting at the bottom, to make small lines of glue, and then carefully string your pearls over the glue.
Don’t make your lines of glue too long, or your glue will dry before your pearls can stick to it.
Keep your lines even as you go.
You’ll notice I didn’t start at the very base of my tree, but that was just for personal preference. You most certainly could if you wanted. You could also paint the bottom of the tree a coordinating color if you wanted as well.
Step 3: Continue onto the next layer.
As you glue you’ll eventually come to the next tiered layer (if you use the trees I did). Just keep gluing in lines as you have been and it will stay lined up.
Step 4: Finish the top of the Pearl Christmas Tree DIY.
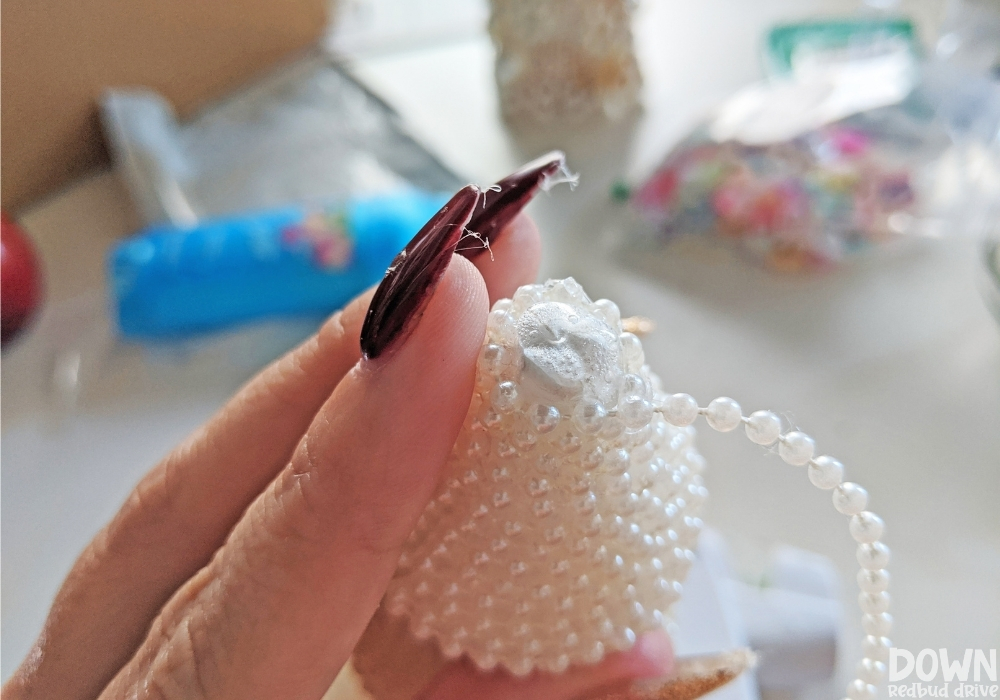
Once you get to the top of the tree, gluing will be different. I snipped off the pearl string so it would be the length I needed to curl it on top of the tree and cover the styrofoam, and then glued it in place as shown.
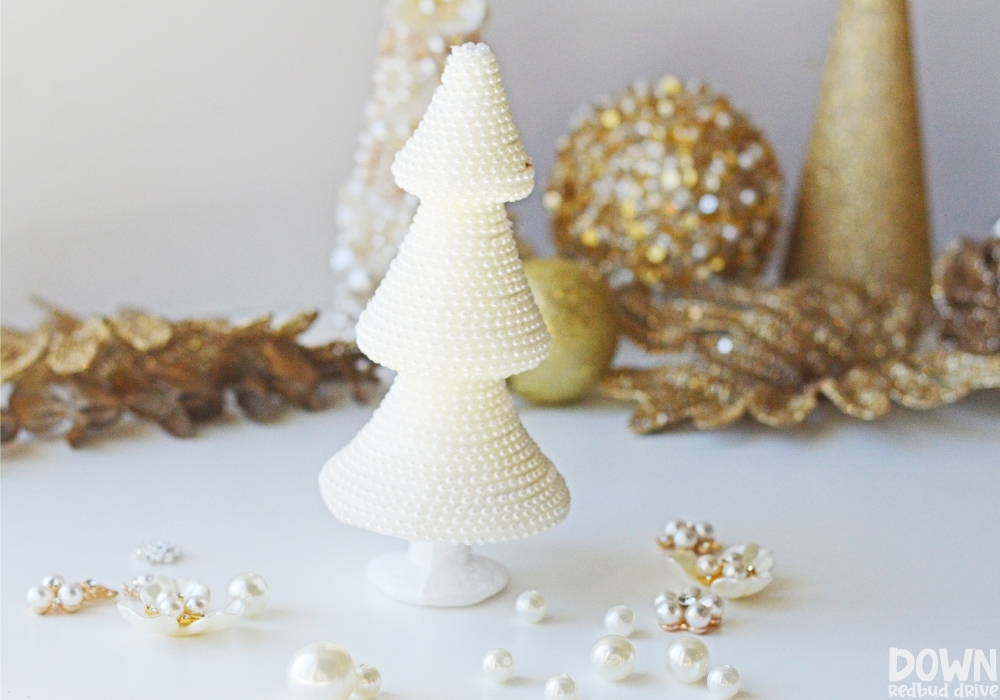
When it’s finished, this is what your Pearl Christmas Tree will look like! It’s a quick craft and you can easily make four pearl trees with the supplies I linked to, making it affordable as well!

Want more DIY Christmas tree projects?


- Glass Gem Christmas Tree DIY – With just a few supplies and 20 minutes you can make this simple Christmas tree decor!
- Sea Glass Christmas Tree DIY – This simple DIY project is the perfect beach-themed Christmas decor!
- DIY Flannel Trees – Make your Christmas decor cozy this year with these DIY Flannel Trees!
Whether you make one of these Pearl Christmas Trees, or four or more, you’re going to love how classy and elegant they turn out with just a little work! Happy crafting!


Leave a Reply