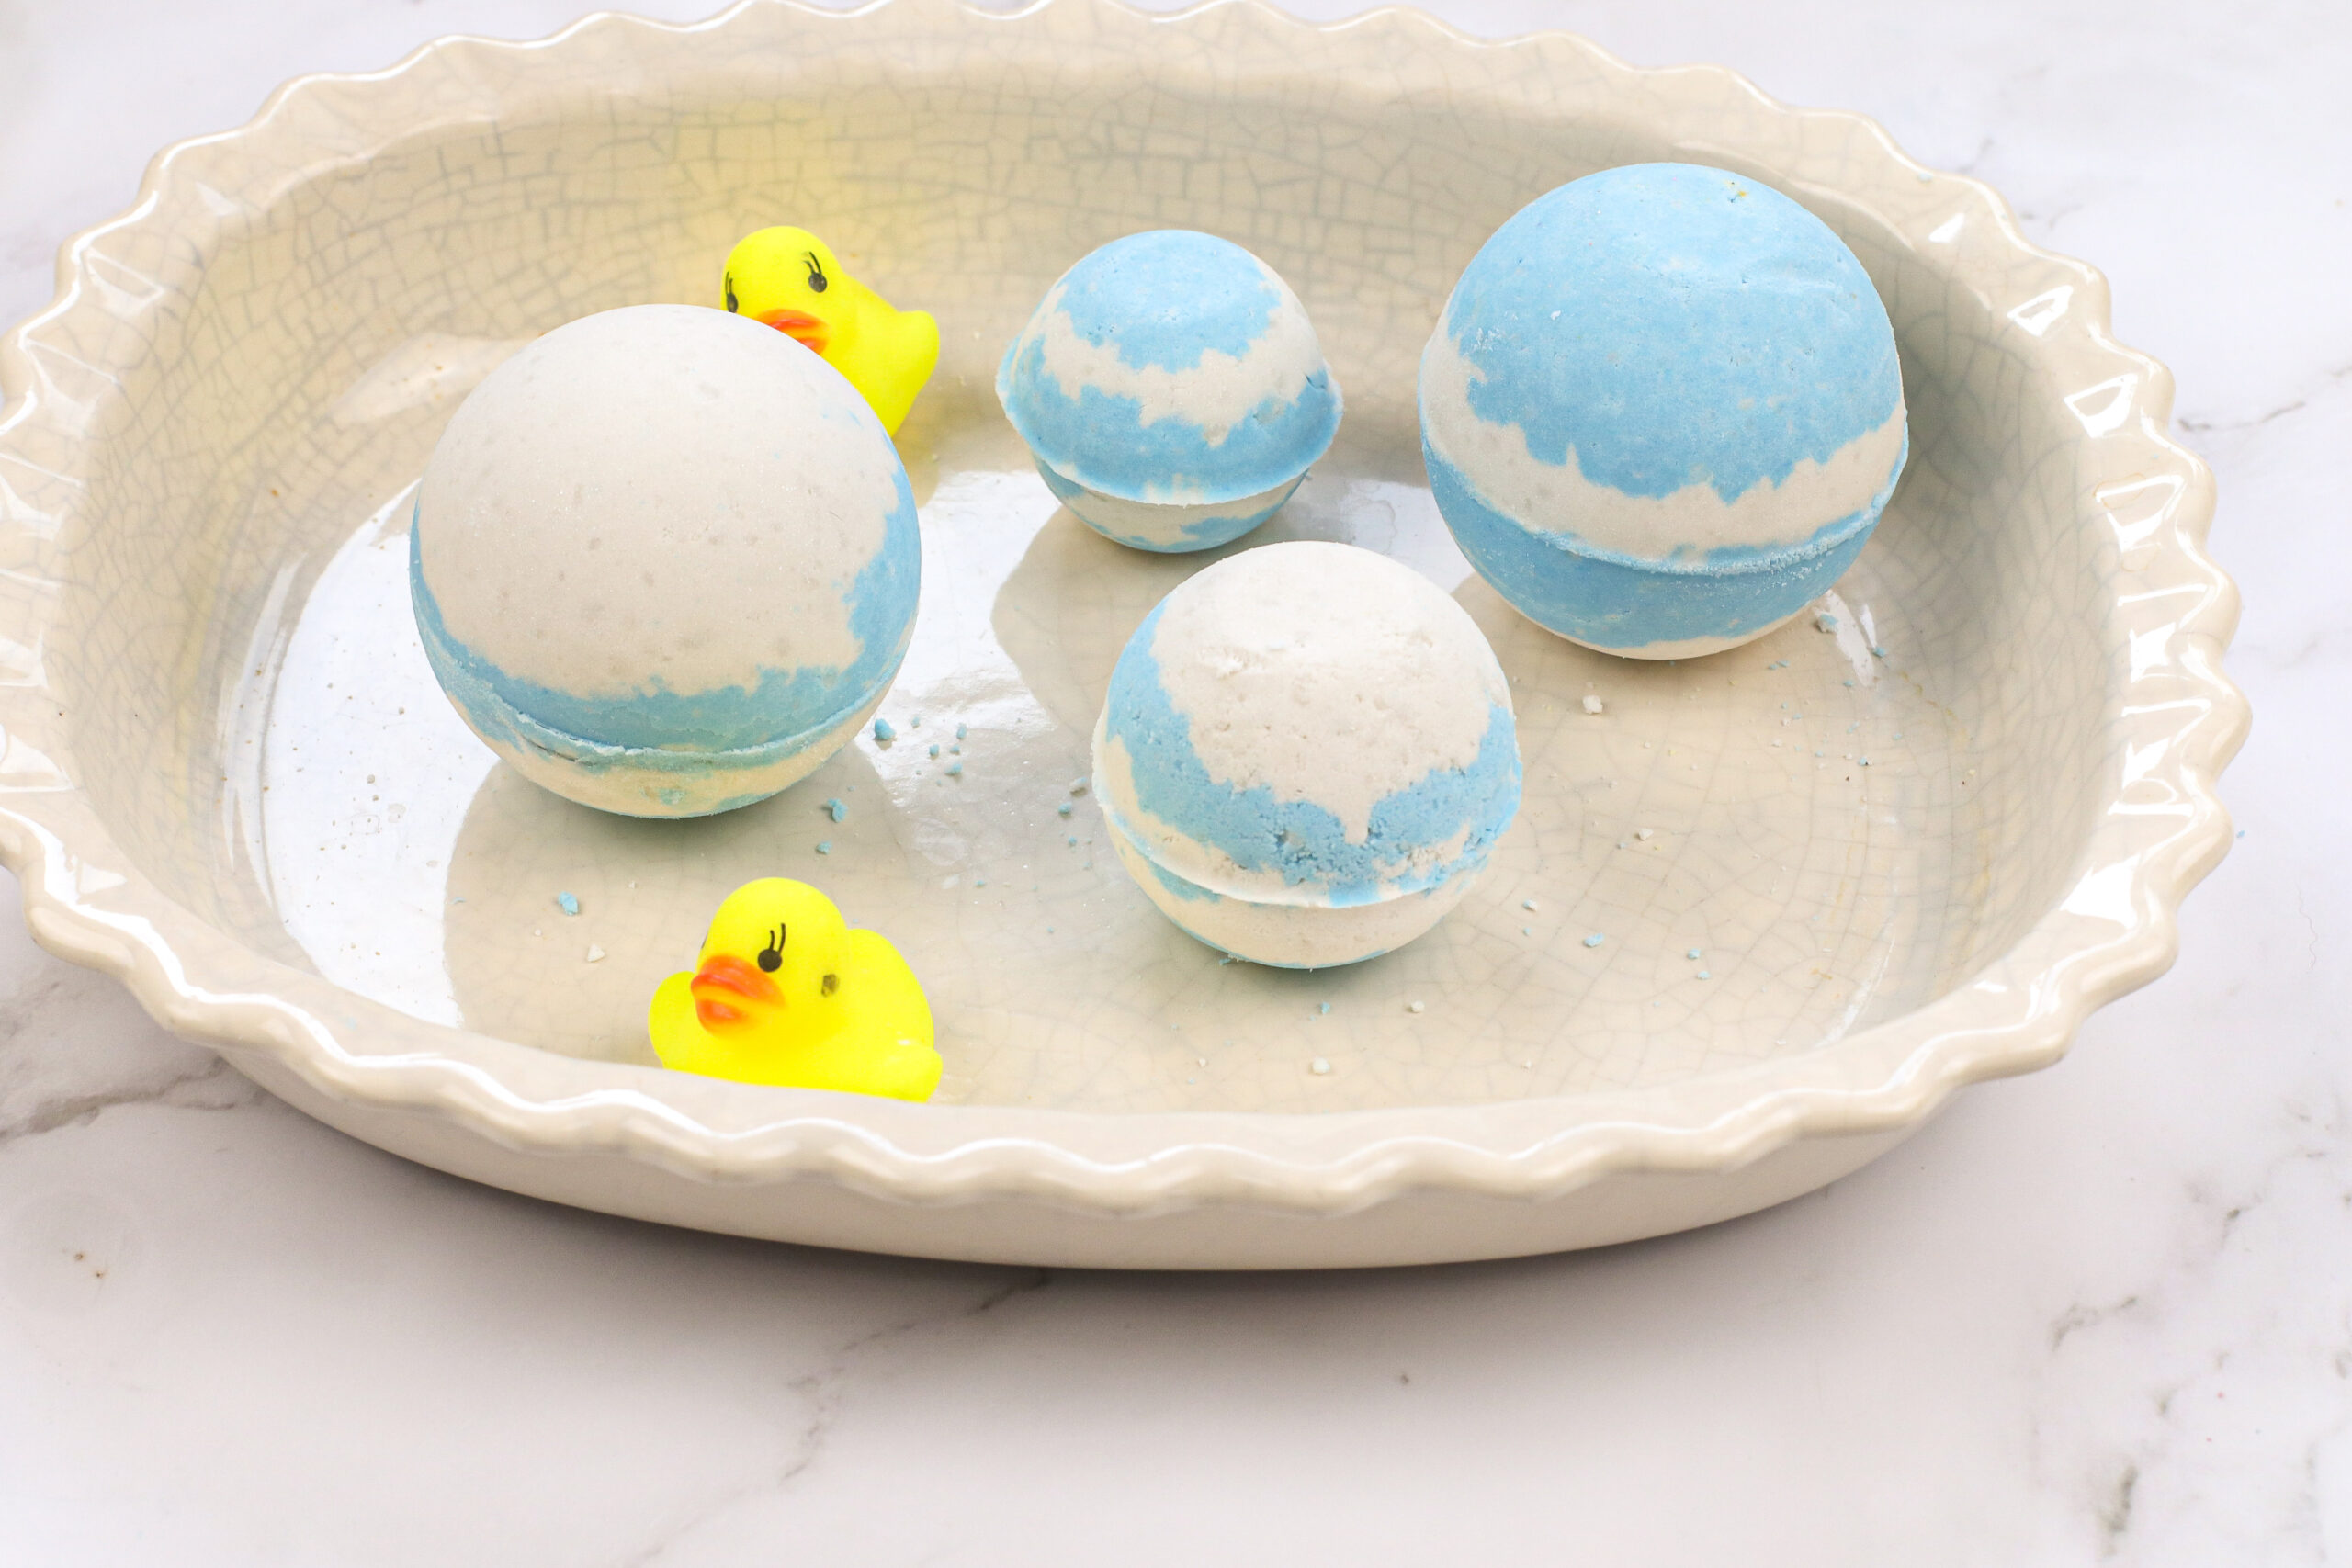
Hidden Rubber Duck Kids Bath Bombs Recipe
How to make a hidden surprise bath bomb
Print Recipe
Pin Recipe
Ingredients
- 2 cups baking soda
- 1 cup citric acid
- 1/4 cup cornstarch
- 1/4 cup white bentonite clay
- 1 tablespoon avocado butter
- 1/3 cup coconut oil
- 1 teaspoon polysorbate 80
- White mica colorant
- Blue mica colorant
- Scented oil
- Mini Rubber Ducks for larger molds or
- Mini Resin Ducks for smaller molds
- Bath bomb molds
- Spray bottle filled with rubbing alcohol
- 1 large 2 medium and 1 small mixing bowl
Instructions
- Step 1: Melt any solid oils (coconut, shea, avocado, etc.) in a microwave safe container in 30 second bursts. Stir in between each. Continue until completely melted.
- Step 2: In a large mixing bowl, add the baking soda, citric acid, kaolin clay and cornstarch. Whisk dry ingredients together. (If desired, sift dry ingredients to rid the mixture of any clumps or hard pieces)
- Step 3: Add the coconut oil and avocado butter. The coconut oil binds all the ingredients together, so your bath bombs don’t crumble when you touch them, and the avocado butter adds additional stability and helps moisturize and soften your skin. Add the polysorbate 80. This helps the coconut oil disperse more evenly in your bath water, makes the bath bombs bubbly, and prevents the mica from sticking to the side of the tub.
- Step 4: Mix wet ingredients in well. You may need to use your hands to break down any lumps and make sure everything is mixed in. The mixture is perfect when it holds together when you press it into your hands and feels like wet sand.
- Steps 5-6: Divide the mixture into 2 bowls. Add 1-2 teaspoons of the blue mica to one and the same amount of the white to the other bowl. Continue to add a bit of mica until you achieve the color you desire. Add the scented oil. Mix well. Directions for Molding the Bath Bombs:
- Steps 7-8: Add a bit of one color to one of the bath bomb molds. Add your duck. Gently layer the bath bomb mixture, alternating colors, to each side of the bath bomb mold until slightly overflowing.
- Steps 9-10: Over the smaller, empty bowl, press molds together and gently but firmly grind to remove any excess mixture. Gently tap mold to release the bombs.
- Step 11: Allow to dry a minimum of 24 hours. If your climate is wet or cold, allow an additional 24 hours. My rule of thumb is that when it is hard to the touch, they are ready for the tub!
- Store in an airtight container for up to 6 months until ready for use.
Have you tried this?Let us know how it went!