
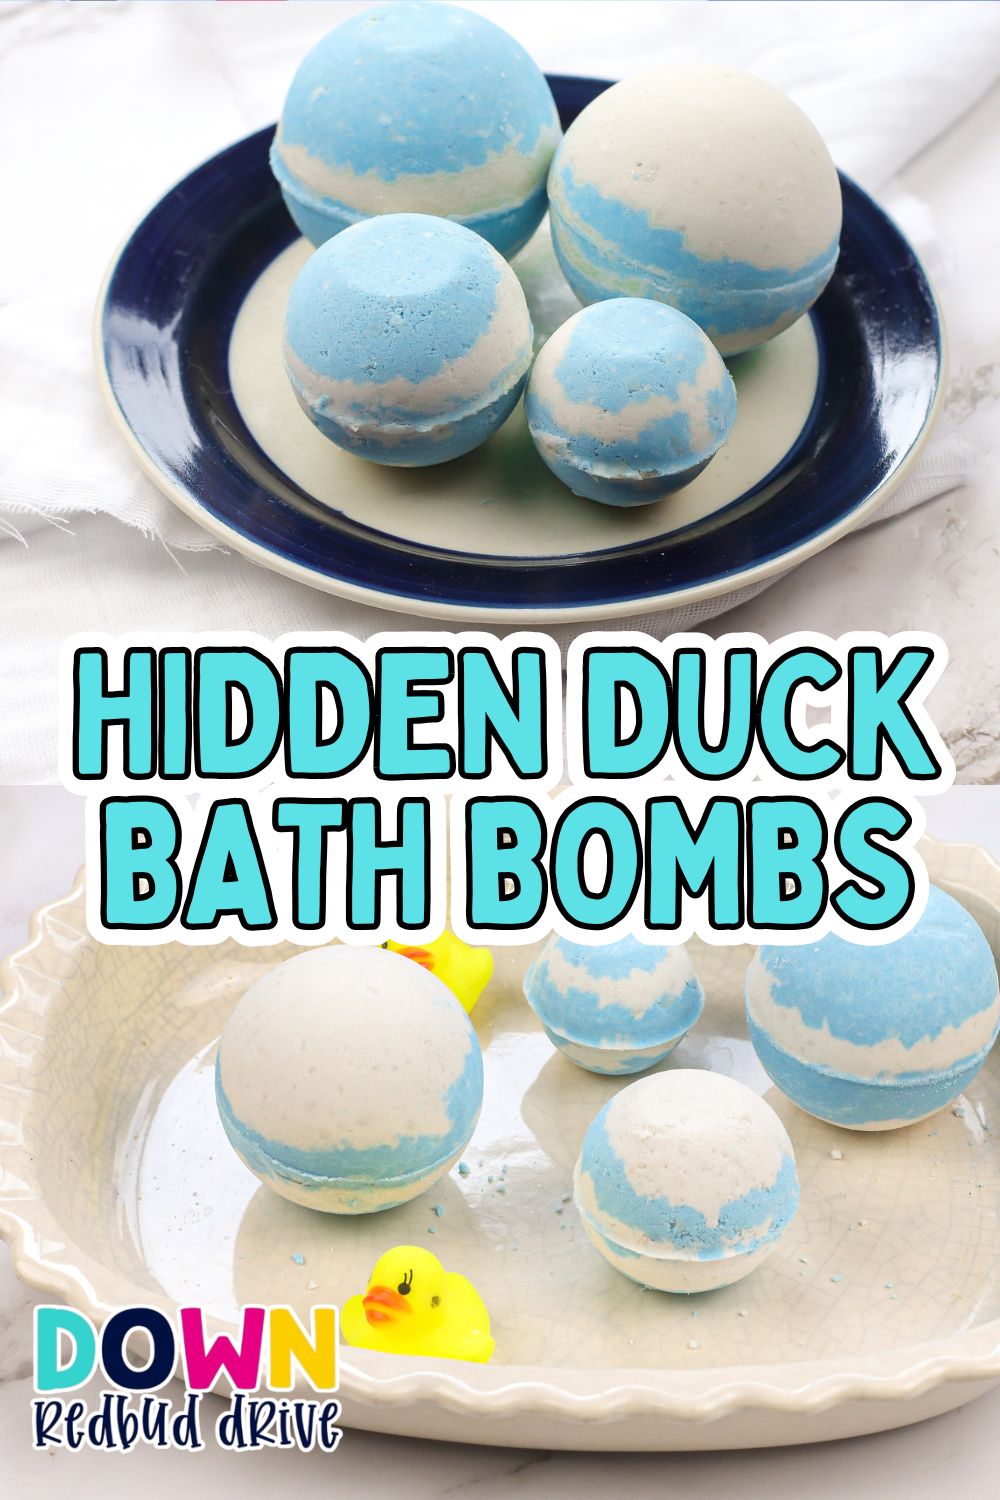
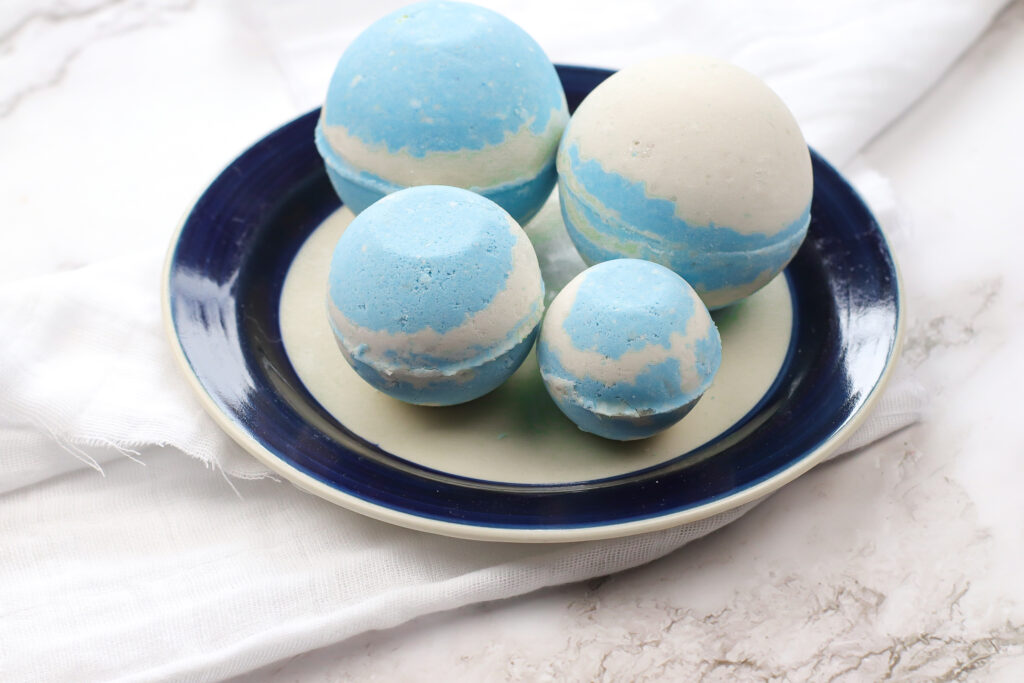
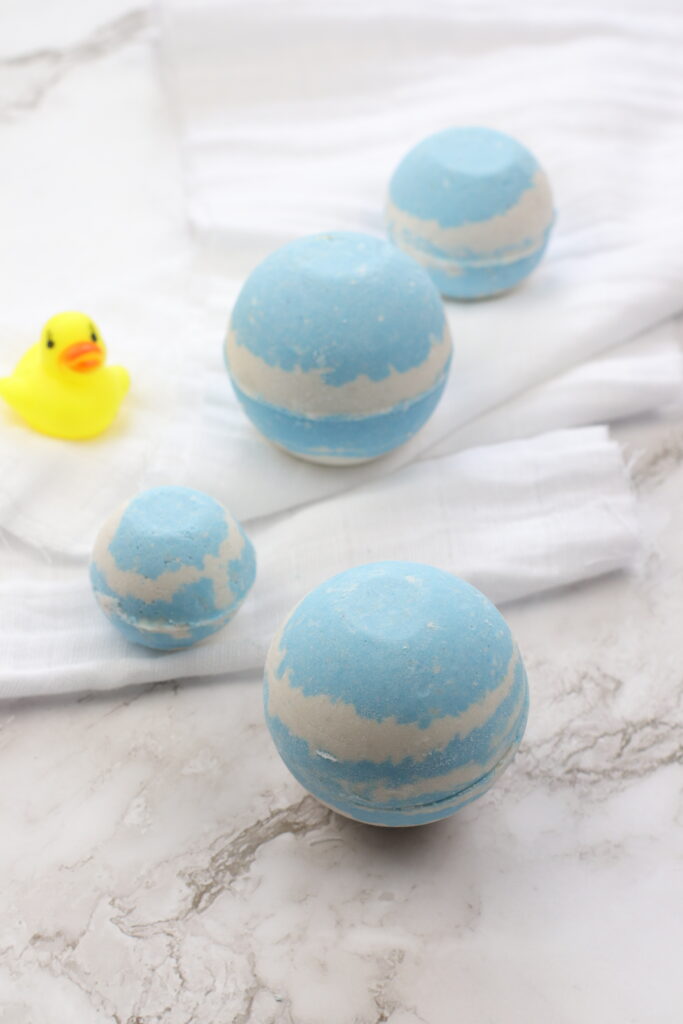
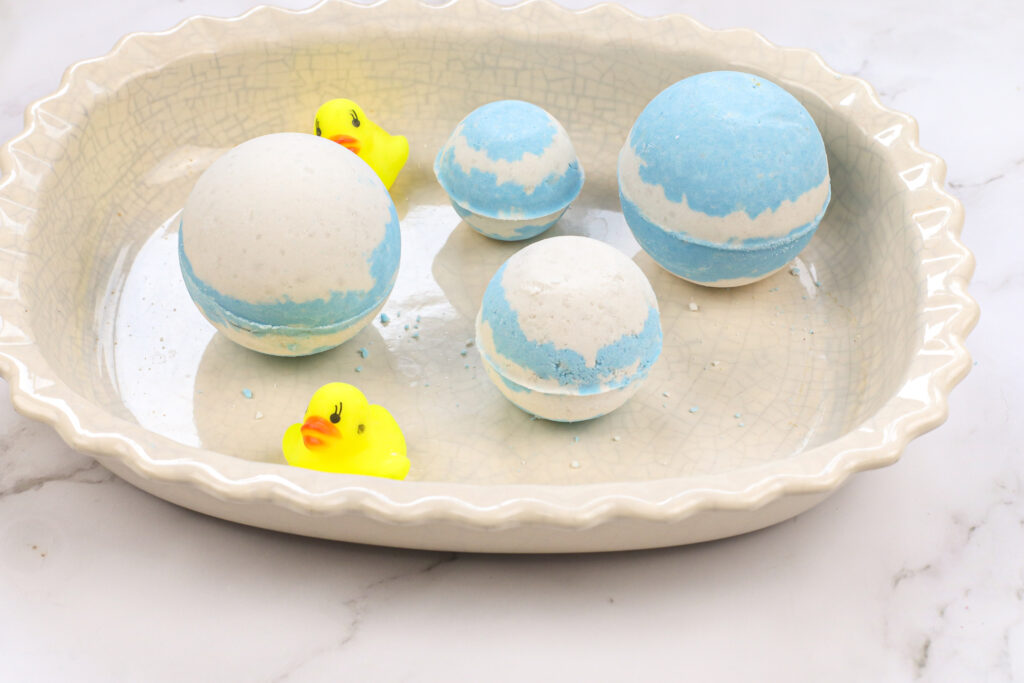
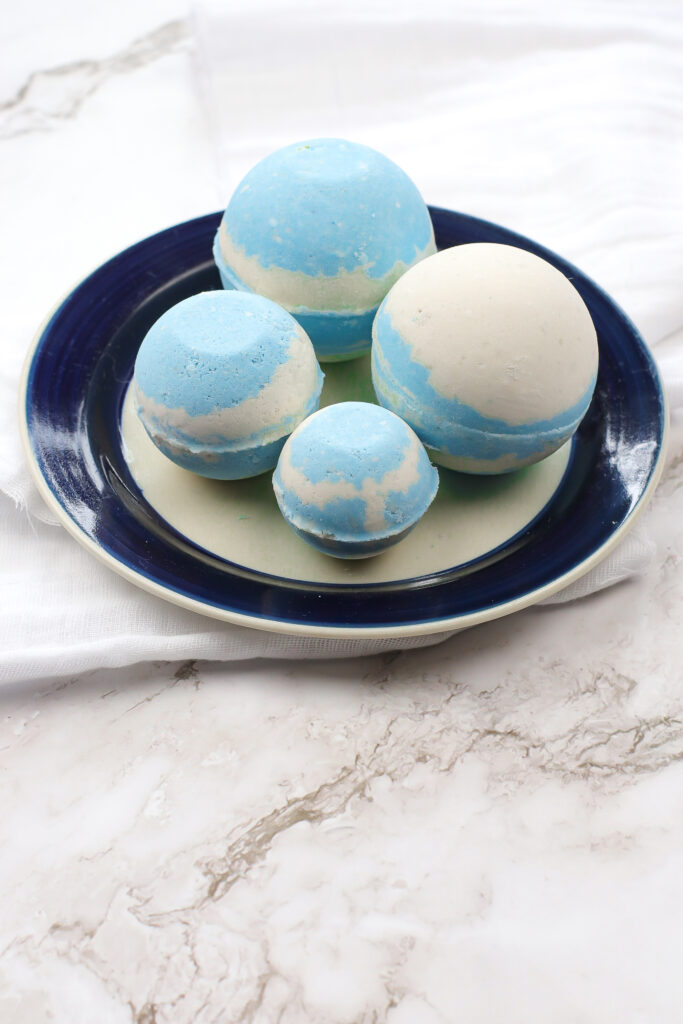
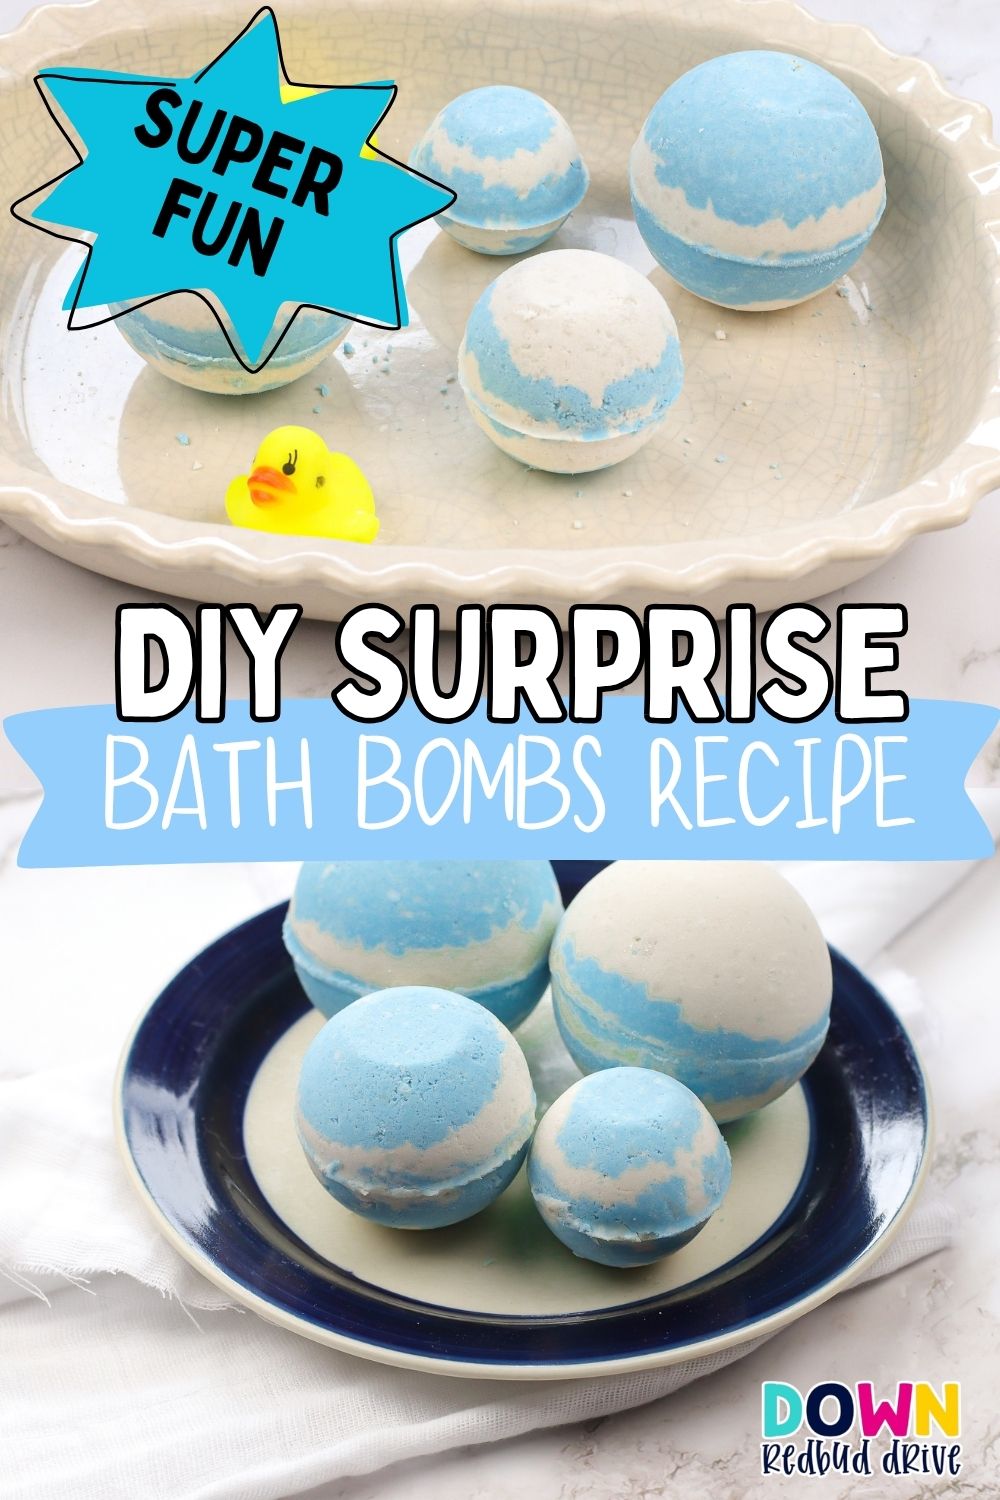
There’s something about a surprise that makes bath time instantly more fun, and these layered hidden duck bath bombs are exactly that. Drop one into the tub and watch the fizzing color layers dissolve to reveal a tiny rubber duck inside.
It’s such a simple idea, but it feels a little bit magical, especially for kids. We’ve made a few batches of these lately and they’ve quickly become a favorite easy bath bomb recipe to come back to.
Once you mastered this recipe, you can make them over and over again hiding all kinds of different surprises inside too. Surprise bath bombs make great party favors on a budget that can be easily themed to match your party theme – anything from a Minecraft party with green bath bombs and small Minecraft toys inside, to a SpongeBob party, a hot wheels party with a mini car inside or literally any theme!
If you’ve ever wanted to try making your own bath bombs, this is a great place to start. The process is straightforward, the ingredients are easy to find, and the result feels just as good as commercial bath bombs, but with more control over what goes into them.
These homemade bath bombs are not just fun to make, they’re also made with simple, natural ingredients you can feel good about. The combination of baking soda and citric acid creates that satisfying fizzing chemical reaction in the water, releasing carbon dioxide and giving that classic bath bomb effect. That’s a whole science lesson for the kids if you’re making these together!
Not to mention, the layered colors make them look really pretty, and the hidden duck adds a playful twist that keeps kids excited for bath time. It’s also a lovely way to make bath time feel like a little treat rather than just part of the routine.
Supplies You’ll Need for your Hidden Surprise Kids Bath Bomb Recipe
You’ll want to have everything ready before you start, as once you begin mixing the wet ingredients and dry ingredients, it comes together quickly.
You can pick up all the main ingredients on Amazon and I’ve included affiliate links here for your convenience.
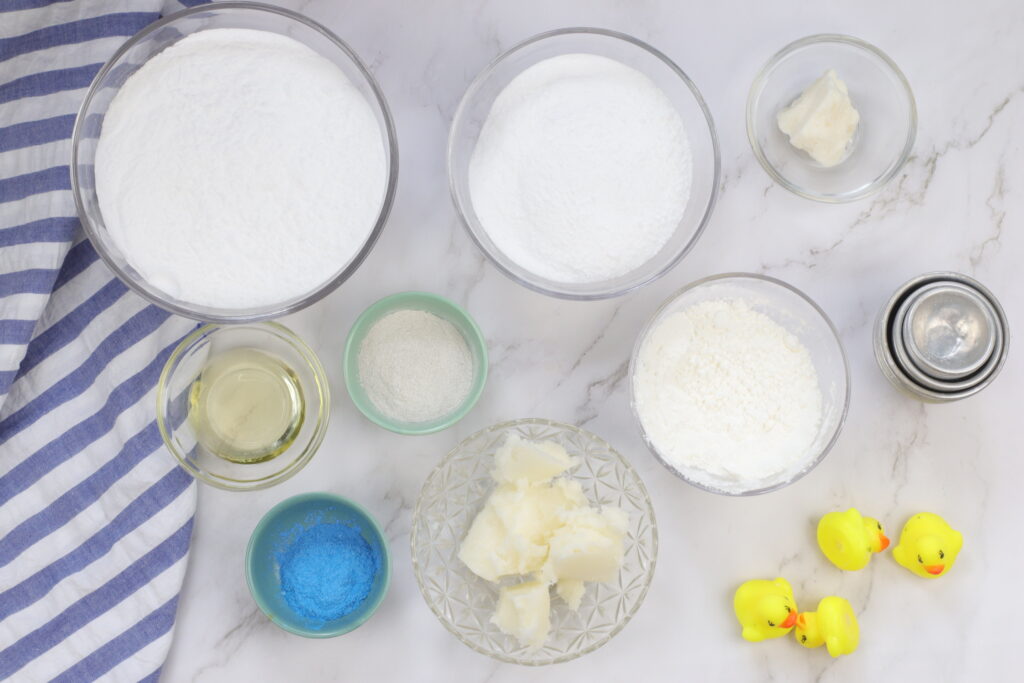
- *2 cups baking soda (I get the 4-pound bag at Walmart)
- 1 cup citric acid (I get mine on Amazon)
- 1/4 cup cornstarch
- 1/4 cup white bentonite clay (I get mine from Amazon)
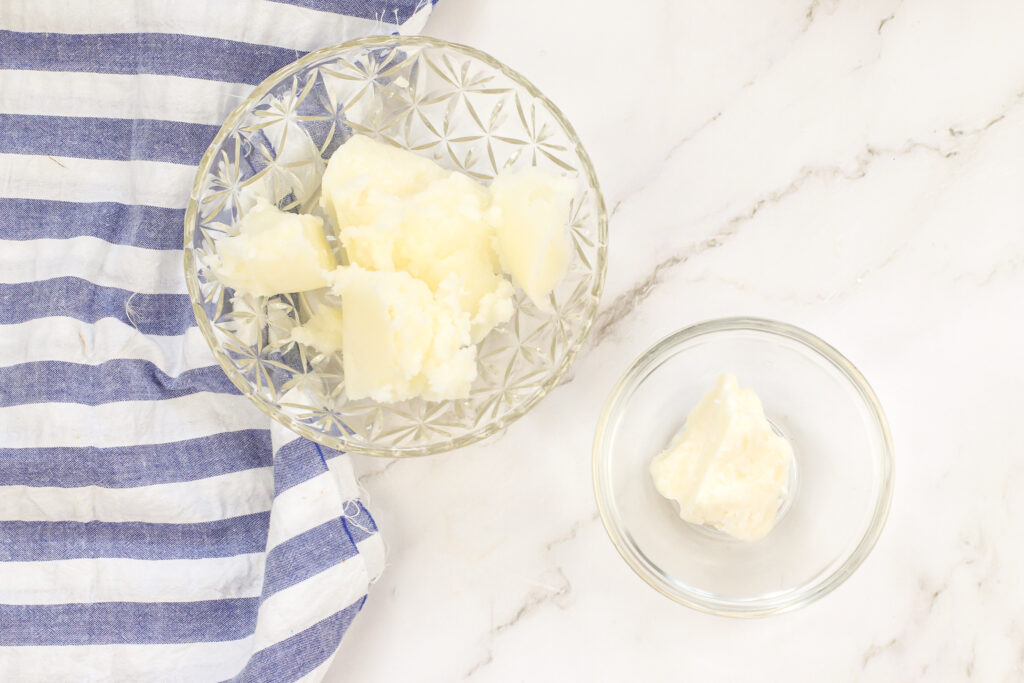
- 1 tablespoon avocado butter (I get mine from Amazon)
- 1/3 cup coconut oil (I get mine either at Sam’s Club or the 2-pack of Lou Ana from Walmart)
- 1 teaspoon polysorbate 80 (I get mine from Amazon)
- White mica colorant (I get mine in a set from Amazon)
- Blue mica colorant (See above)
- **Scented oil (I get my kid safe scented oil and adult scented oil from Amazon)
- Mini Rubber Ducks for larger molds (I get mine from Amazon) or
- Mini Resin Ducks for smaller molds (I get mine from Amazon) You can get resin animals like this in all kinds of animals, my daughter loves them so much!!
- Bath bomb molds (This is a set of various sizes of 2-sided metal molds) I get mine from Amazon)
- Spray bottle filled with rubbing alcohol
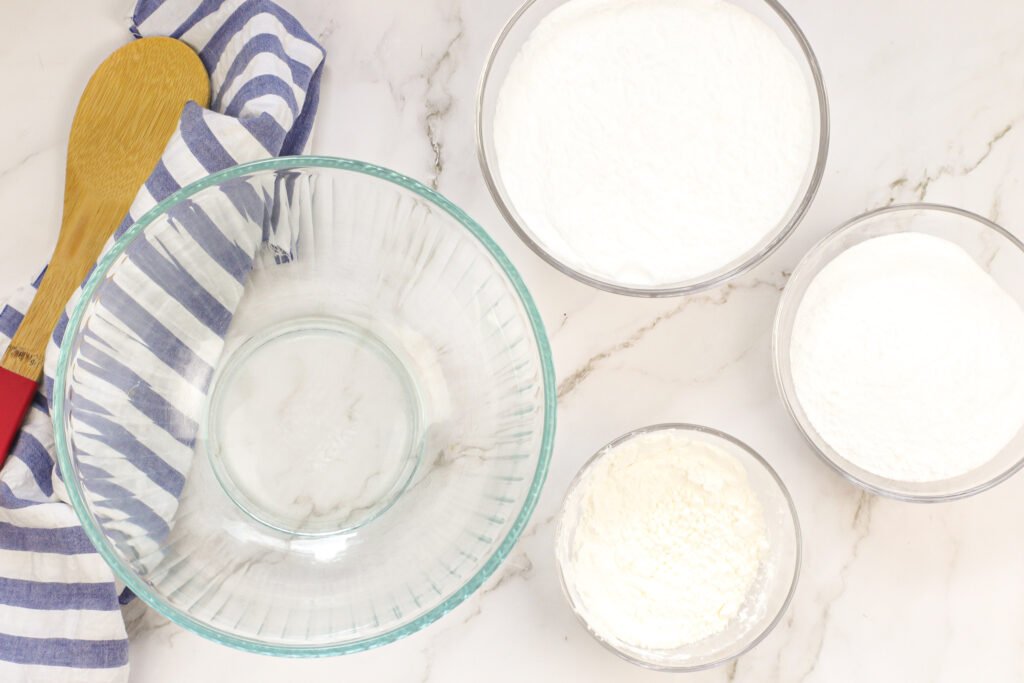
- 1 large, 2 medium and 1 small mixing bowl
*Some links may show a larger bag. This is done because the price per bag is higher but the cost per ounce is lower. Of course, there are others in a smaller amount at a lower cost per bag
**If using on children, please check a trusted source for the safe amount to use. Everyone has their own favorite brands of essential oils so you can use whichever you feel comfortable with.
How to Make Your Own Kids Bath Bombs
Start by melting your coconut oil and avocado butter. Use a microwave-safe container and heat in short bursts, stirring in between until everything is fully melted.
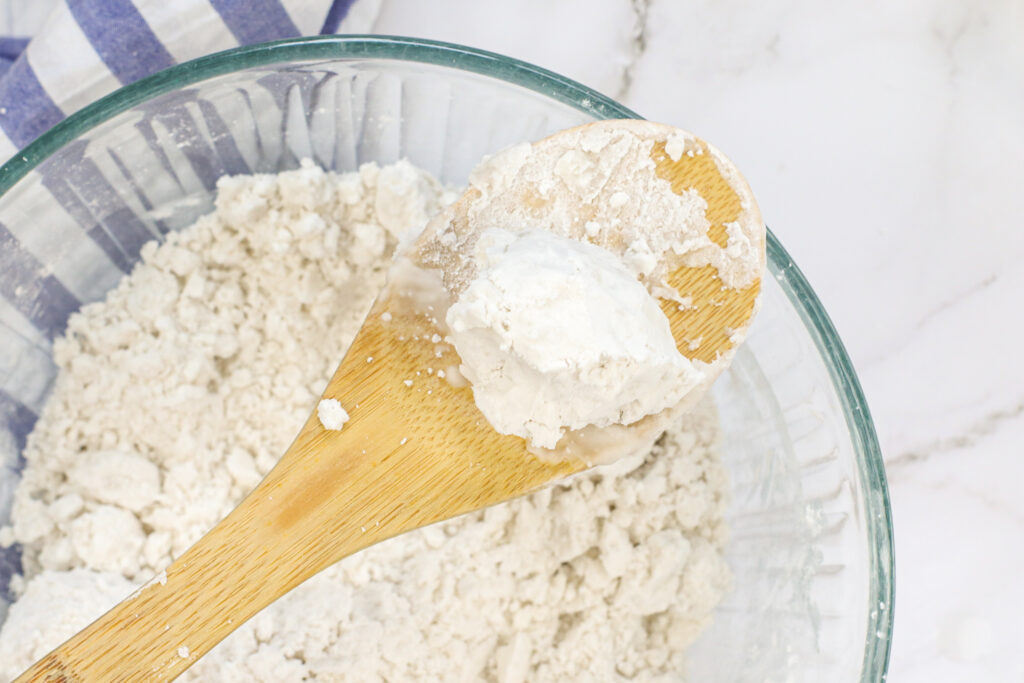
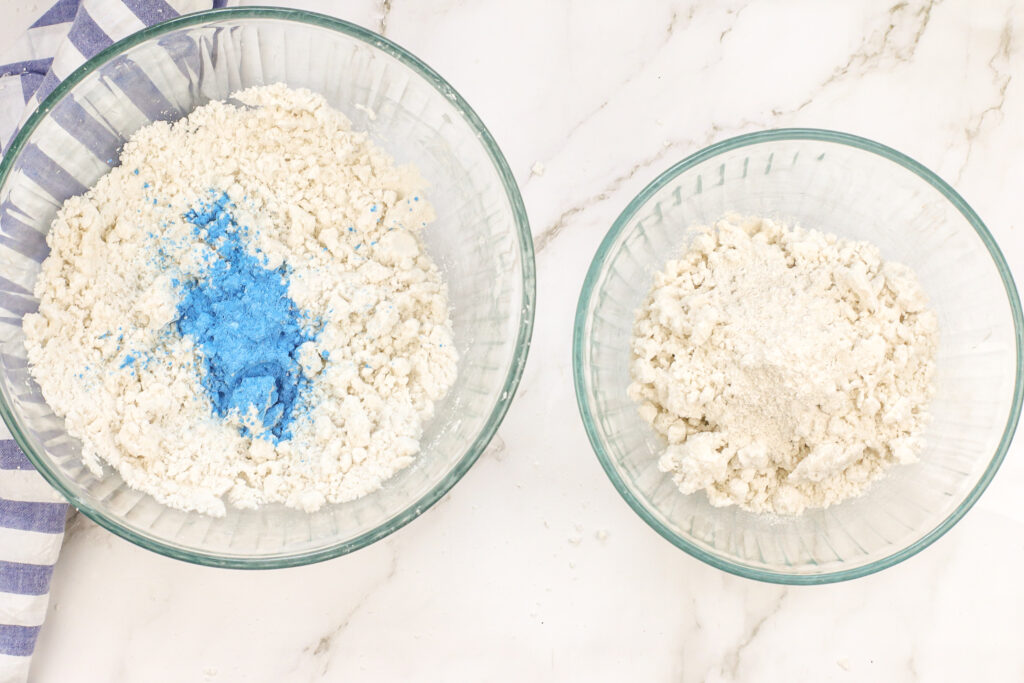
In a large bowl, combine your dry ingredients. That’s the baking soda, citric acid, cornstarch, and clay. Whisk everything together until smooth. If you notice any lumps, you can sift them out for a finer texture.
Next, pour in your melted oils along with the polysorbate 80. This helps the coconut oil disperse properly in the bath water and keeps the mica powder from sticking to the sides of the tub.
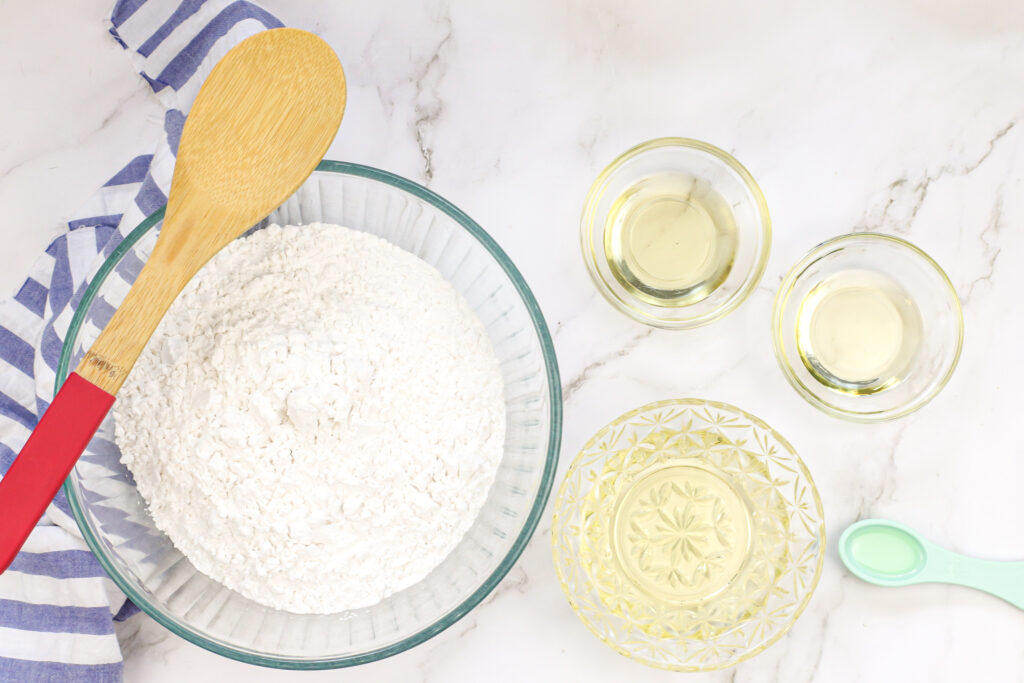
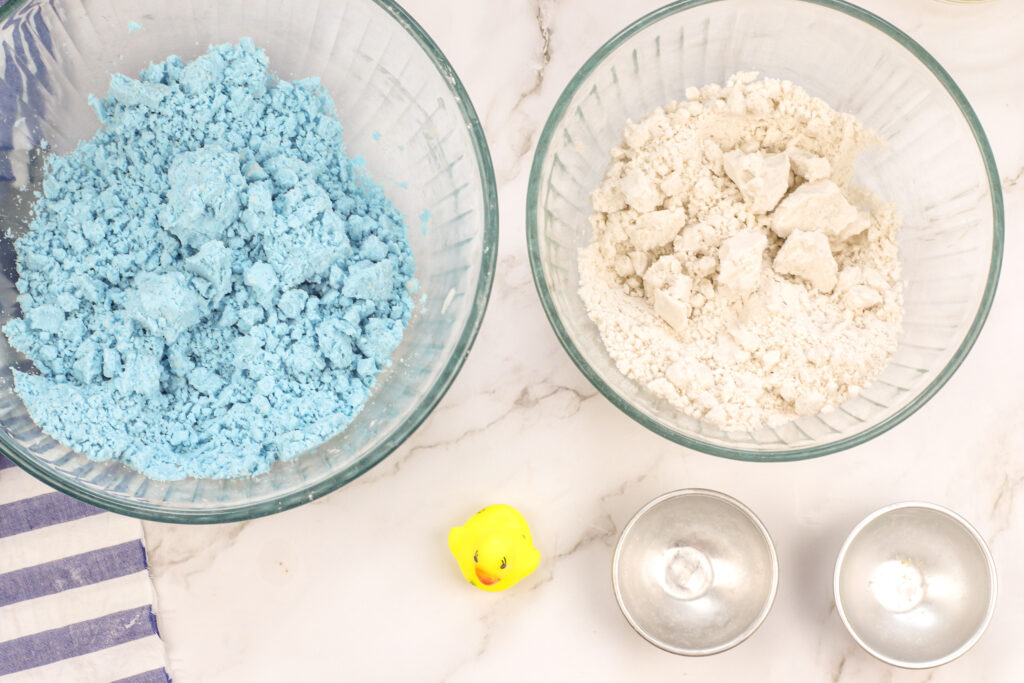
Mix everything together well. You’ll likely need to use your hands to break up any clumps. The texture should feel like damp sand and hold its shape when pressed.
Divide the mixture into two medium bowls. In one bowl, add your blue mica powder, and in the other, add white mica. Mix until you get the shade you like. This is also the time to add your scented oil or a few drops of essential oil. Stir well so the fragrance is evenly distributed.
How to Layer and Mold the Bath Bombs
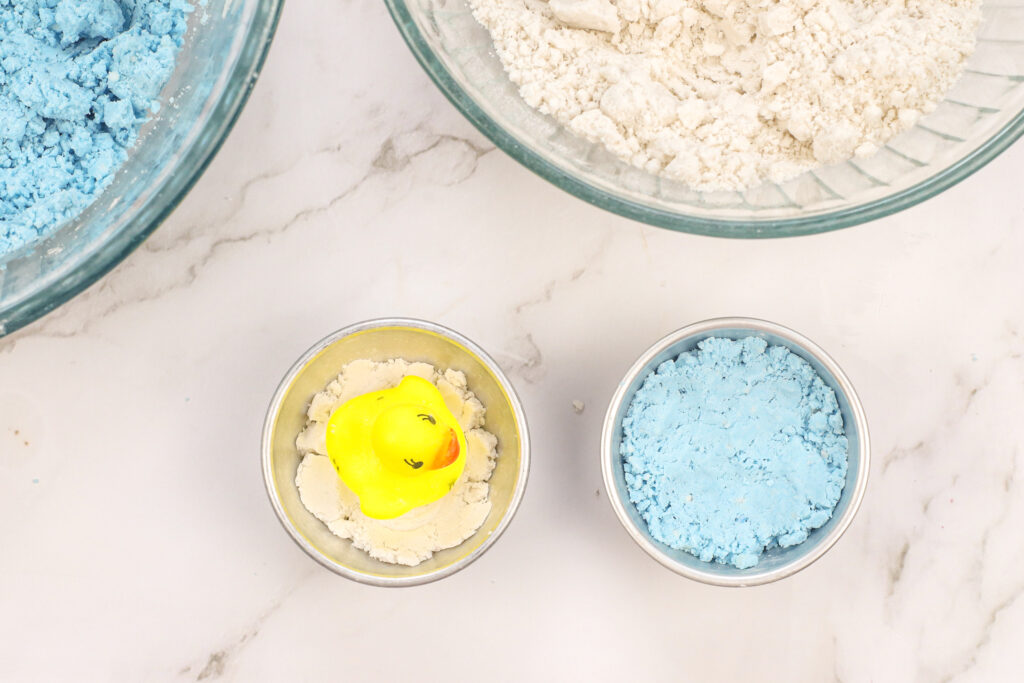
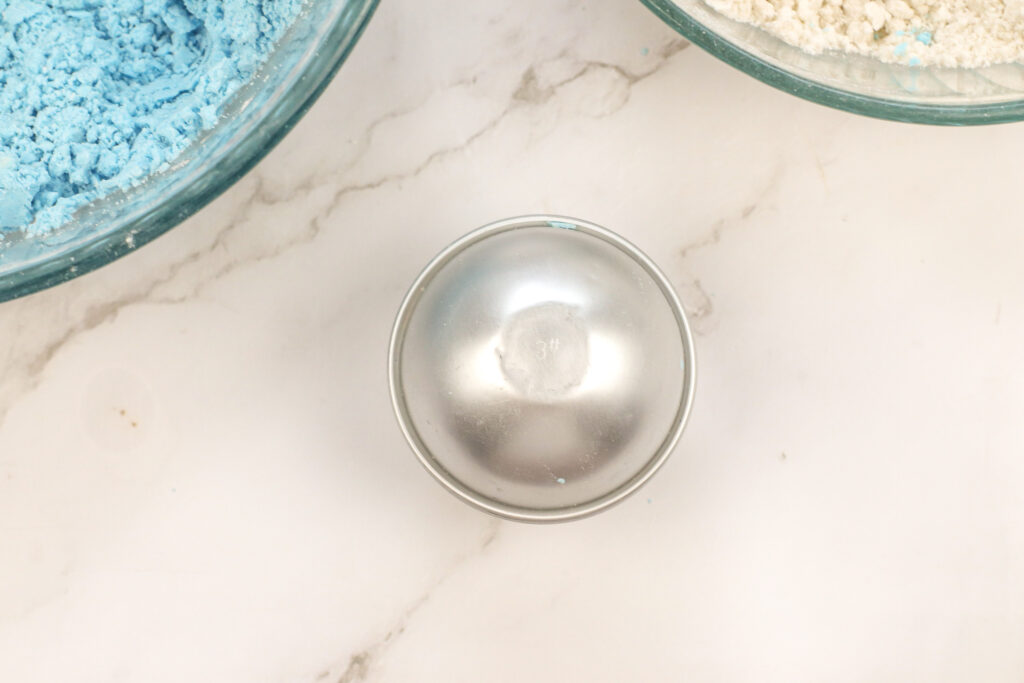
Take one half of your bath bomb mold and add a small amount of one color mixture. Place your mini duck in the center.
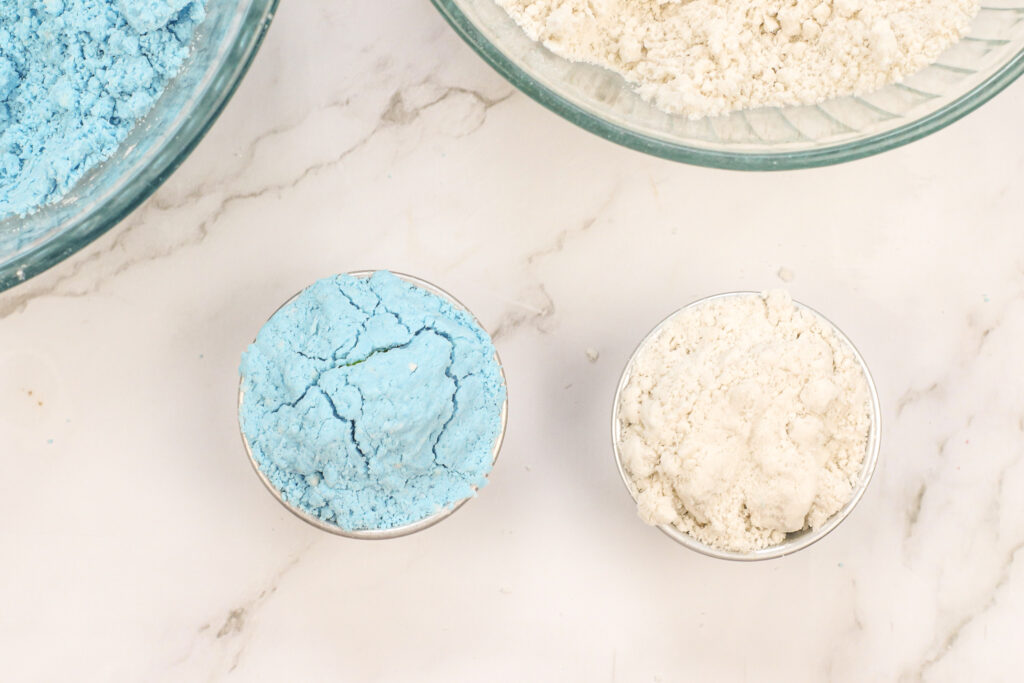
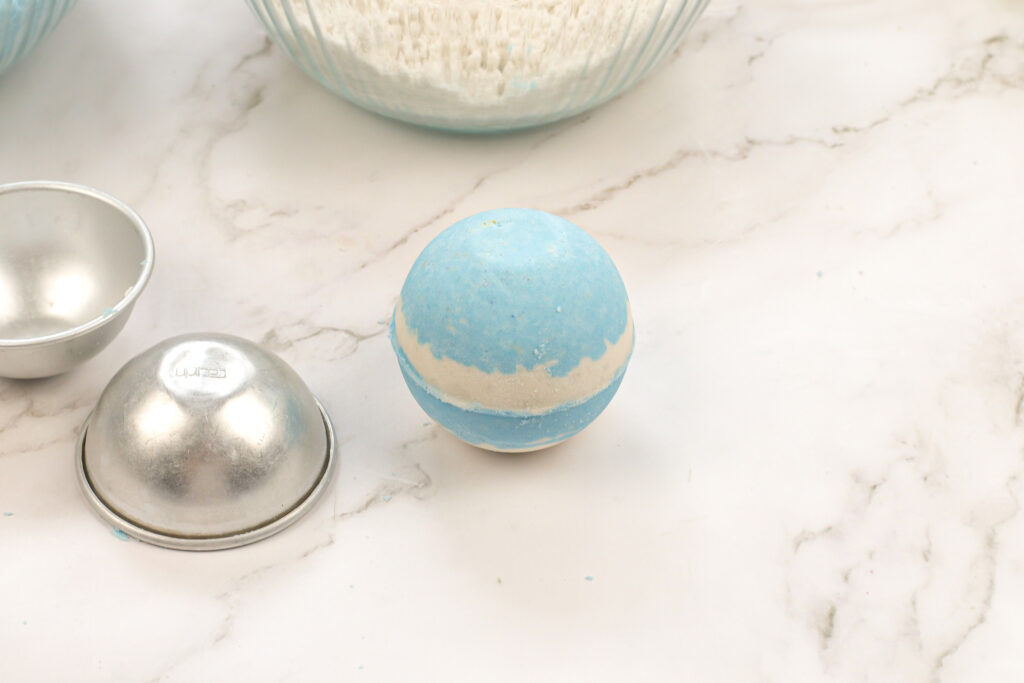
Then begin layering the mixture, alternating between blue and white, gently packing it down as you go.
Fill both halves of the mold so they slightly overflow. Press the two sides together firmly. Over a small bowl, gently twist or grind the mold to remove any excess mixture.
Carefully tap the mold to release the bath bomb. If it feels delicate, give it a little more time before removing.
Once it’s done you’ll have a round bath bomb like this with a hidden surprise inside!
Drying and Storing Your DIY Bath Bombs
Let your bath bombs dry for at least 24 hours. If your home is a bit damp or cold, it’s best to leave them for 48 hours. Once they feel hard to the touch, they’re ready.
Store them in an airtight container, and they’ll keep well for up to six months.
Tips for the Best Results
If this is your first time making DIY bath bombs, don’t worry if they’re not perfect. The key is getting that “wet sand” consistency. If the mixture feels too dry, you can lightly spritz it with rubbing alcohol from your spray bottle, but go slowly so you don’t trigger the fizzing reaction too early.
Using mica powder instead of food coloring helps avoid staining your tub, and polysorbate 80 makes a big difference in keeping everything clean and evenly dispersed.
If you have sensitive skin, you can keep the scent light or skip it entirely and still enjoy a lovely bath. You can also experiment with adding a gentle base oil or even a small amount of bath salts like epsom salt in future batches.
If you want to print the diy kids bath bomb recipe use the recipe card below…

Hidden Rubber Duck Kids Bath Bombs Recipe
Ingredients
- 2 cups baking soda
- 1 cup citric acid
- 1/4 cup cornstarch
- 1/4 cup white bentonite clay
- 1 tablespoon avocado butter
- 1/3 cup coconut oil
- 1 teaspoon polysorbate 80
- White mica colorant
- Blue mica colorant
- Scented oil
- Mini Rubber Ducks for larger molds or
- Mini Resin Ducks for smaller molds
- Bath bomb molds
- Spray bottle filled with rubbing alcohol
- 1 large 2 medium and 1 small mixing bowl
Instructions
- Step 1: Melt any solid oils (coconut, shea, avocado, etc.) in a microwave safe container in 30 second bursts. Stir in between each. Continue until completely melted.
- Step 2: In a large mixing bowl, add the baking soda, citric acid, kaolin clay and cornstarch. Whisk dry ingredients together. (If desired, sift dry ingredients to rid the mixture of any clumps or hard pieces)
- Step 3: Add the coconut oil and avocado butter. The coconut oil binds all the ingredients together, so your bath bombs don’t crumble when you touch them, and the avocado butter adds additional stability and helps moisturize and soften your skin. Add the polysorbate 80. This helps the coconut oil disperse more evenly in your bath water, makes the bath bombs bubbly, and prevents the mica from sticking to the side of the tub.
- Step 4: Mix wet ingredients in well. You may need to use your hands to break down any lumps and make sure everything is mixed in. The mixture is perfect when it holds together when you press it into your hands and feels like wet sand.
- Steps 5-6: Divide the mixture into 2 bowls. Add 1-2 teaspoons of the blue mica to one and the same amount of the white to the other bowl. Continue to add a bit of mica until you achieve the color you desire. Add the scented oil. Mix well. Directions for Molding the Bath Bombs:
- Steps 7-8: Add a bit of one color to one of the bath bomb molds. Add your duck. Gently layer the bath bomb mixture, alternating colors, to each side of the bath bomb mold until slightly overflowing.
- Steps 9-10: Over the smaller, empty bowl, press molds together and gently but firmly grind to remove any excess mixture. Gently tap mold to release the bombs.
- Step 11: Allow to dry a minimum of 24 hours. If your climate is wet or cold, allow an additional 24 hours. My rule of thumb is that when it is hard to the touch, they are ready for the tub!
- Store in an airtight container for up to 6 months until ready for use.
These layered hidden duck bath bombs are such a fun project to make and even more fun to use. Watching them fizz away to reveal the little duck inside never gets old, and it turns an ordinary bath into something a bit more special.
Whether you’re making them as gifts or just for your own family, they’re a simple way to add so much fun and a little extra joy to bath time. If you give them a try, I’d love to hear how they turn out.
More DIY Gift Ideas
If you enjoyed making these bath bombs, there are so many more easy DIY gift ideas you can try. Handmade gifts always feel a little more special, and they’re a lovely way to add a personal touch whether you’re making something for friends, family, or even a small treat for yourself.

- Mother’s Day DIY Seed Bombs Gift
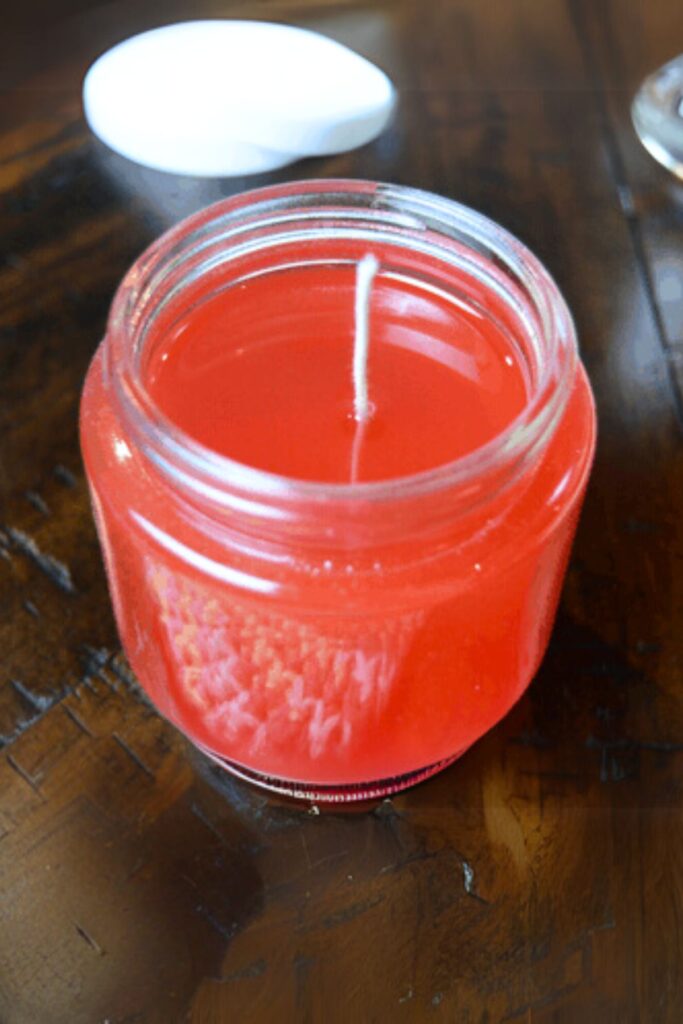
- DIY Recycled Candles
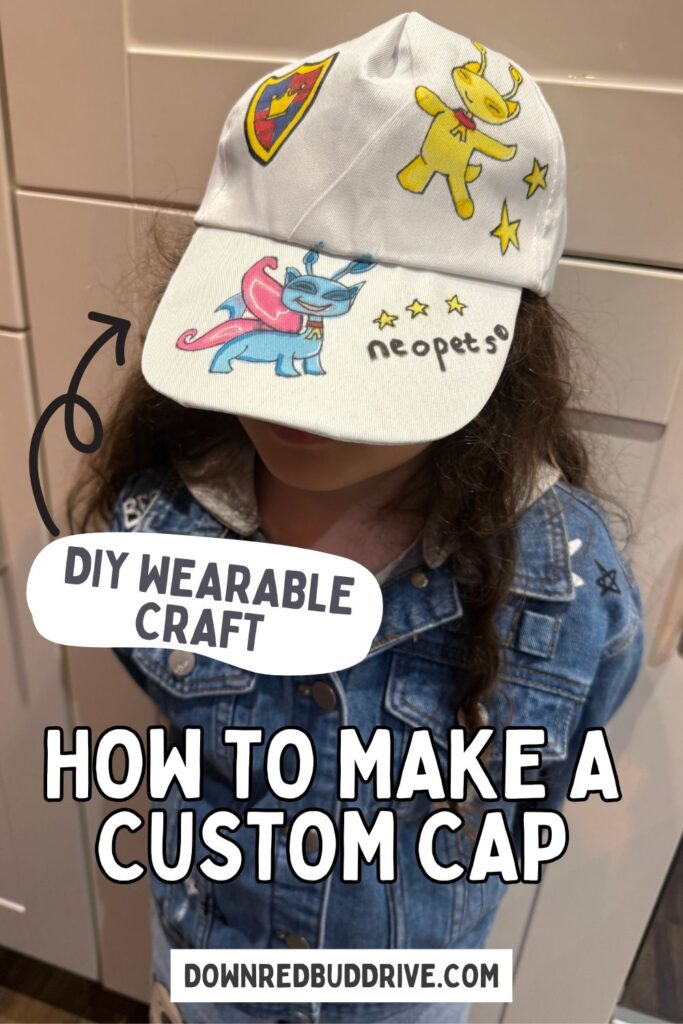
- DIY Customized Kids Hats – A Fun, Wearable Craft
If you found this idea helpful, don’t forget to share this blog post on Pinterest or your favorite social media platform so others can find it too. It really helps spread the word and inspires more people to get creative at home.


Leave a Reply