
 Author:
 If your kids love sensory play, this homemade kinetic sand recipe is about to become a favorite. There’s something so satisfying about squishing, molding, and squeezing this moldable sand through your fingers. It has a texture that’s different from regular sand, making it perfect for creating different shapes, building mini sand castles, and enjoying hours of creative play time.
The best part is that this recipe uses simple ingredients you may already have at home. Unlike the store-bought version, you can make a big batch for a fraction of the cost, and it comes together in just a few minutes.
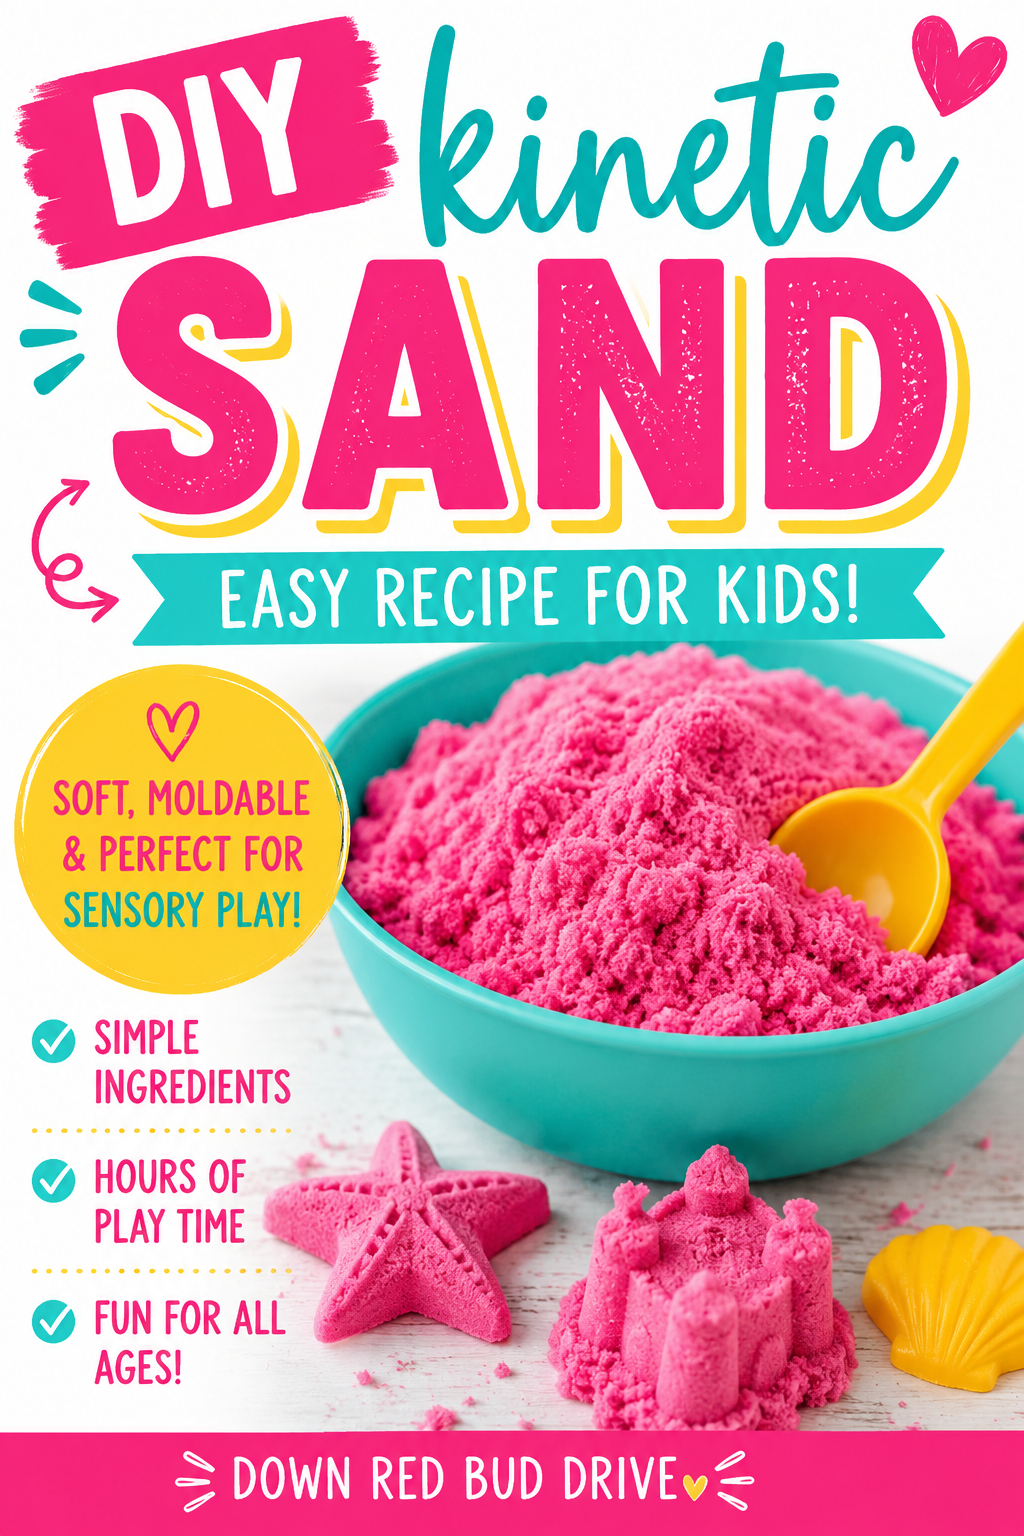
Kids Love Kinetic Sand. It’s just one of those activities that keeps kids coming back for more. The texture of the kinetic sand is soft, moldable, and easy to shape. It flows through your hands but still holds together when squeezed.
Sensory play activities like this help develop fine motor skills, hand strength, creativity, and problem-solving. Whether your child is filling cups, making patterns, or creating sculptures, they’re learning while having so much fun.
It’s a perfect addition to a sensory bin, sand table, or rainy day activity setup for both young children and older kids.
Ingredients for DIY Kinetic Sand
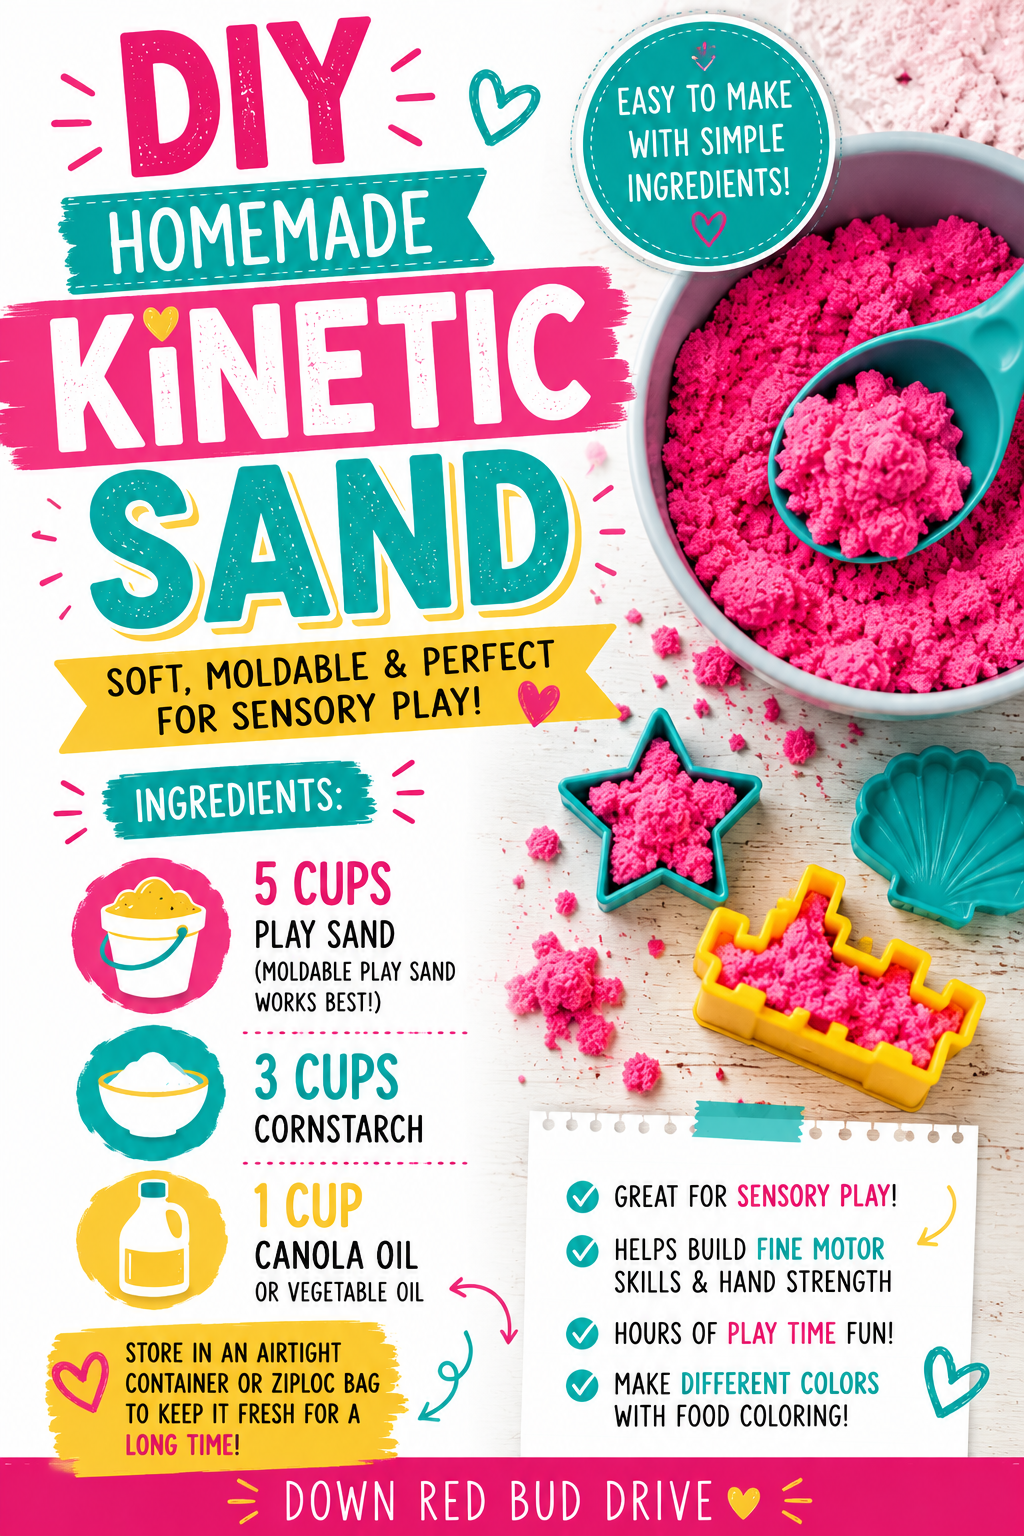
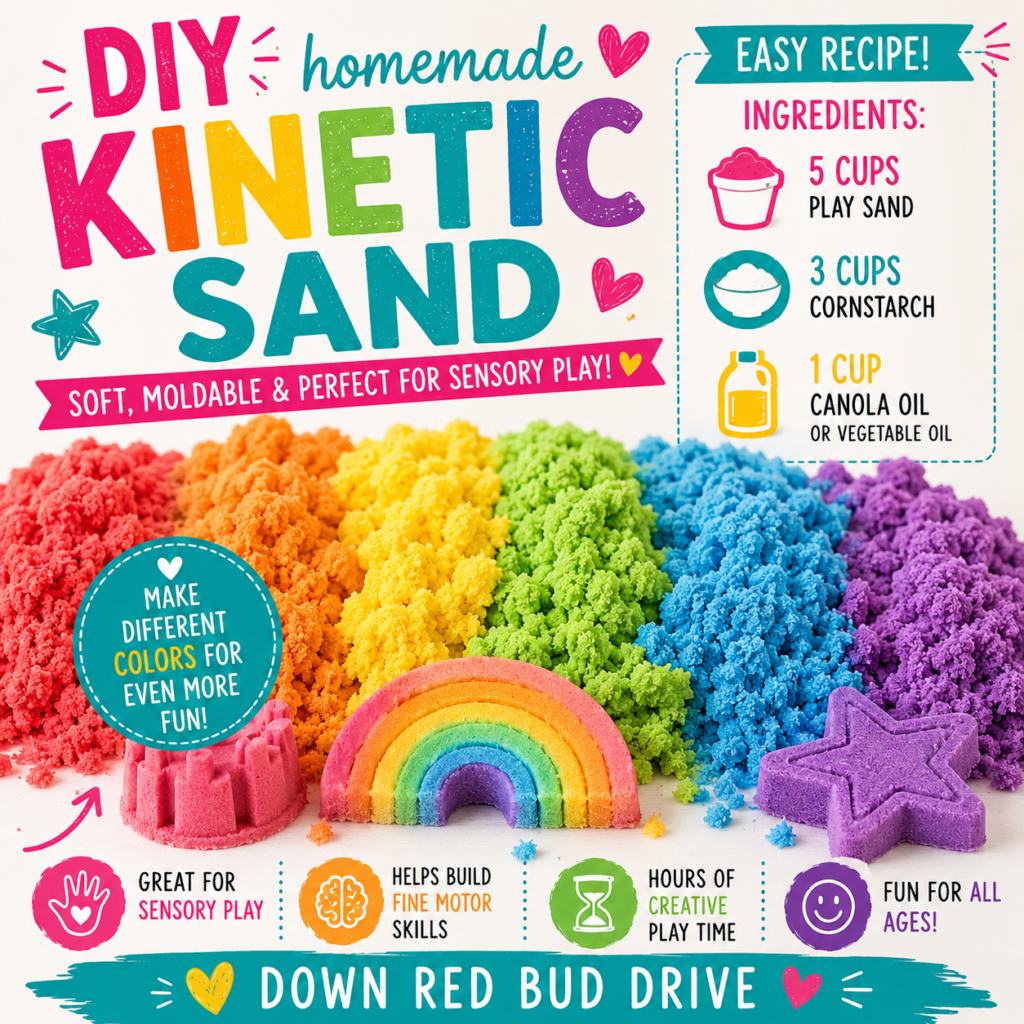
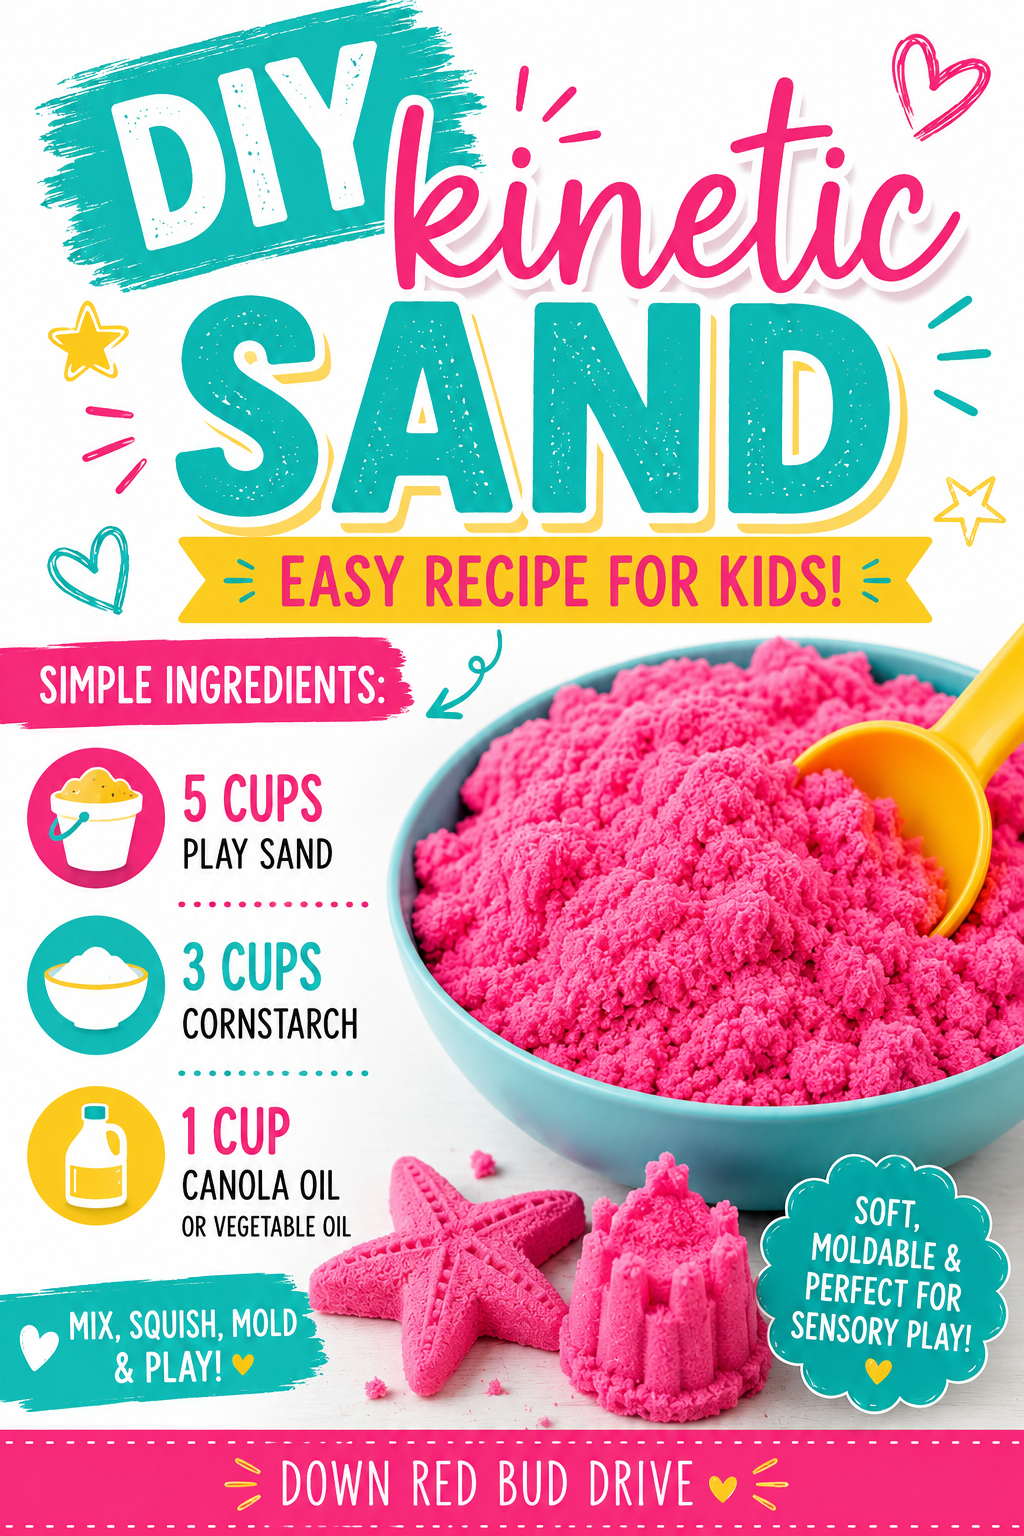
To make this homemade kinetic sand recipe, you’ll need 5 cups of play sand, 3 cups of cornstarch, and 1 cup of canola oil or vegetable oil.
This 5:3:1 ratio gives you soft, moldable sand that holds together nicely for sensory play. If it feels too dry, add a little bit more oil. If it feels too wet or sticky, add more sand until the texture feels right.
- 5 cups play sand
- 3 cups cornstarch
- 1 cup canola oil or vegetable oil
When choosing your sand, look for a clean type of play sand sold for children’s play areas. Finer sand particles will give a smoother result.
If you need a bigger amount, just scale up the recipe so you could double everything, triple everything and so on.
How to Make Homemade Kinetic Sand
Add the play sand and cornstarch to a large bowl and stir until well combined.
Pour in the canola oil and mix thoroughly. Keep stirring until all of the dry ingredients are coated and the mixture develops a soft, moldable play sand texture.
If you notice any dry spots, add a little bit more oil, one teaspoon at a time, until the mixture holds its shape when squeezed. If the sand feels too oily, simply add a small amount of additional sand.
That’s it! No water, no dish soap, and no complicated steps. The oil acts as the secret ingredient that gives the sand its unique texture.
Optional Colorful Kinetic Sand
If you’d like to make different colors, add a few drops of food coloring to the oil before mixing it with the sand. This helps distribute the color more evenly throughout the mixture.
You can create separate batches in different colors for even more sensory play fun.
Taste-Safe Adaptation for your DIY Kinetic Sand Recipe
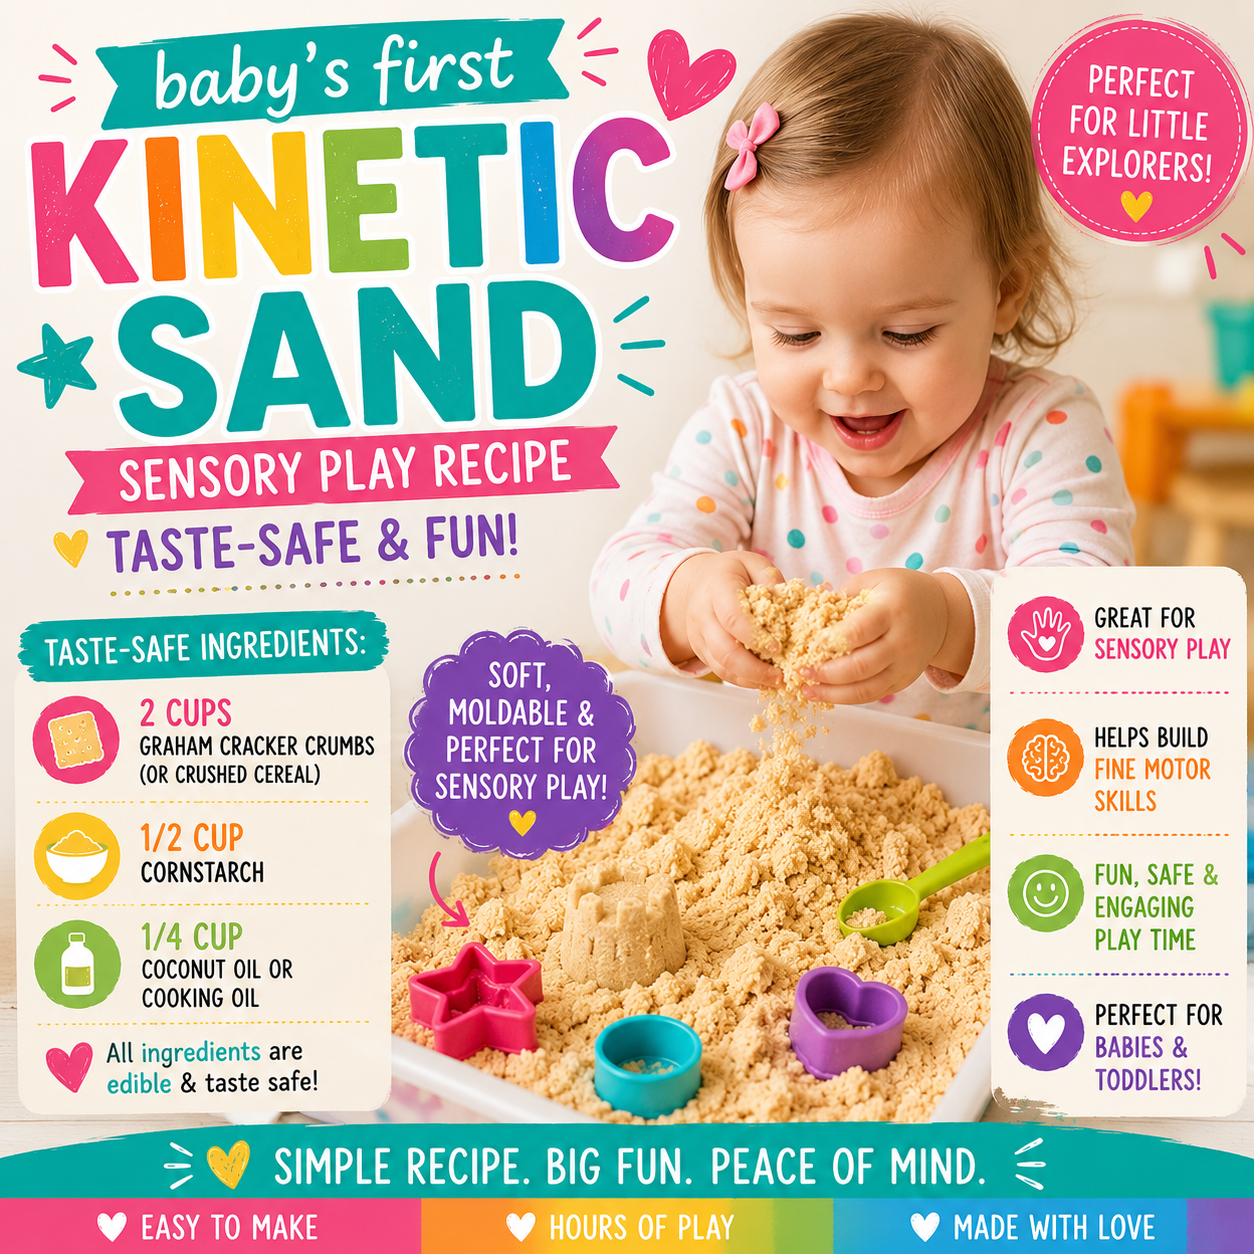
For very young children who still explore with their mouths, you can make an edible kinetic sand alternative. Replace the play sand with finely crushed graham crackers, crushed cereal, or another edible sand recipe base. Then mix it with a small amount of cooking oil until it reaches a moldable texture.
This edible kinetic sand won’t last as long as the traditional version, but it can provide a similar sensory experience while giving parents extra peace of mind during play time.
Fun Ways to Play with Kinetic Sand
Once your sensory sand is ready, the possibilities are endless. Use cookie cutters, toy animals, cups, and sensory tools to create different shapes and designs. Kids can scoop, pour, flatten, and build while exploring the unique texture.
It also pairs well with play dough accessories, construction toys, and other miniature figures for even more creative play.
How to Store Kinetic Sand
Store your homemade kinetic sand in an airtight container, a plastic container may be better than glass Tupperware when it’s going to be accessed by kids, or you can even use a large ziploc bag when not in use.
Properly stored, it can last for a long time and stay soft and ready for future play sessions.
If the sand starts to feel dry after extended use, simply mix in a little bit more oil to refresh it.
This homemade kinetic sand recipe is one of our favorite sensory play activities because it’s easy, affordable, and endlessly entertaining. With simple ingredients and just a few minutes of prep time, you’ll have a batch of moldable sand that kids can enjoy again and again.
Whether you’re filling a sensory bin, setting up a sand table, or simply looking for new recipes to keep the kids busy, this might just become your family’s best kinetic sand recipe.
More DIY Play Recipes for Kids
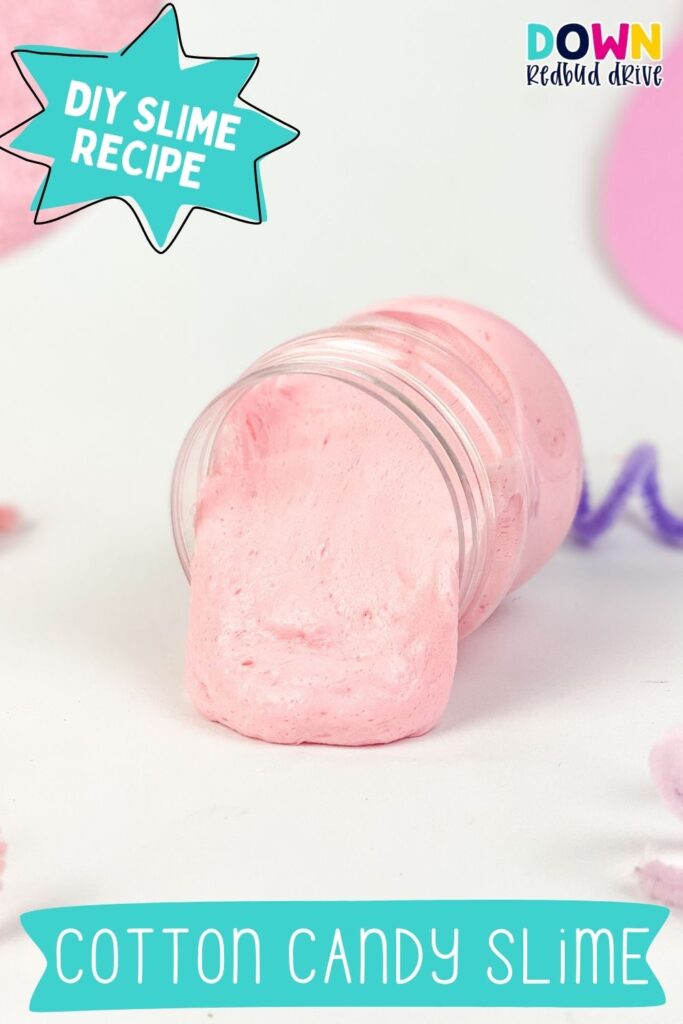
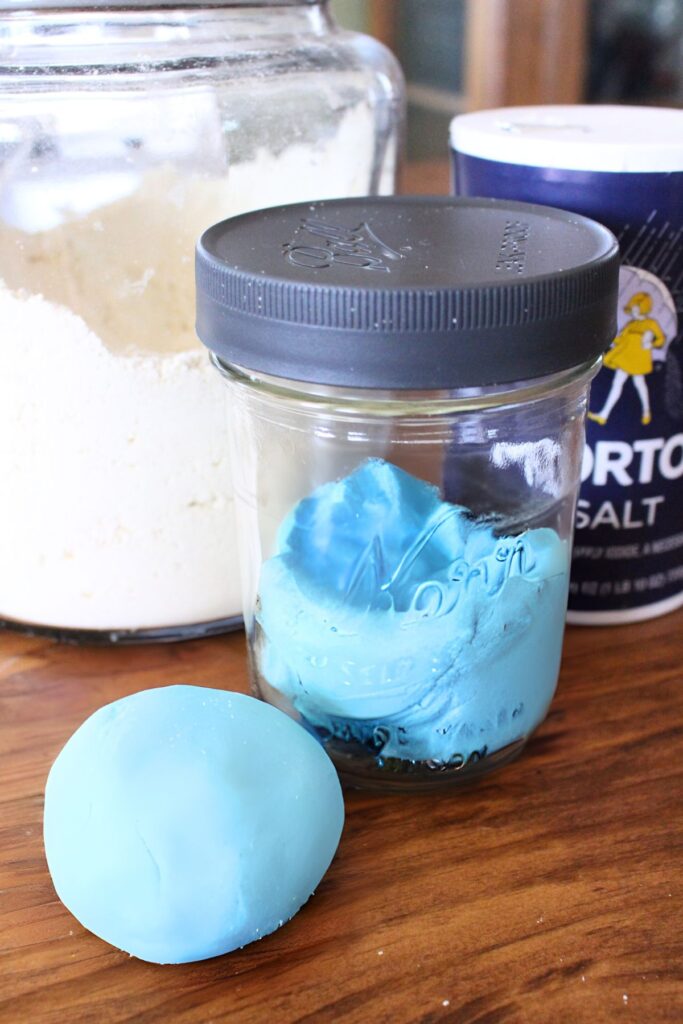
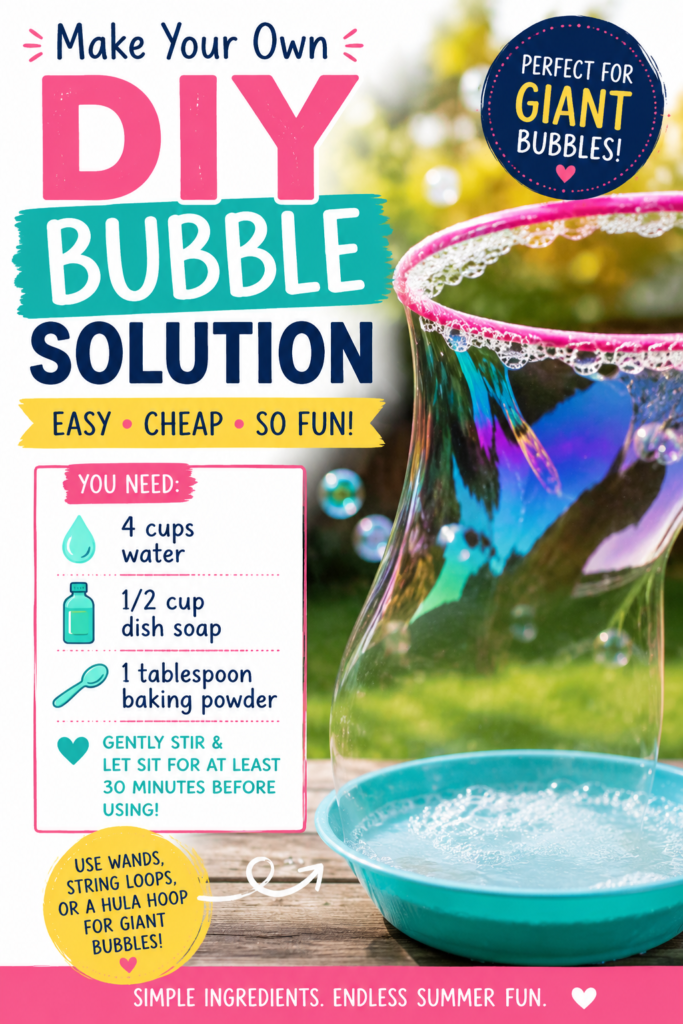
If your kids enjoyed making this homemade kinetic sand, be sure to check out some of our other DIY play recipes too. From fluffy slime and cloud dough to sensory bottles and homemade paint, there are so many fun ways to keep little hands busy with creative, hands-on activities.
These simple projects are perfect for rainy days, playdates, homeschool fun, or anytime the kids need an engaging screen-free activity.

- Edible Magic Melting Slime
- DIY Bubble Solution for Endless Summer Fun
- The Best Homemade Playdough Recipe
- Cotton Candy Slime Recipe
If you enjoyed this kinetic sand recipe, we’d love it if you’d share this blog post with friends and family on Facebook, Pinterest, or your favorite social media platform. It helps more families discover easy and affordable activities they can make and enjoy at home together!



Leave a Reply