
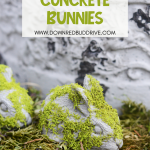


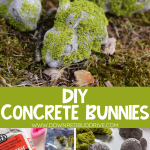

Make these adorable DIY Concrete Bunnies to grace your garden, flower pots, or bookshelves this spring! This easy concrete home decor is fun to make and looks great with the mossy details!

Last fall I made these AMAZING Concrete Pumpkins and I loved how they turned out so much, I just had to play with concrete some more – and so I made these cute mossy concrete bunnies!
How to Make DIY concrete bunnies
Concrete home decor has always been so fun to me. I love the color and just how timeless it is. It can also be expensive!
Turns out, it’s super easy to make your own! You can use molds, or make your own molds out of random things, and it’s amazing what comes out when the concrete dries!
Step 1: Gather your supplies.
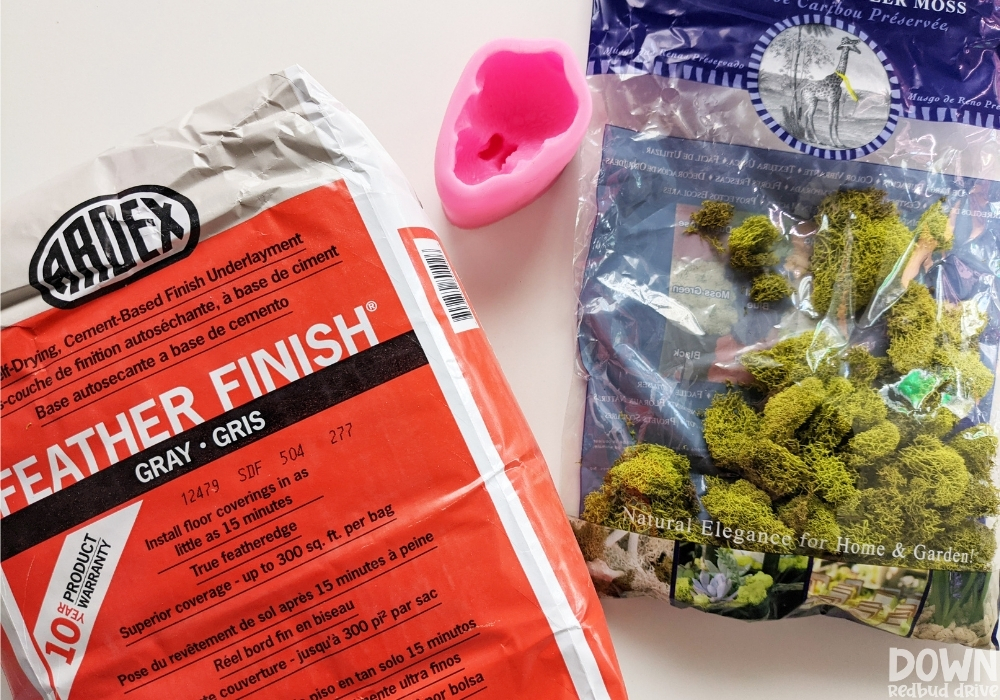
You will need:
- Feather Finish Concrete (HAS to be the fine powder)
- Mini Bunny Mold (these fit perfectly in flower pots!)
- Dried Moss
- E6000
- Disposable Cup
- Stirring Stick (a plastic spoon or popsicle stick will work)
- Water
Step 2: Mix the concrete.

Add a few tablespoons of the dry concrete mix into a disposable cup.
Add just enough water to make it the consistency of a thick pudding.
Be sure to mix well and get all the dry powder from the bottom of the container.
Pro Tip: Don’t stress about the ratio too much. If it looks too dry, add a little more water. If it’s too wet, just add a little more powder.
Step 3: Fill your bunny mold.

I found this adorable mini bunny mold on Amazon and I LOVE how it makes the bunnies come out!
Spoon the mixture into the mold until it’s level with the top of the mold.
Gently tap the mold on a flat surface to allow any air bubbles to escape to the surface.
Leave it on a flat surface to dry for 12-24 hours. If you want to make multiple, I suggest buying multiple molds or giving yourself a few days to complete the project.
Step 4: Remove the concrete bunnies from the mold.

These come out of the mold so easily! The silicone is super pliable so they just pull out.
Be sure they’re totally dry before removing or you could break an ear (ask me how I know…).
I am IN LOVE with how much detail they retain!
Step 5: Apply the moss.

I used E6000 to attach the moss to my bunnies. It’s an epoxy so it will hold up against elements and dries clear.

I just smeared the glue on wherever I wanted the moss to attach. I didn’t cover it completely, just added some sections.

Dried moss will look like this when you buy it (you can find it on Amazon, or at Walmart or Hobby Lobby) and I crushed mine in my hands and sprinkled it over my DIY concrete bunnies.

I spent a couple of mins crushing moss, sprinkling it on the bunny, and gently pressing it into the glue so it stuck to get this look.
Let them dry for at least an hour before handling. E6000 takes a full 24 hours to cure, so don’t place them outdoors etc until after that time.

Now I have an adorable family of DIY Concrete Bunnies that I’m in love with! They will spend time in my flower pots on my front porch this spring and summer and they’re so stinkin’ cute!
These would also make the most adorable Easter decor! They’re great for bookshelves or centerpieces!
Even more Easter DIY projects!


- Easter Egg Bouquet – Turn those plastic eggs into an adorable Easter Egg Bouquet!
- Easter Candy Jars – Make cute little Easter Candy Jars with items from the dollar store!
- Easter Egg Chicks – No-Sew Easter Egg Chicks are such a fun little craft you can make for or with your kids this Easter!
- Easter Egg Treats – Make these using a plastic baggie and some free printable templates! SO CUTE!
Have a blast making these adorable DIY Concrete Bunnies for Spring or Easter decor! They’re cheap and super simple!
Pin this for Later


Leave a Reply